

Prerequisites
- The project is already created.
- You have access to the Commitments tool.
- The subcontractor company already exists in the Company Directory.
- You have the contract number, scope summary, dates, and initial SOV detail ready.
What you’ll update
Subcontract setup
Add the contract company, status, retainage, dates, scope notes, and supporting files for the agreement.
Billing structure
Build the subcontract schedule of values and set invoice-routing and privacy controls for the commitment.
Create the subcontract
1
Open the subcontract form
In the project’s Commitments tool, click Create and choose Subcontract.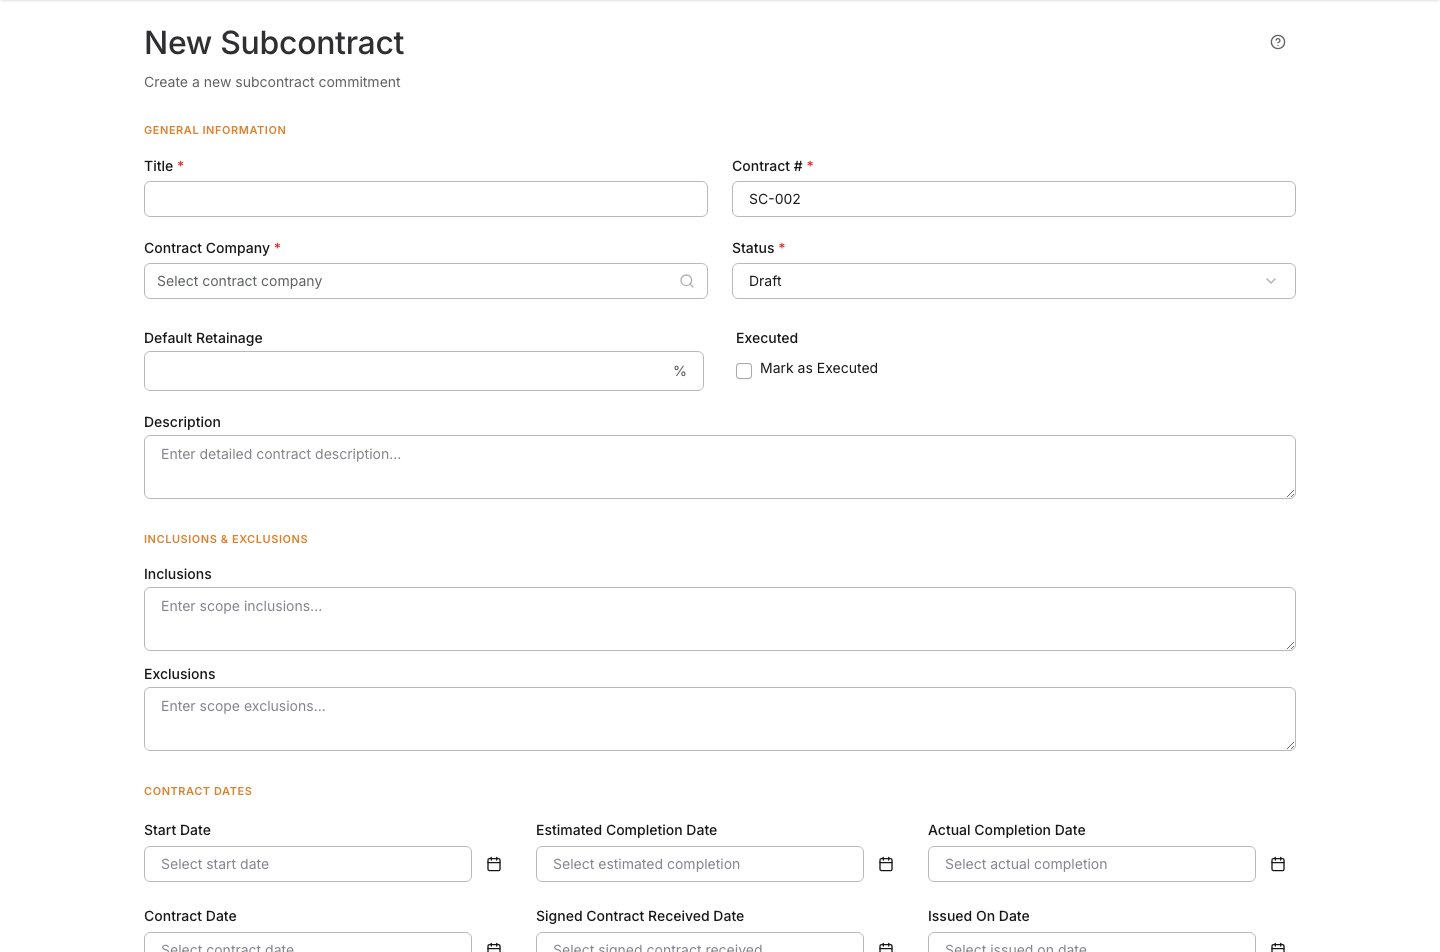
2
Complete the general information
Fill out the fields that identify the agreement.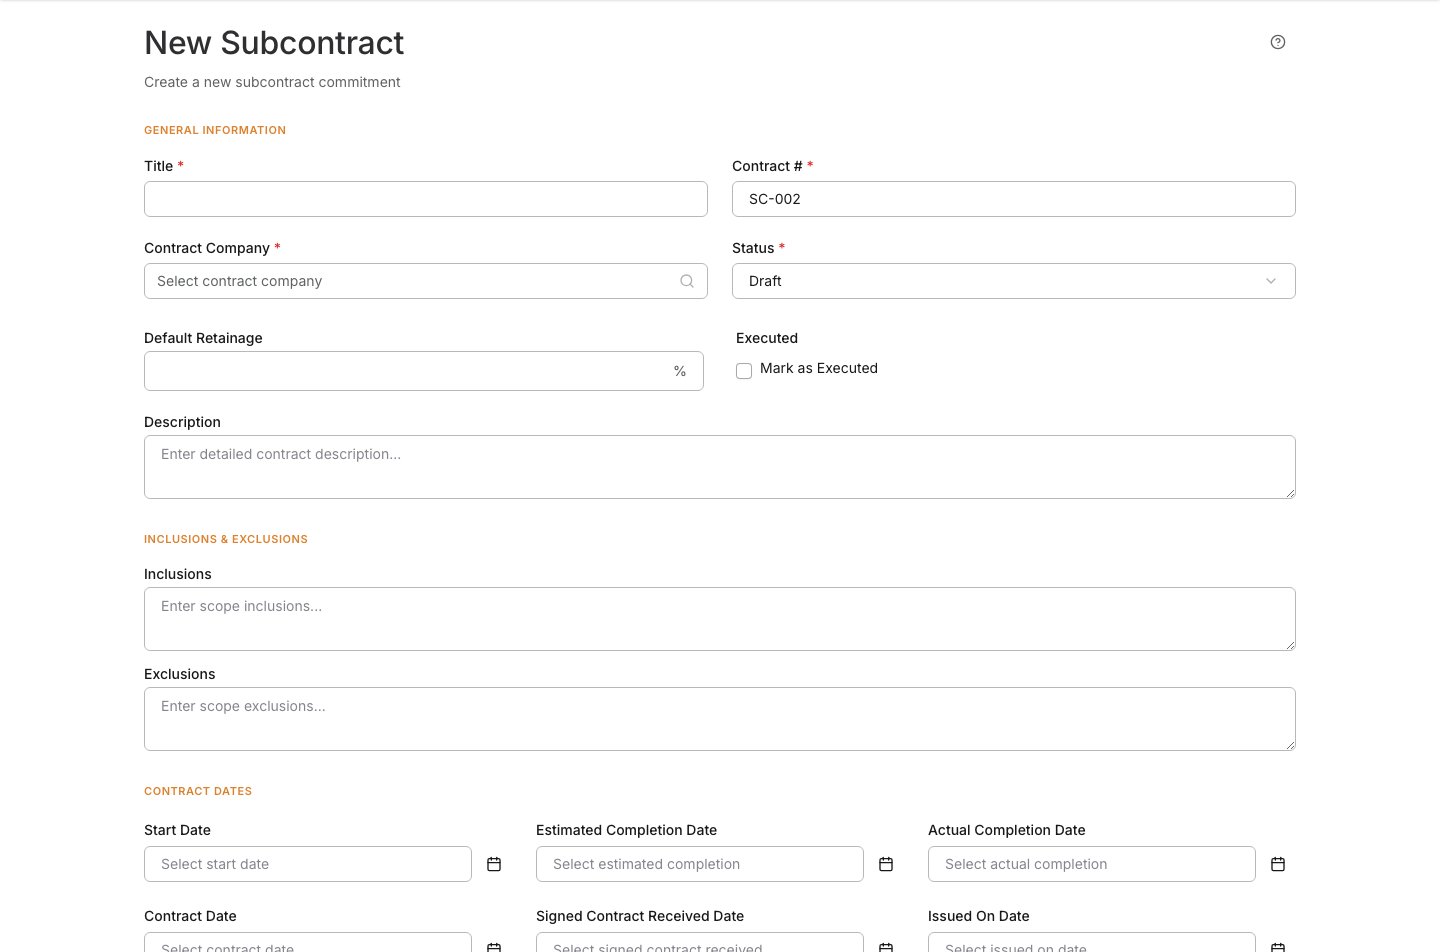
3
Clarify scope with inclusions and exclusions
Use these fields when the subcontract scope needs to be more explicit.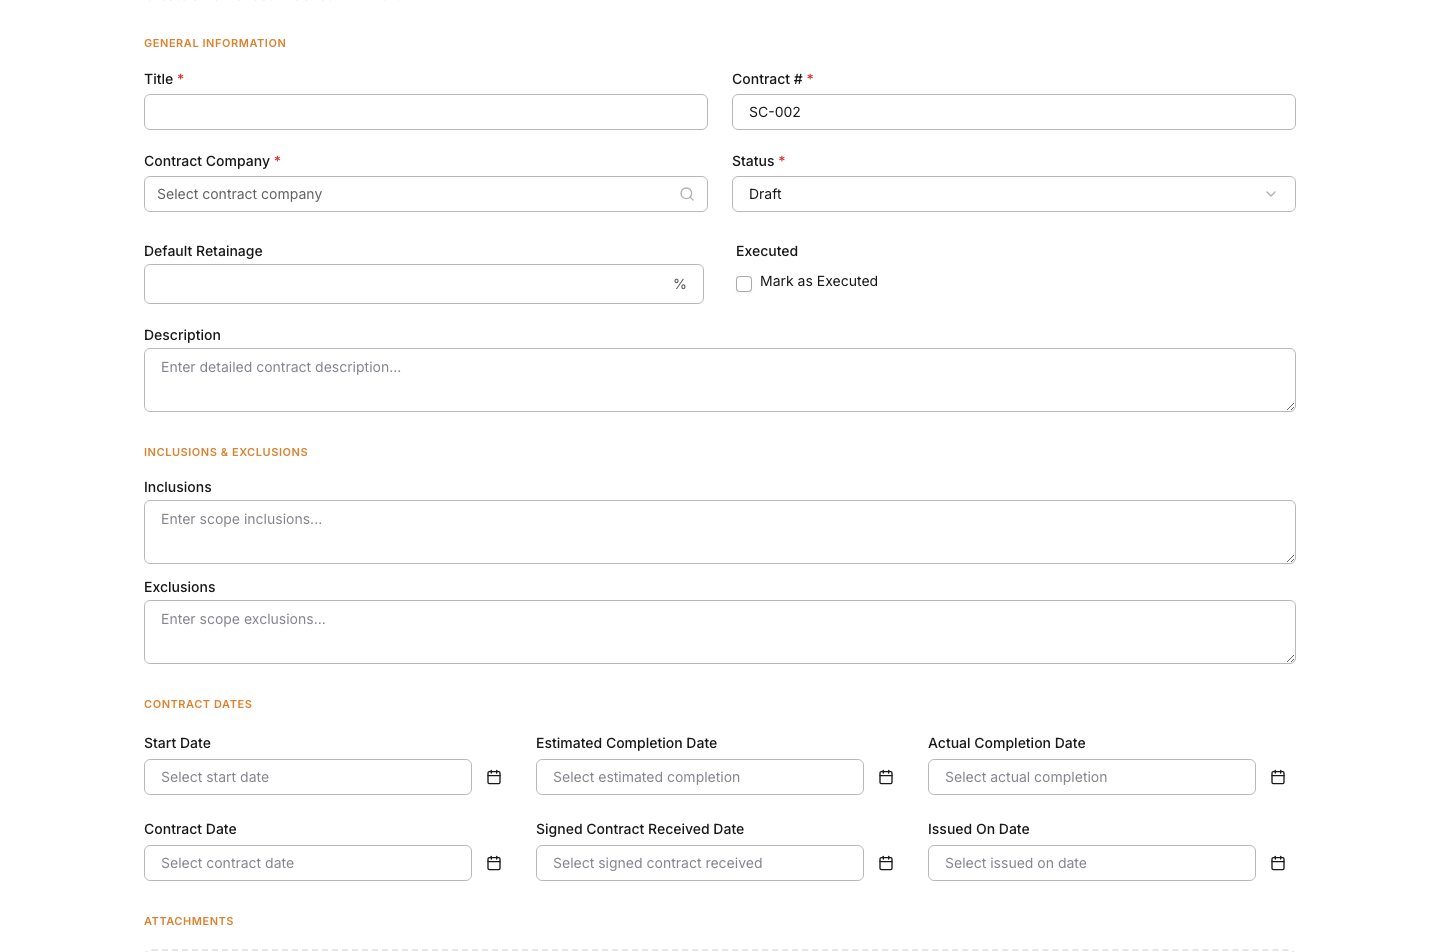
4
Set the contract dates
Enter the dates your team uses to track when subcontract work starts, when it should finish, and when the agreement is considered complete.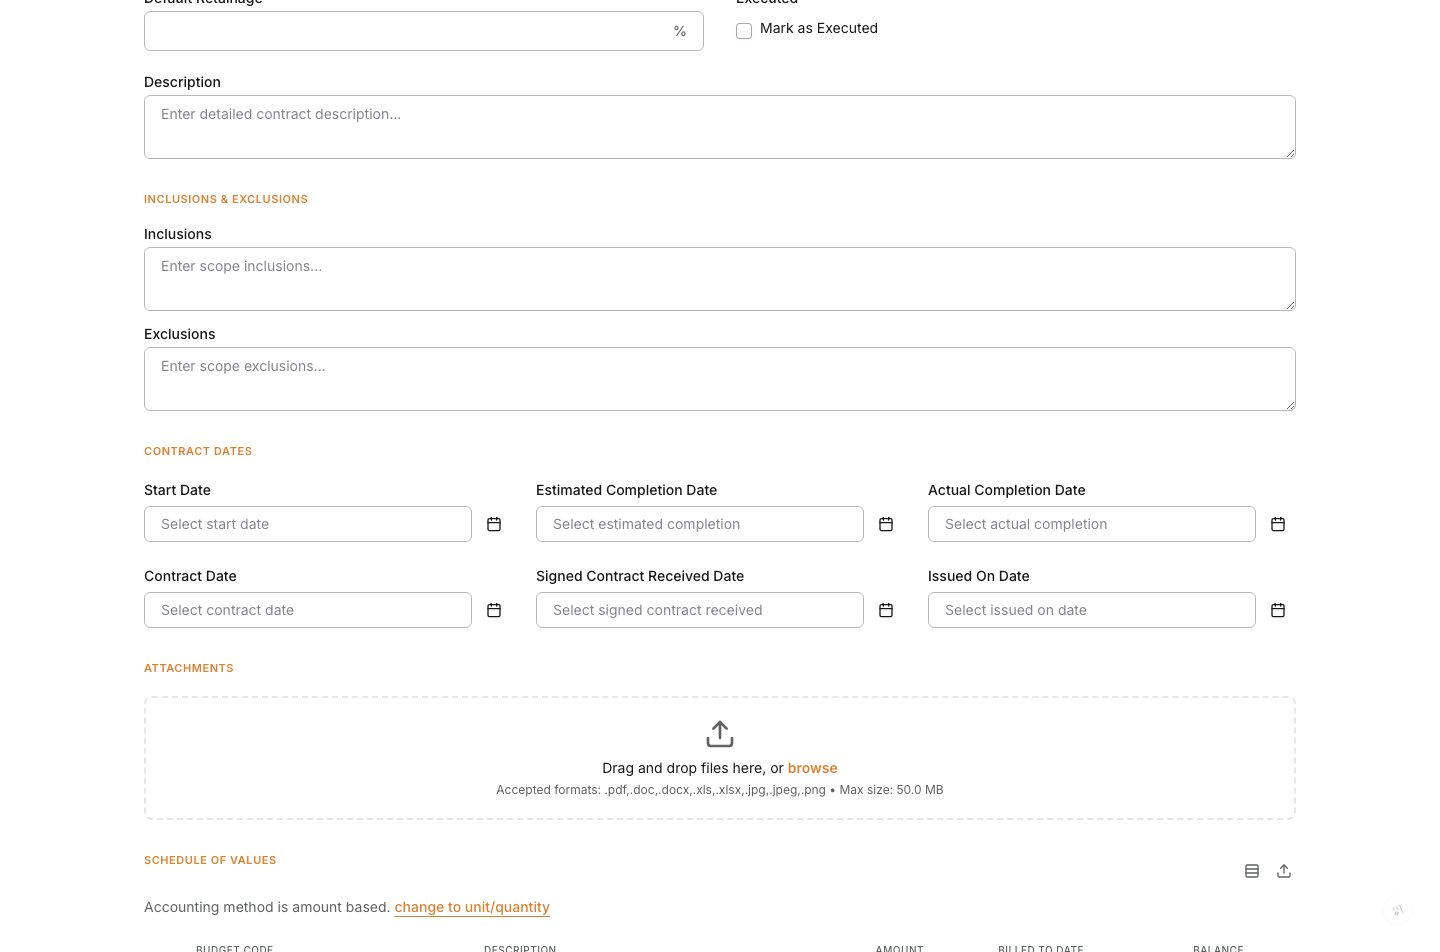
5
Attach supporting files
Upload the signed subcontract, proposal, quote, scope sheet, or other backup your team needs to keep with the agreement.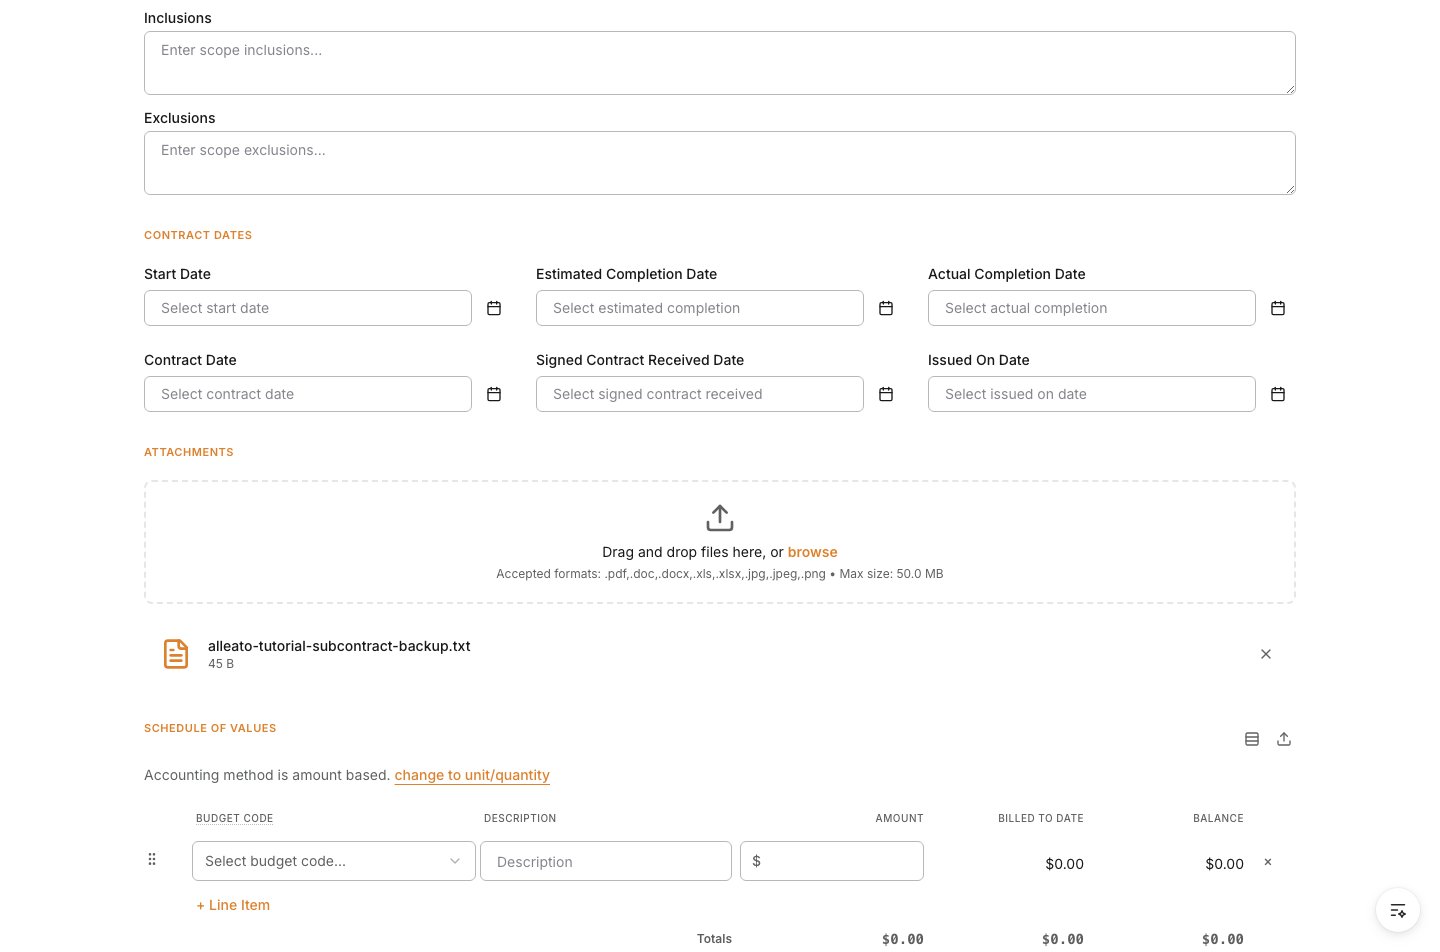
6
Build the schedule of values
Add the SOV line items that make up the subcontract value.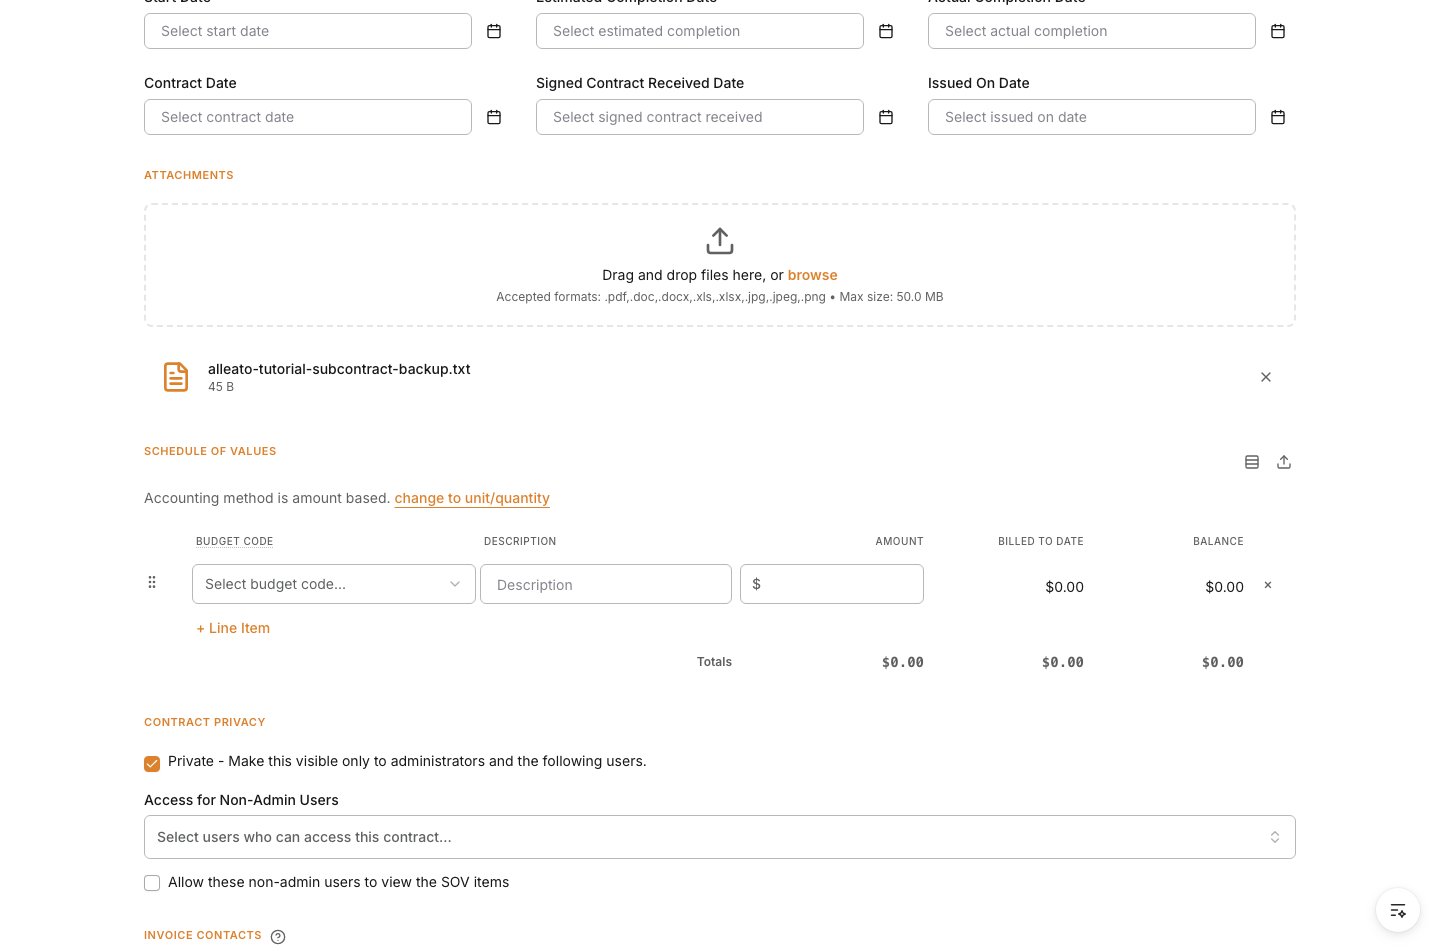
7
Set privacy and invoice contacts
If the subcontract should not be visible to the full project team, limit access here. Add invoice contacts so vendor billing routes to the right people.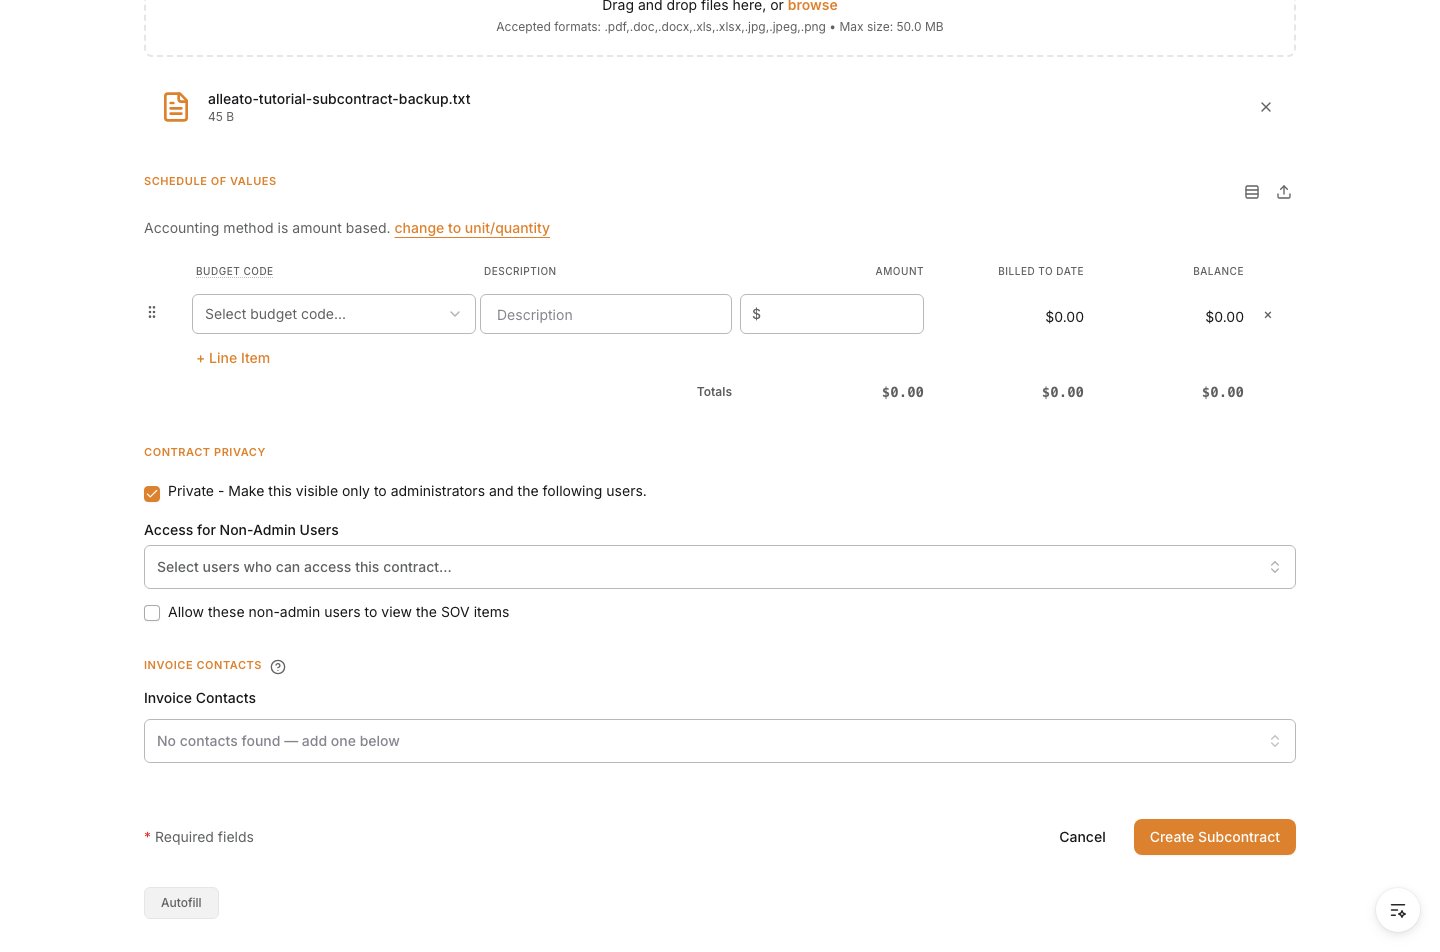
8
Create the subcontract
Review the form, then click Create Subcontract.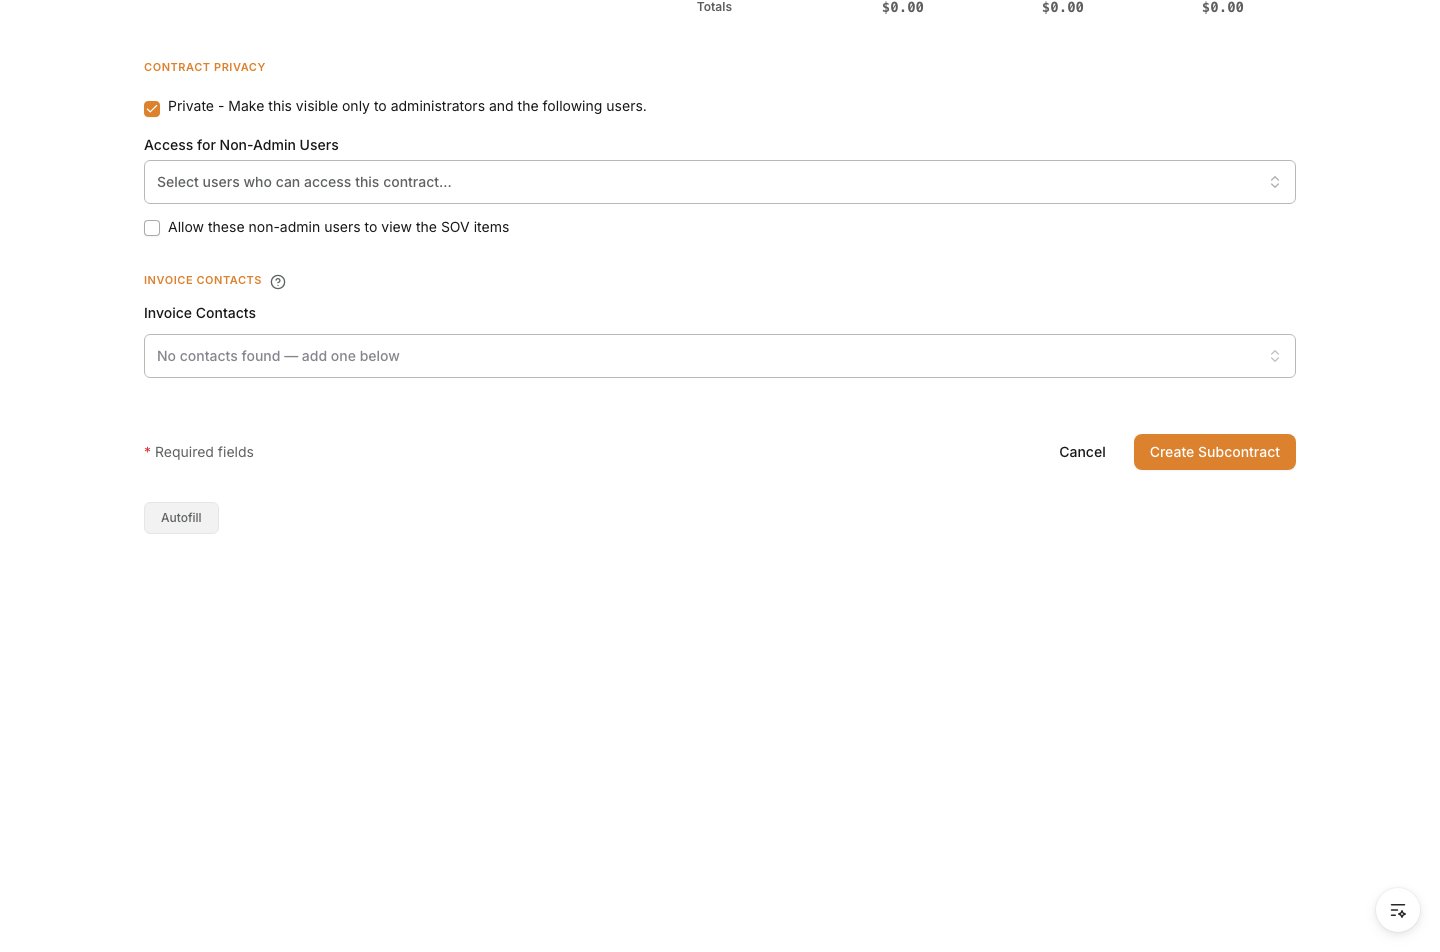
Verify the result
Confirm the subcontract appears in the Commitments list with the correct contract company, contract number, title, status, and value. Open the record and confirm the SOV and invoice contacts are in place.Troubleshooting
- The subcontractor does not appear in Contract Company: Add the company in the Company Directory, then return to the subcontract form.
- The SOV total is wrong: Review each line-item amount or unit-based entry before using the subcontract for billing.
- The subcontract should be restricted: Update the privacy settings before the subcontract is shared with the wider project team.