

Before approving a contract or sending an owner invoice, review every SOV line and its permissions. Your organization may restrict edits after approval or billing; the exact lock behavior depends on your configured workflow and permissions.
Create the prime contract
1
Open a new Prime Contract
In the project, open Prime Contracts and select Create. The Create Prime Contract form opens with General Information visible.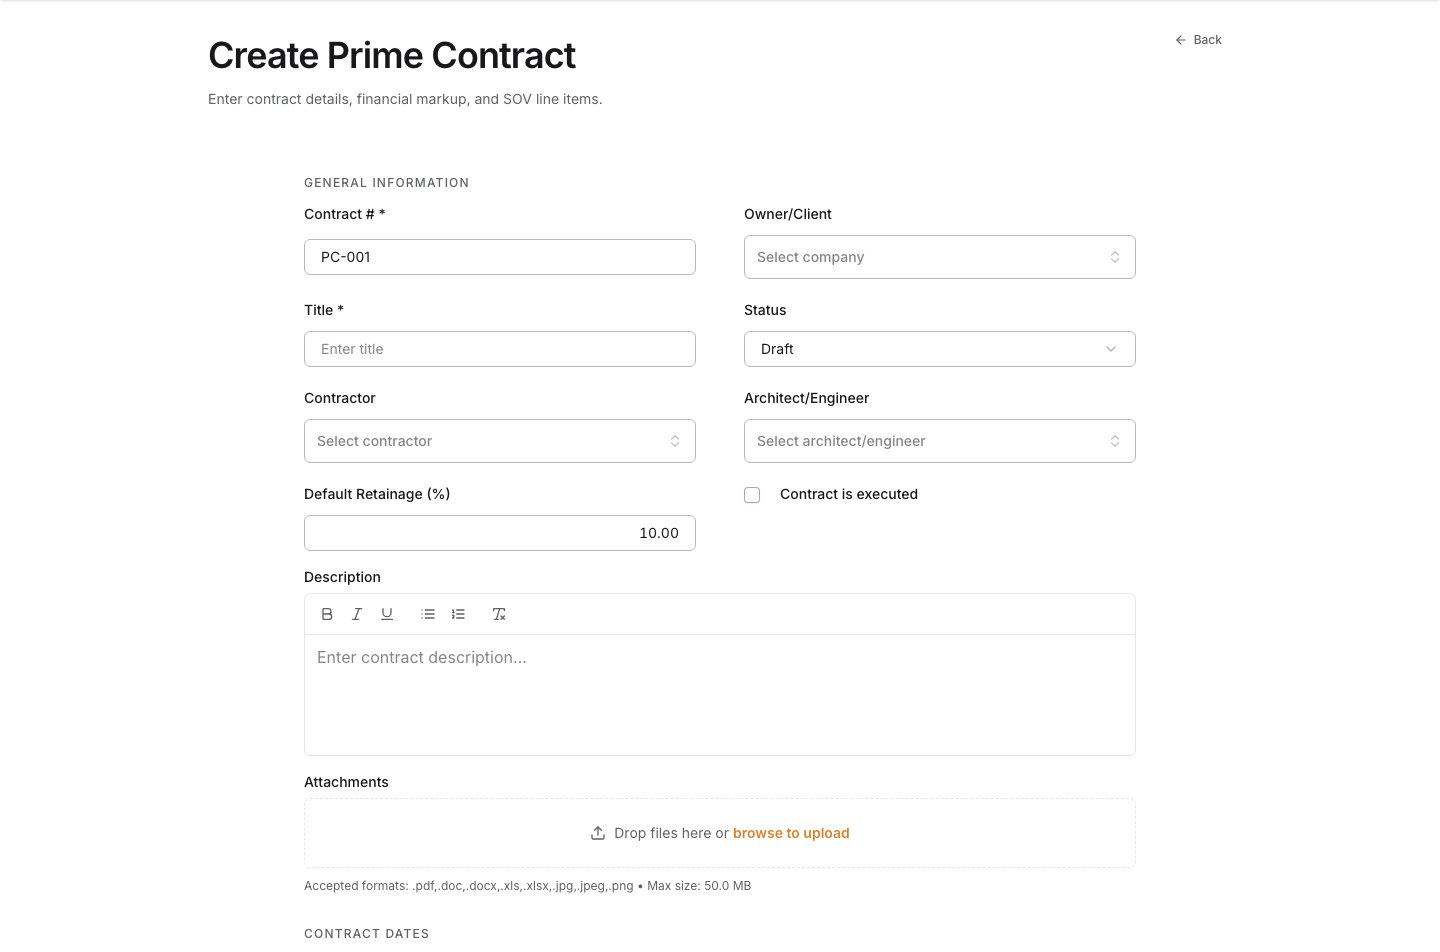
2
Enter the agreement identity
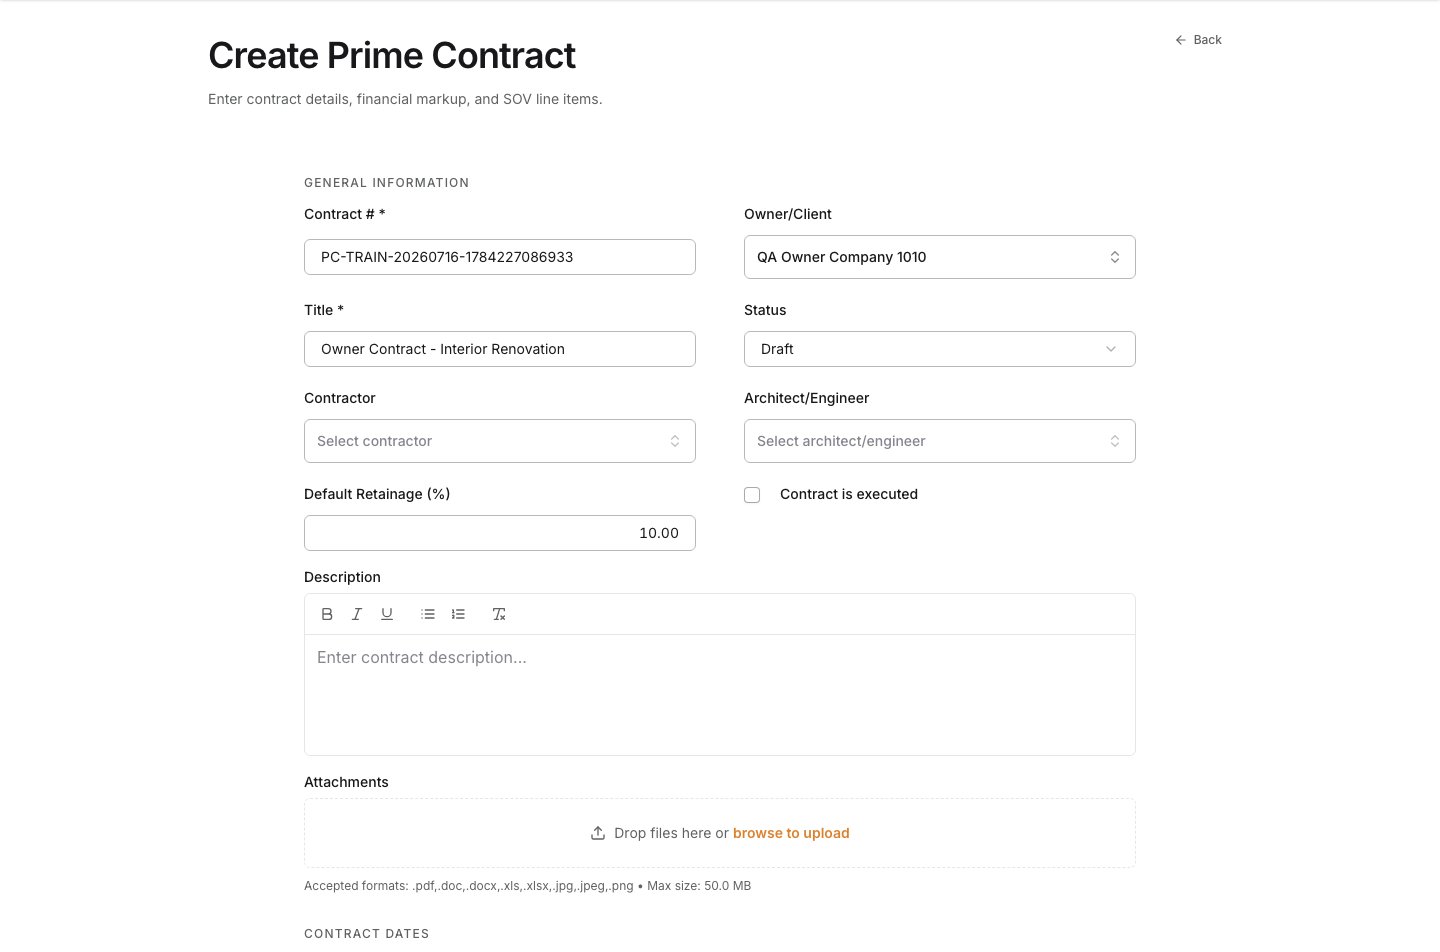
Enter a Contract # that the team can recognize later, a clear Title, and the default Retainage when it applies. These values identify the agreement in owner billing and reporting.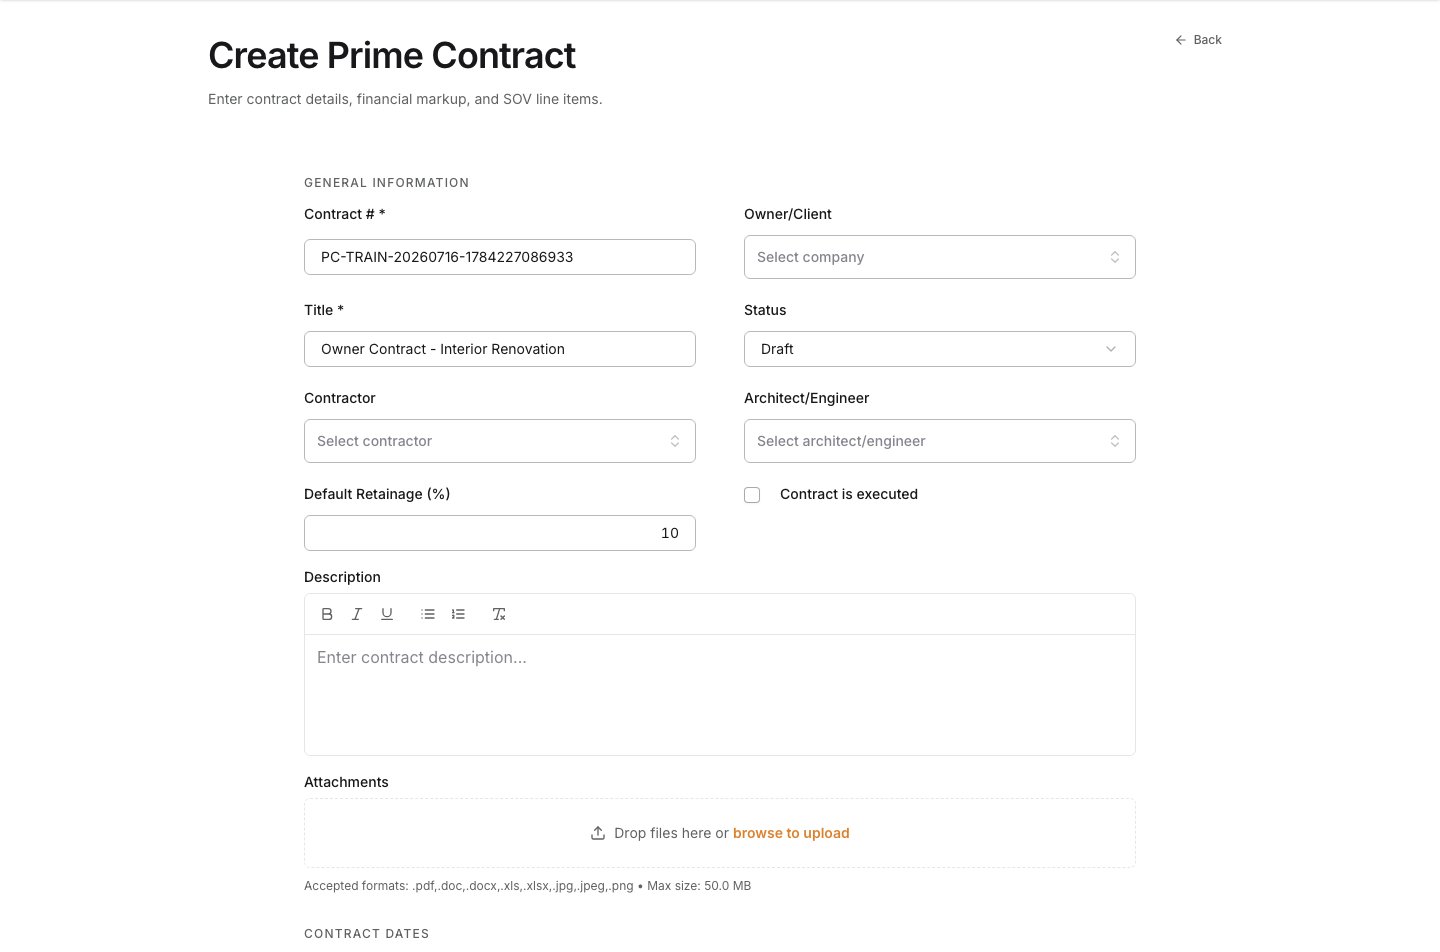
3
Choose the Owner or Client
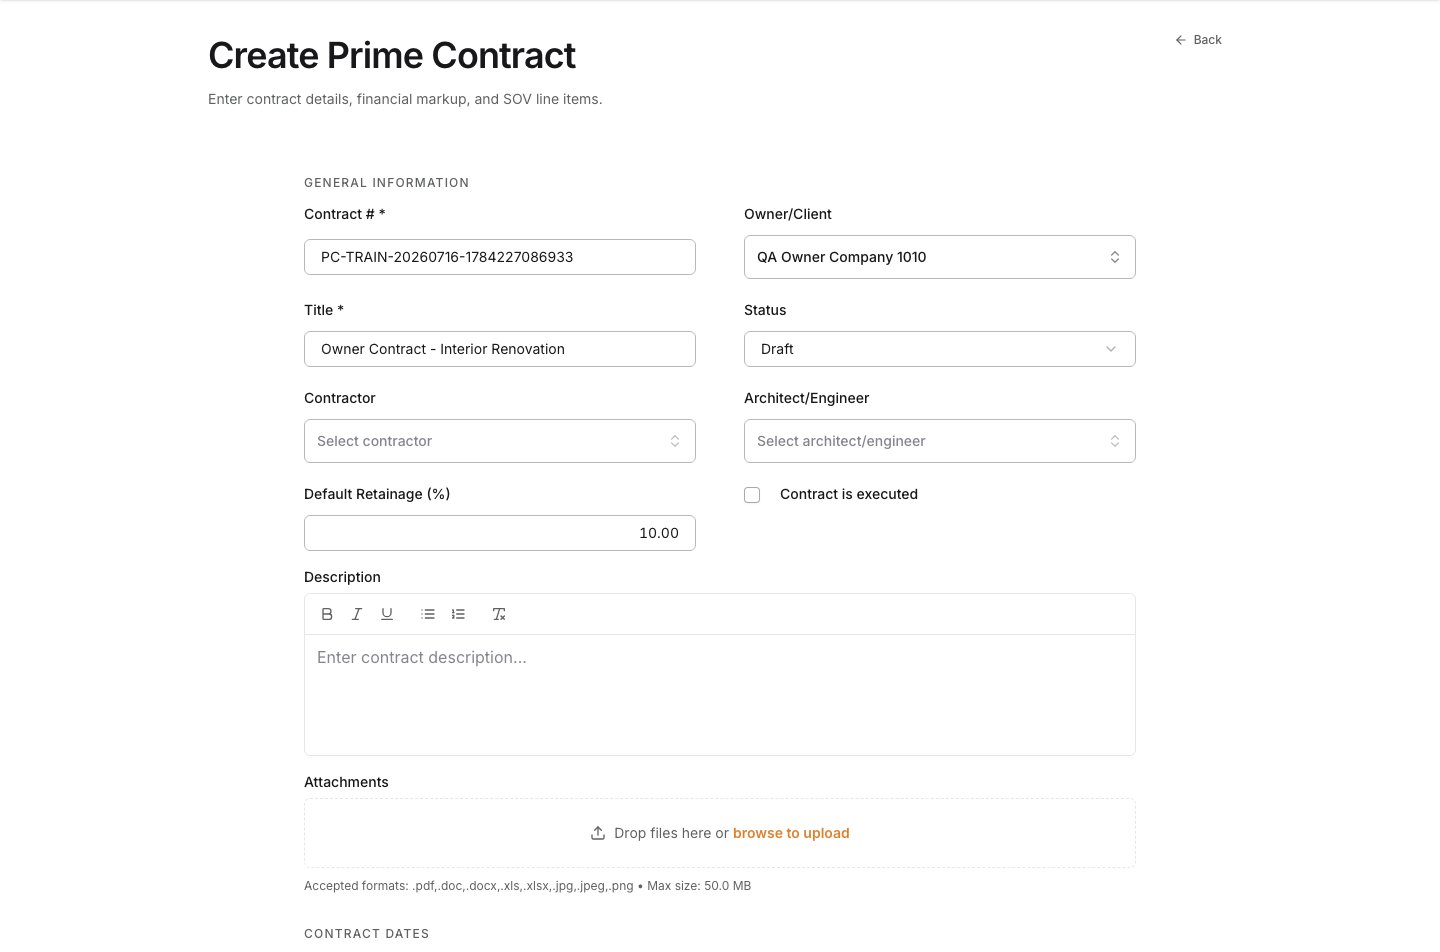
Open Owner/Client to review the companies available to the project, then select the party executing the owner-facing agreement. Choose the actual funding or contracting party, not a subcontractor or internal company.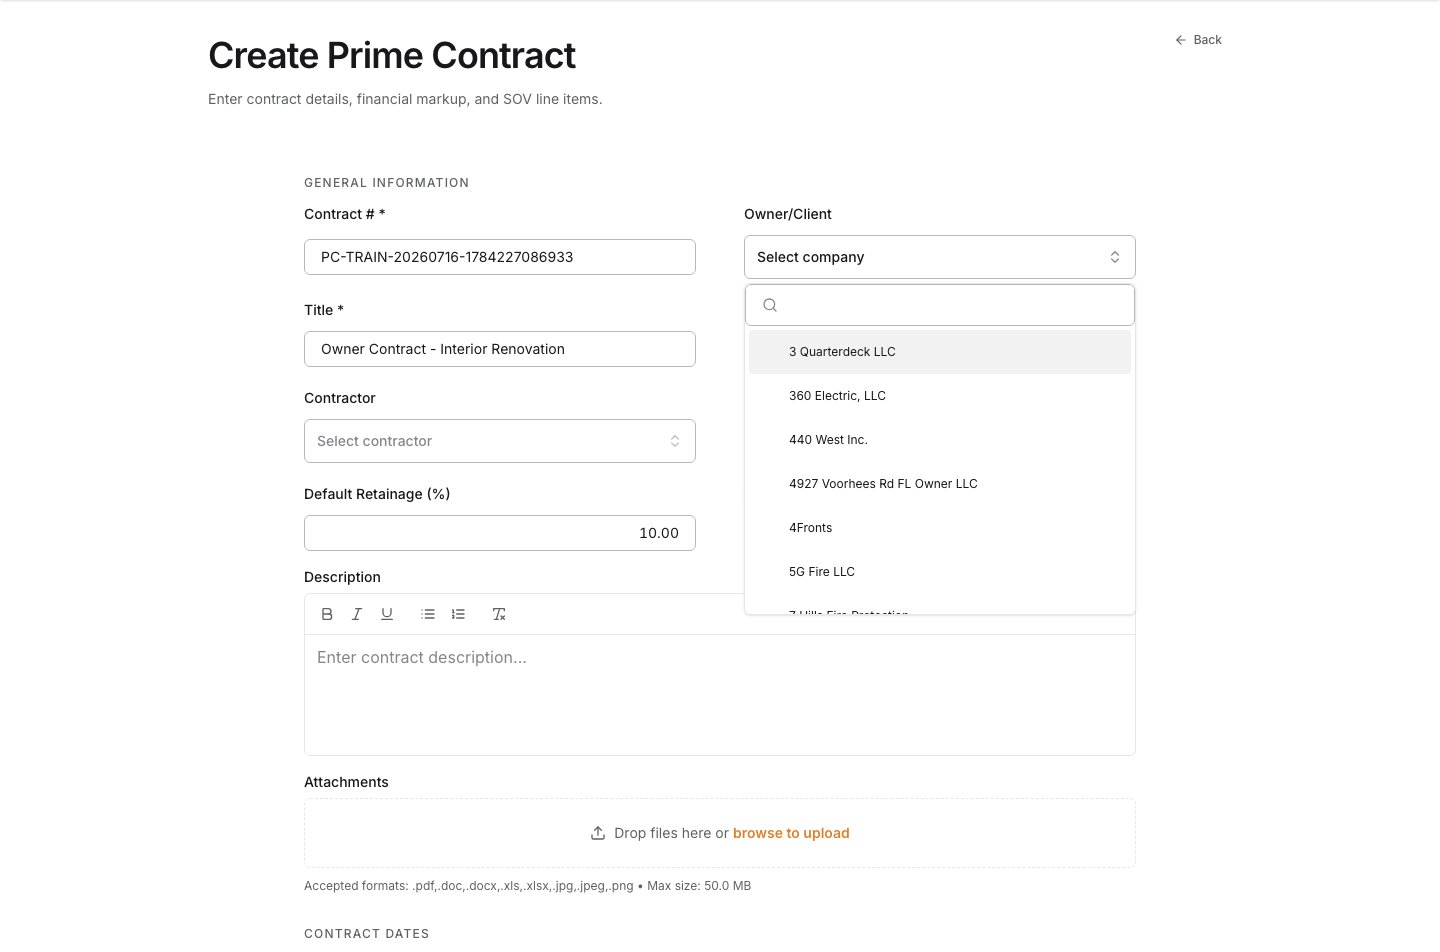
4
Set the lifecycle status
Open Status to review the available lifecycle states, then select the state that reflects the agreement today. Use Draft while the SOV or supporting information is still under review. Move the agreement forward only when it is ready for your approval and billing controls.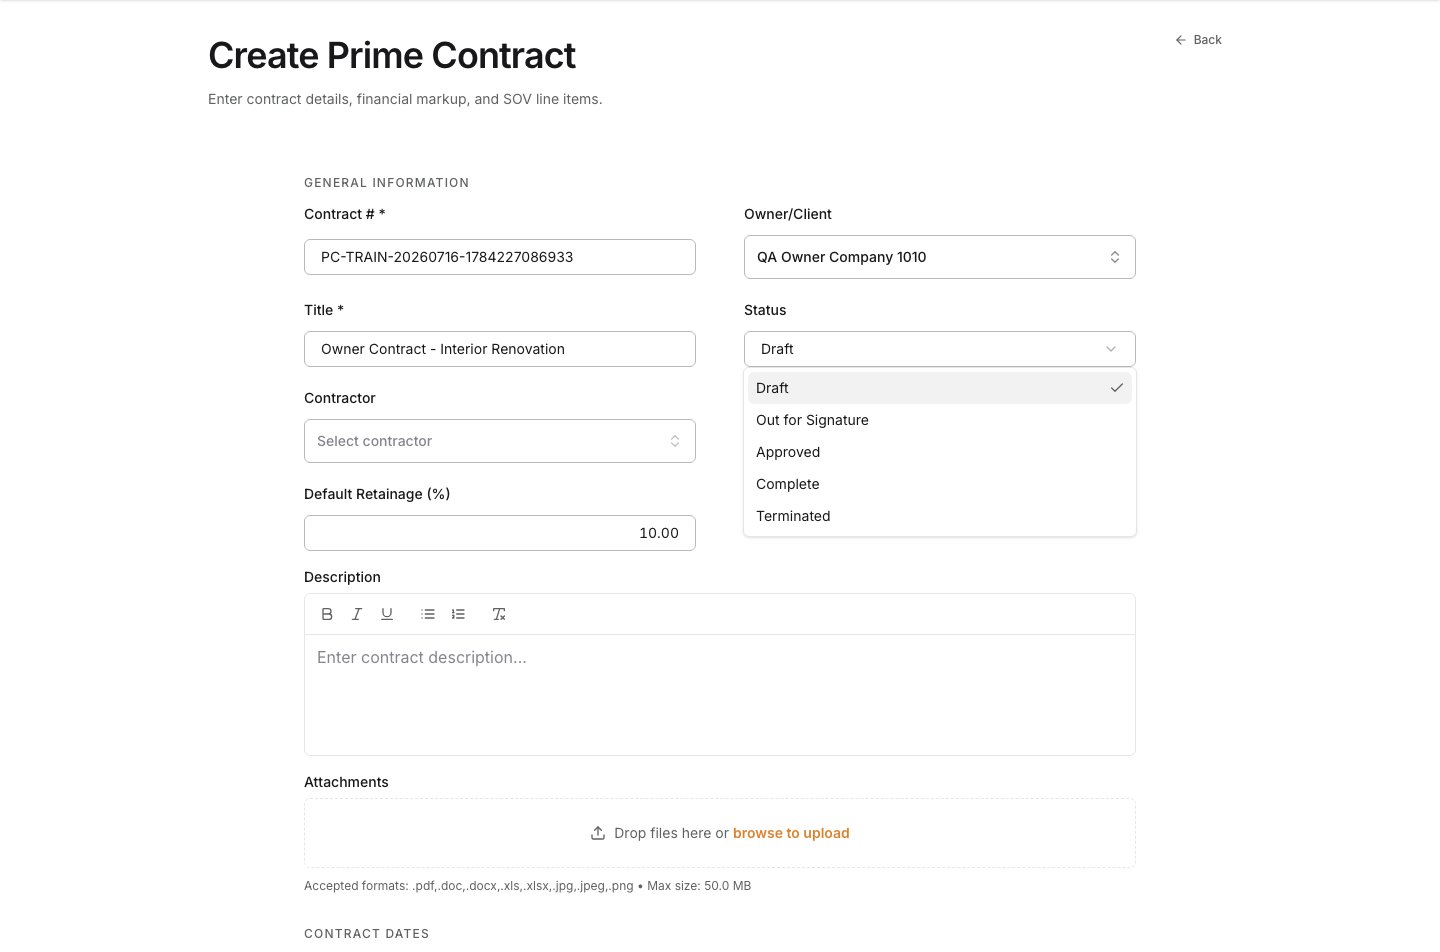
5
Describe the agreement and set its timeline
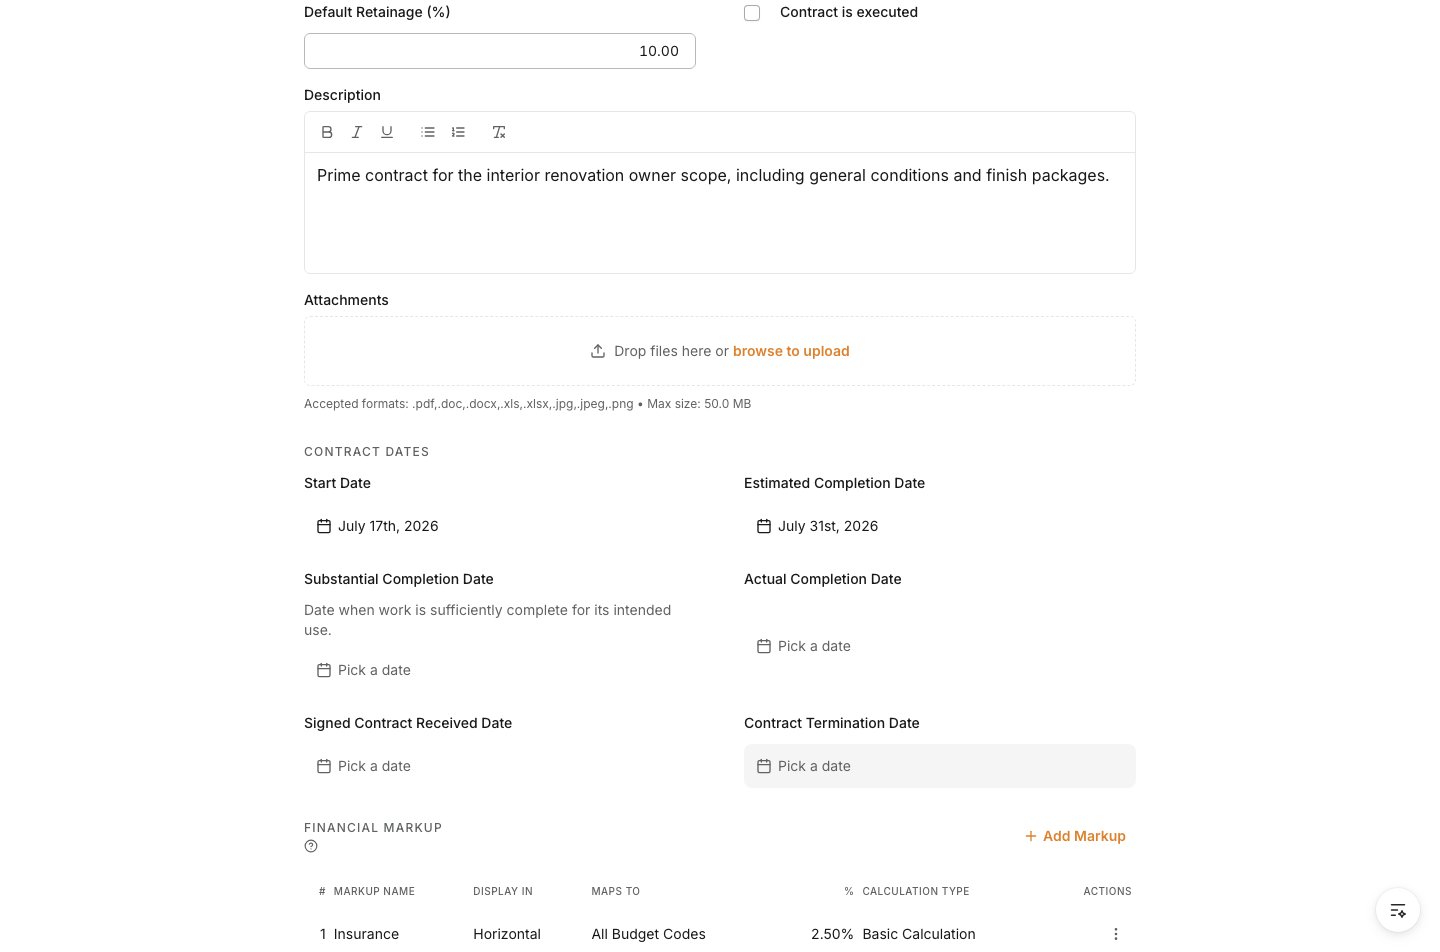
Add a concise Description so the project team understands the owner-facing purpose and scope. Then enter the Start Date and Estimated Completion Date. These dates establish the agreement timeline; use your team’s actual contract record for other milestone dates.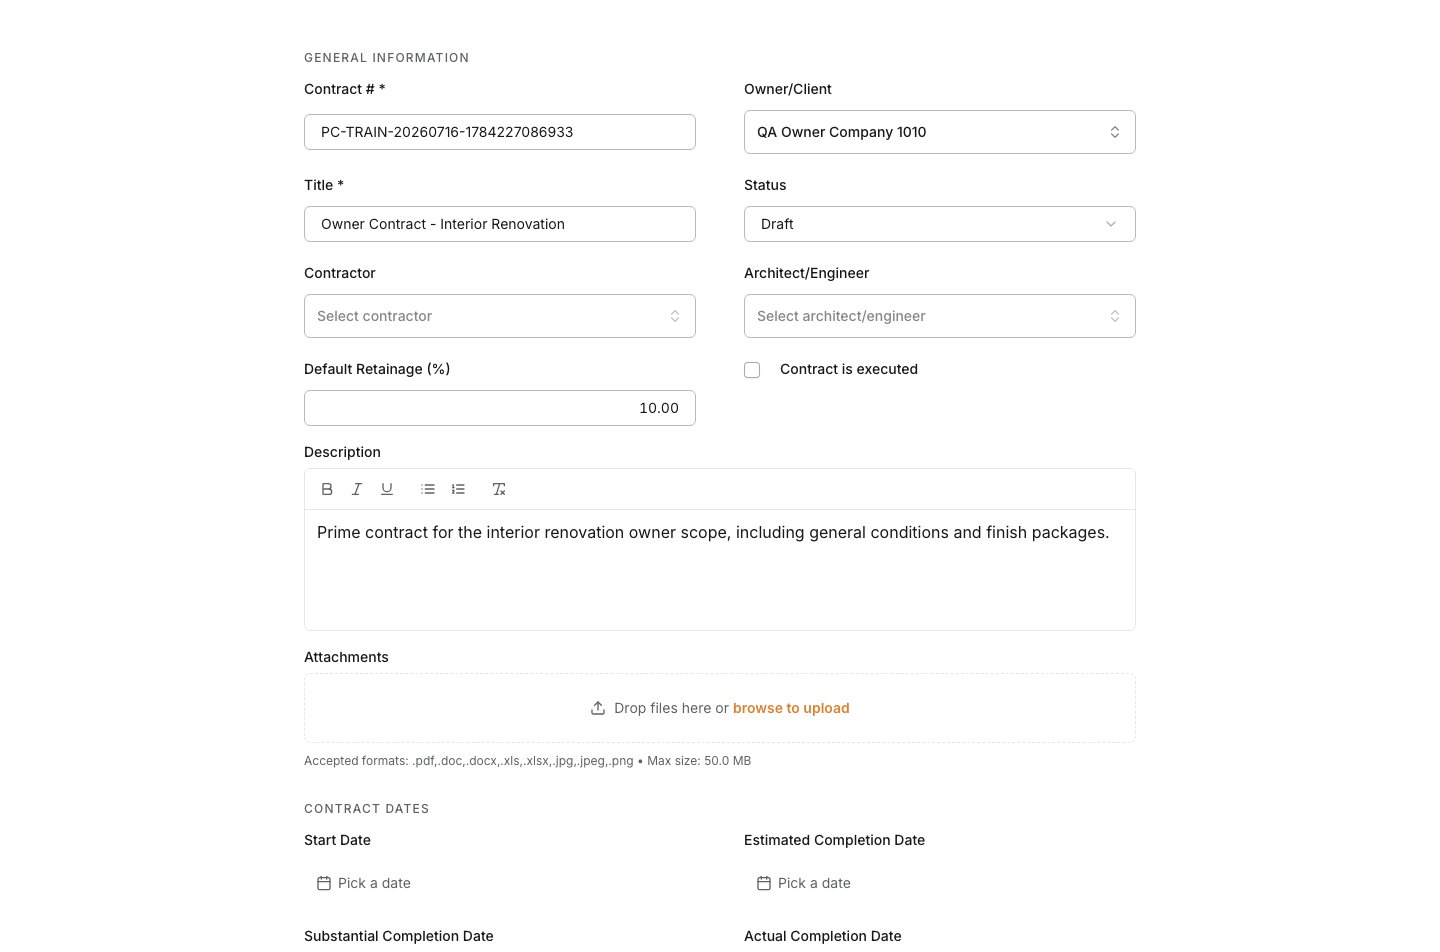
6
Add an SOV line
In Schedule of Values, add a line. The SOV is where contract scope and value become billable structure. Each line should represent scope that the owner can review and that the project can report consistently.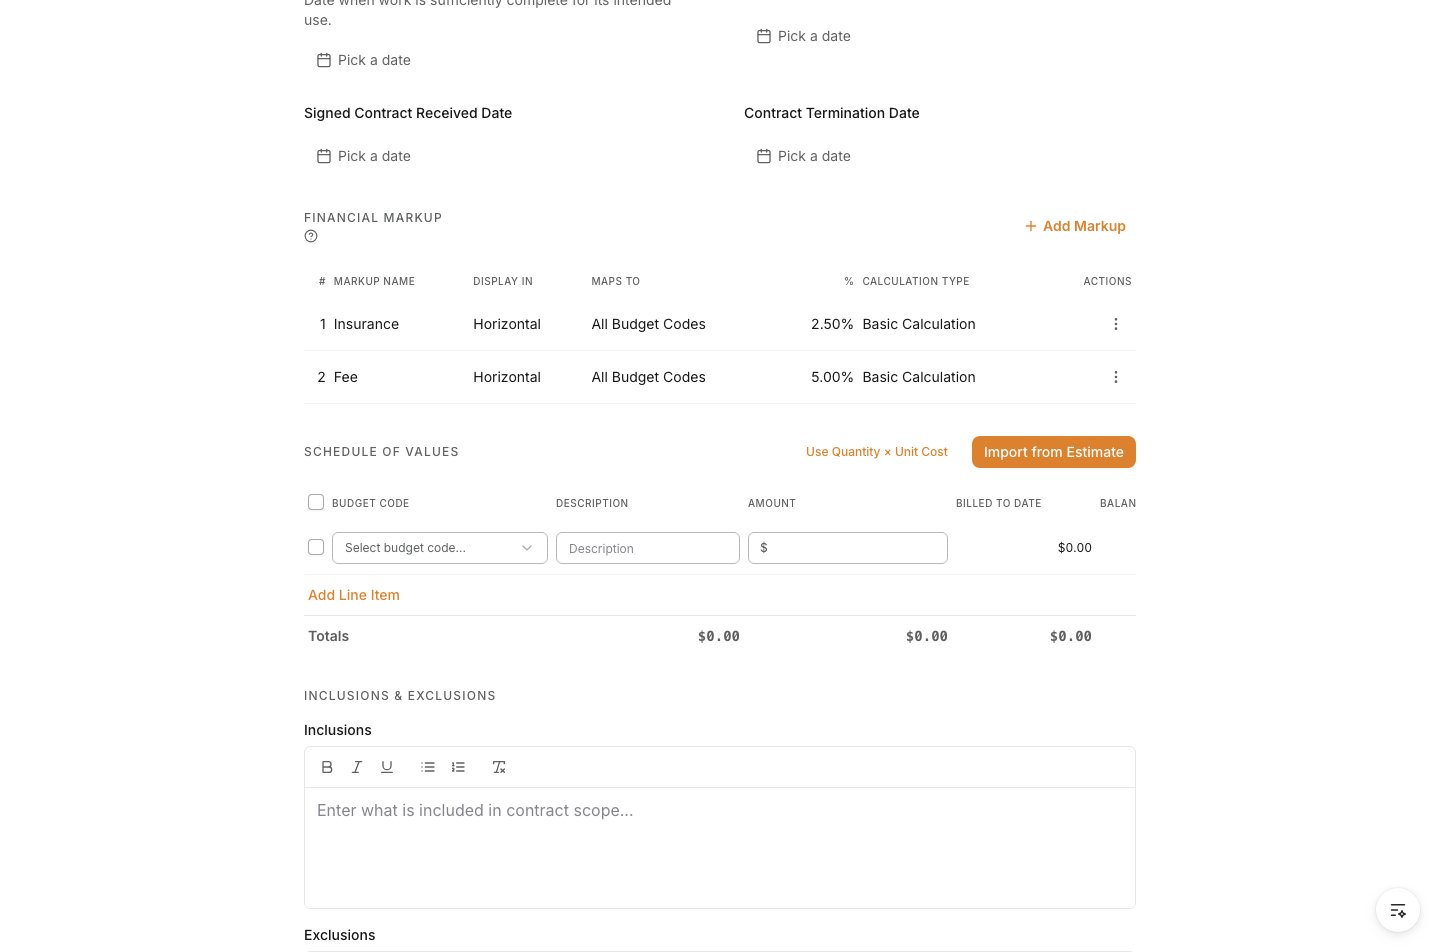
7
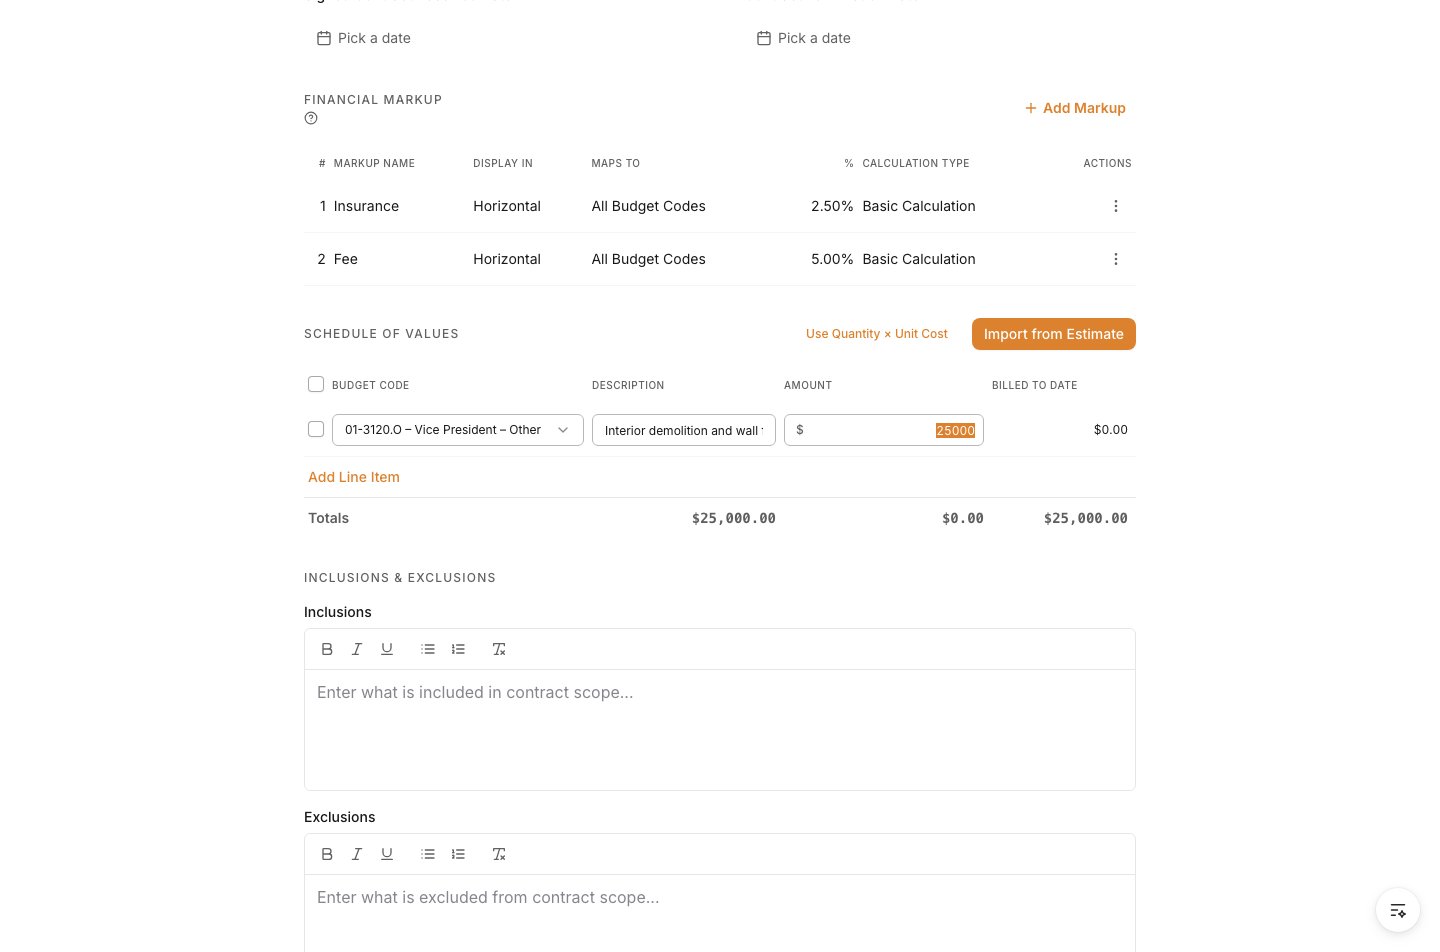
Connect the line to a budget code and value
Open Budget Code, search for the code that owns this scope, and select it. Then enter a clear line Description and Amount. If the budget came from the estimate, use the same structure so the budget, contract total, and owner invoices remain aligned.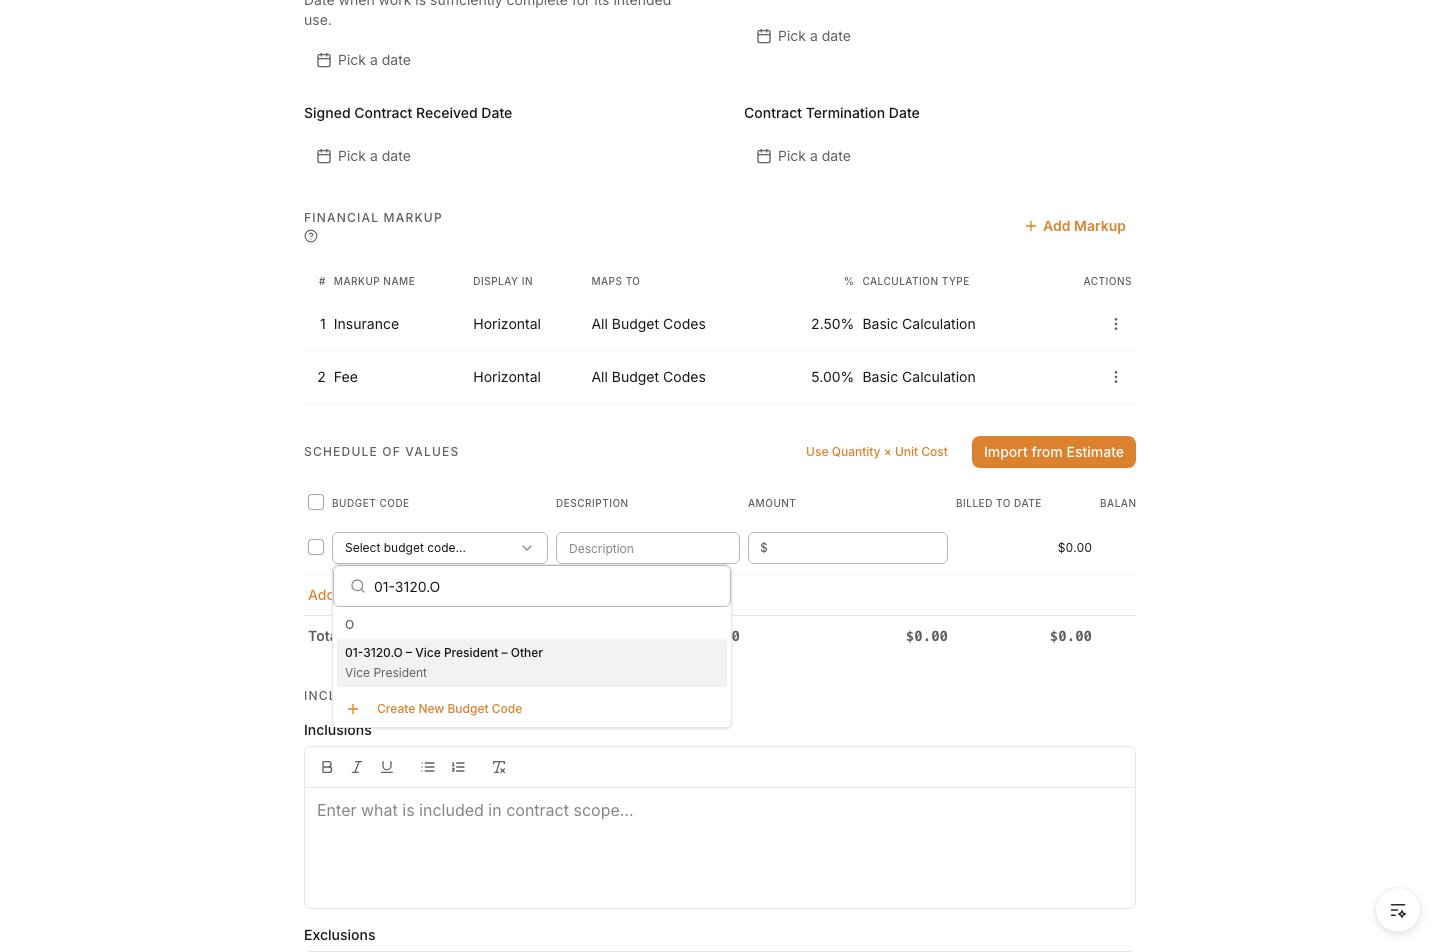
8
Clarify included and excluded scope
Record Inclusions and Exclusions when the agreement needs explicit boundaries. This prevents scope assumptions from being confused with contracted work when invoices or changes are reviewed later.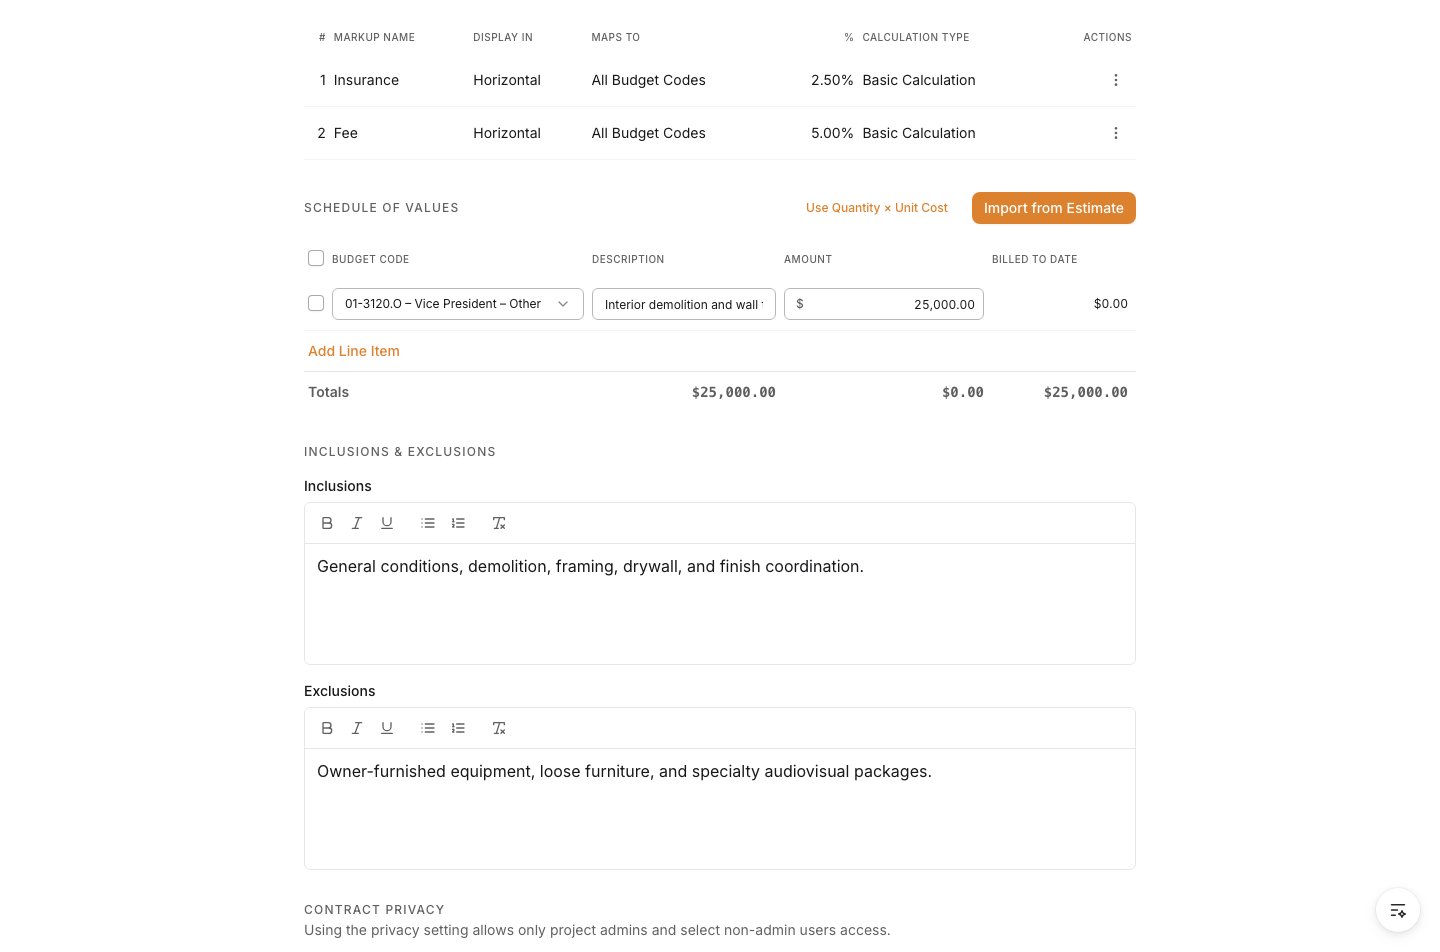
9
Apply privacy rules
Turn on Private when only project admins and specifically allowed non-admin users should access the contract. Leave it off only when the project team’s normal access model is appropriate.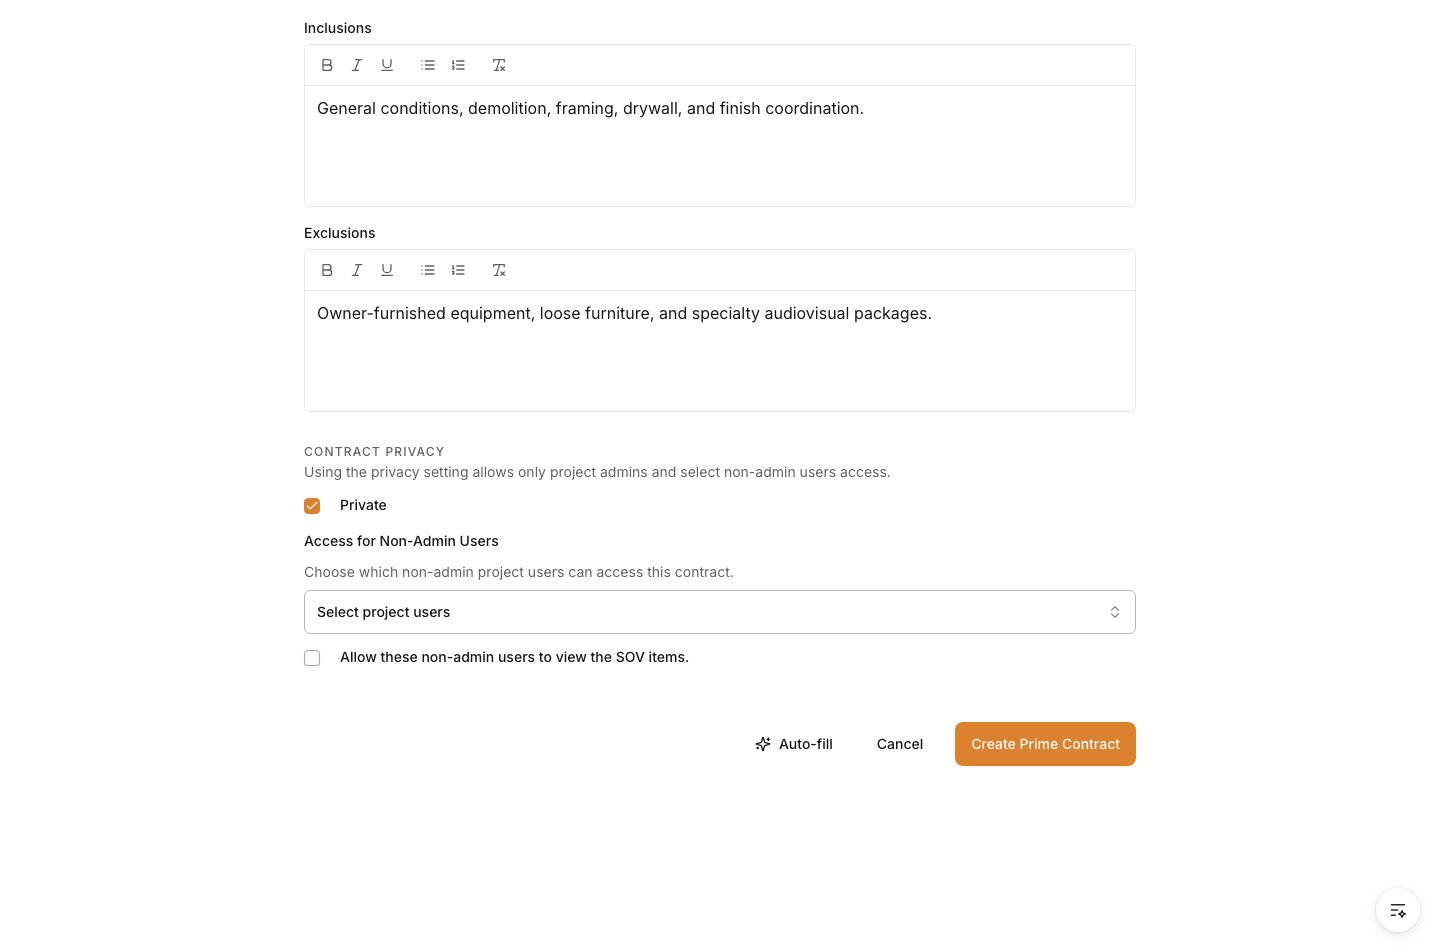
10
Create and verify the agreement
Select Create Prime Contract. The saved agreement opens on its detail page. Confirm the contract identity, owner/client, status, dates, SOV total, scope notes, and privacy setting before it enters approval or invoicing.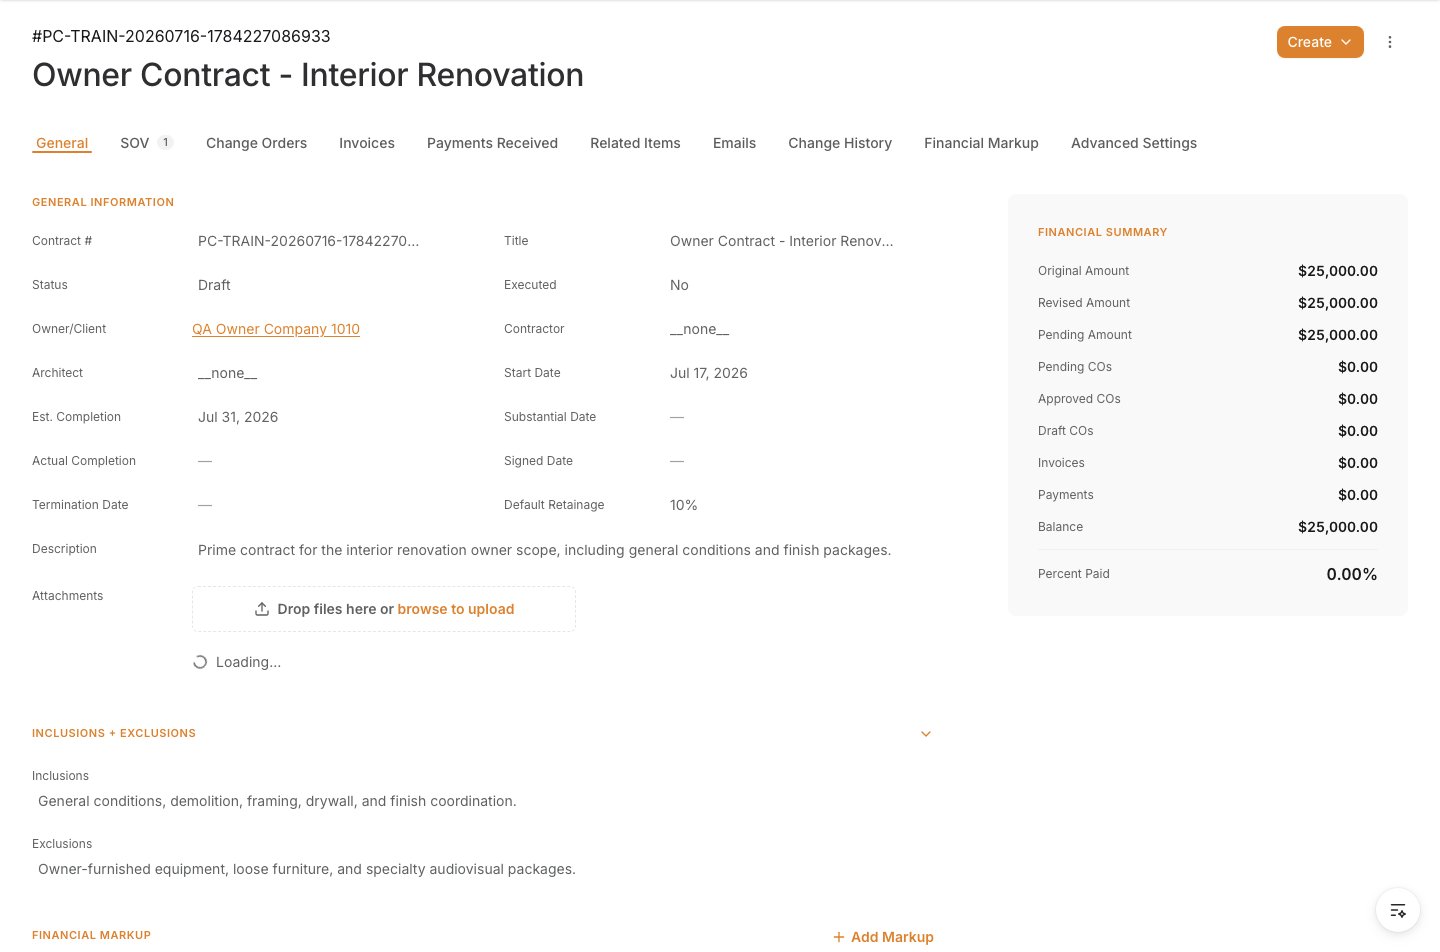
After you create it
- Keep the agreement in Draft until the details and SOV are complete.
- Review the SOV total against the signed agreement before any owner invoice is created.
- Route new approved scope or value through change management so the original contract and billing history remain traceable.
- Recheck access whenever the contract becomes sensitive or the project team changes.
Manage the contract after creation
The contract header shows the owner/client, original contract value, approved change-order value, revised contract value, effective and execution dates, retainage, and schedule details. Use it as the owner-facing record throughout the project.Maintain the Schedule of Values
The SOV is what owner pay applications bill against. Each line carries an original value, approved changes, and billed-to-date value. Open the saved contract and select Schedule of Values to add, edit, or remove lines while your workflow permits changes. If the project team uses an Alleato estimate workbook (.xlsm or .xlsx), import its approved owner-SOV rows rather than re-entering them:
- On a new contract, open Actions in the SOV section and select Import Excel SOV. On an existing contract, open the Schedule of Values tab, then select Add > Estimate Workbook.
- Upload the workbook and review the preview. Select only the lines that belong in the owner contract.
- Resolve any unmapped or invalid budget-code rows before importing. Rows with a zero amount are flagged for review.
- Import the selected lines, then verify the SOV total before approval or billing.