

Prerequisites
- The project is already created.
- You have access to the Change Events tool.
- You know the reason for the change and what source record, budget code, and estimated cost impact should be tracked.
What you’ll update
Change record
Capture the title, description, source, reason, scope, and revenue expectations for the change.
Pricing support
Add line items and backup files so the change can move into owner-side or downstream pricing.
Create the change event
1
Open the new change event form
In the project’s Change Events tool, click Create.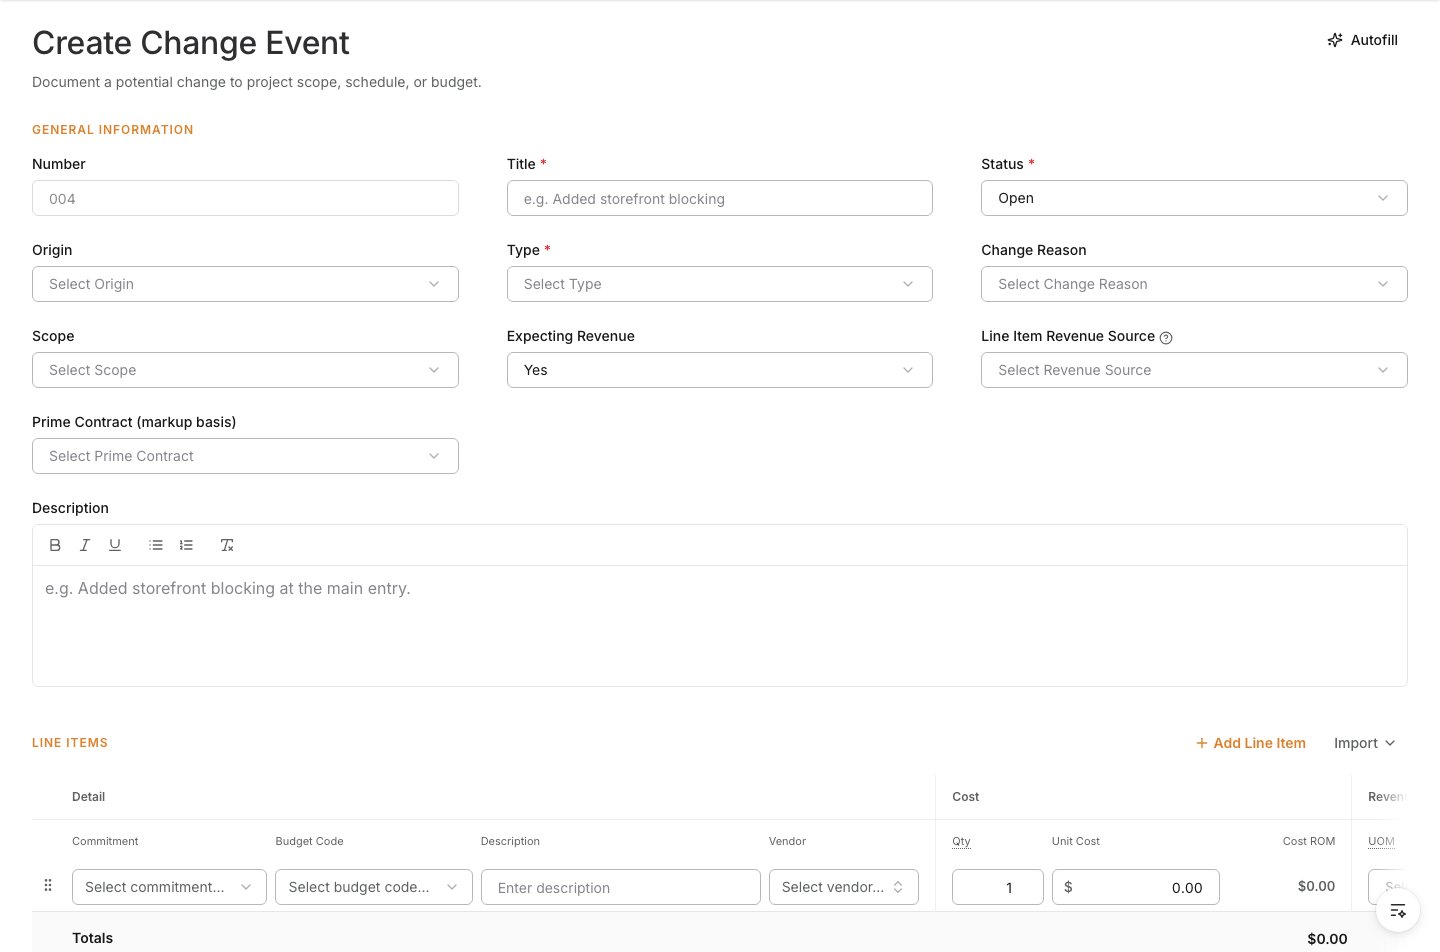
2
Complete the general information
Enter the fields that describe the change clearly.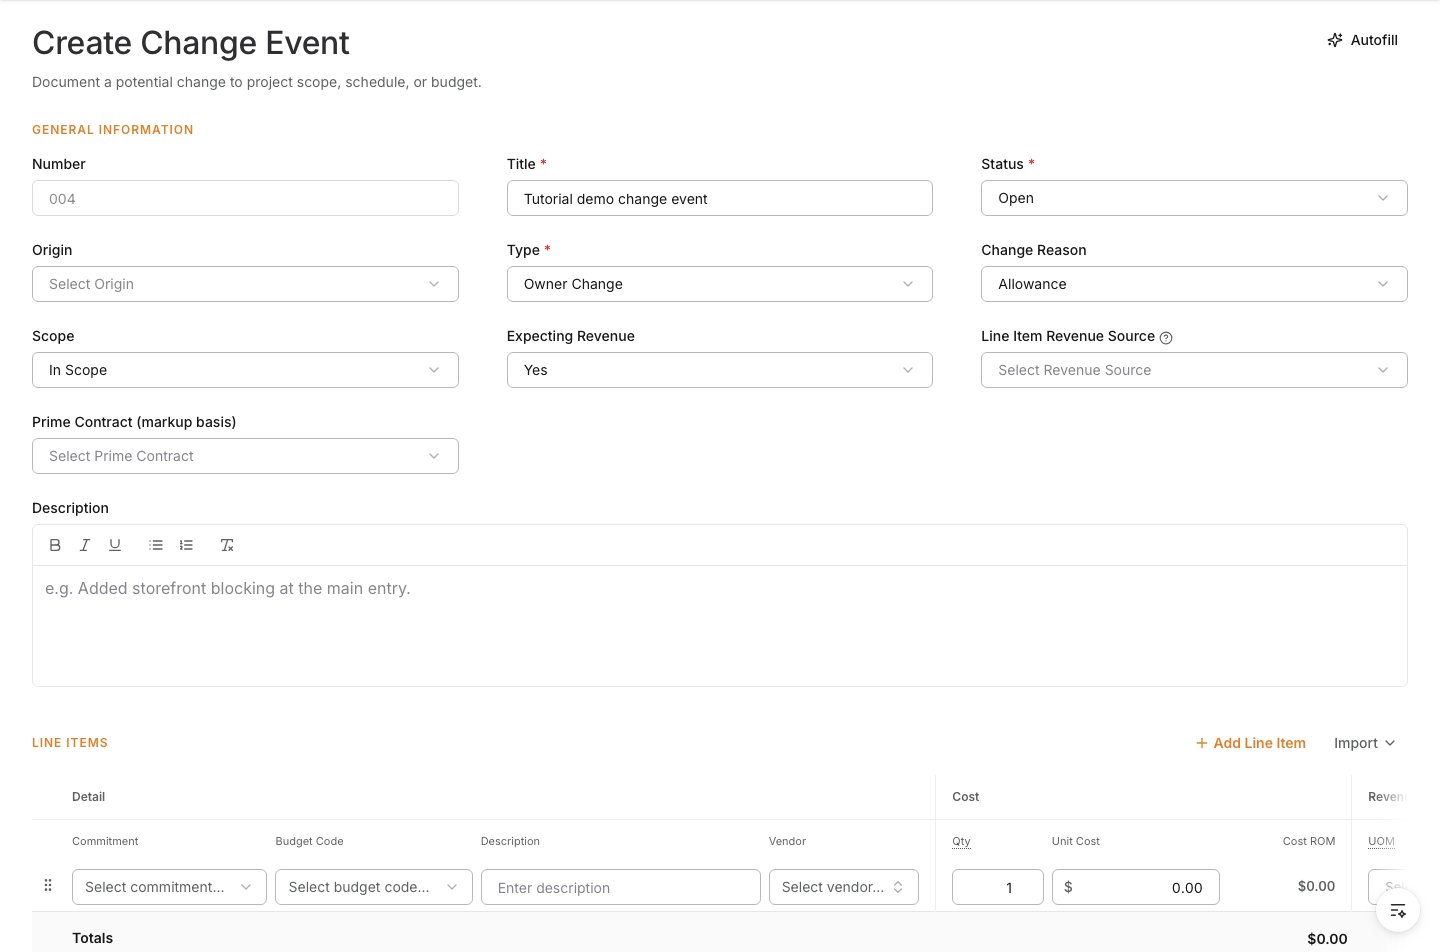
3
Set the origin
If the change came from another project record, set Origin and link the Origin Record so the event stays traceable.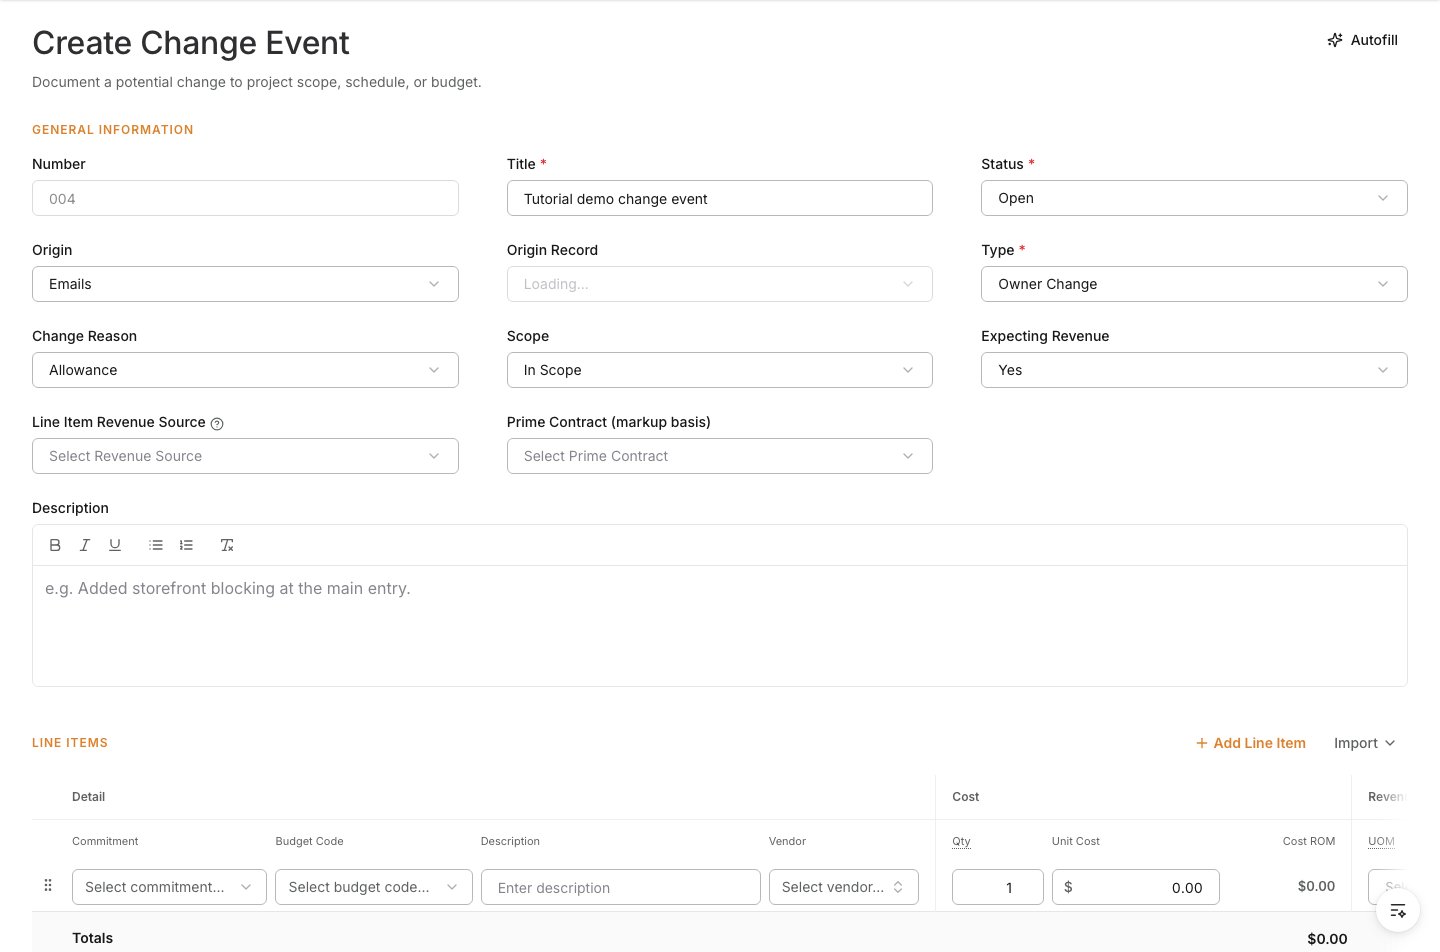
4
Review revenue handling
If the change may be billed upstream, set the revenue fields before pricing the event.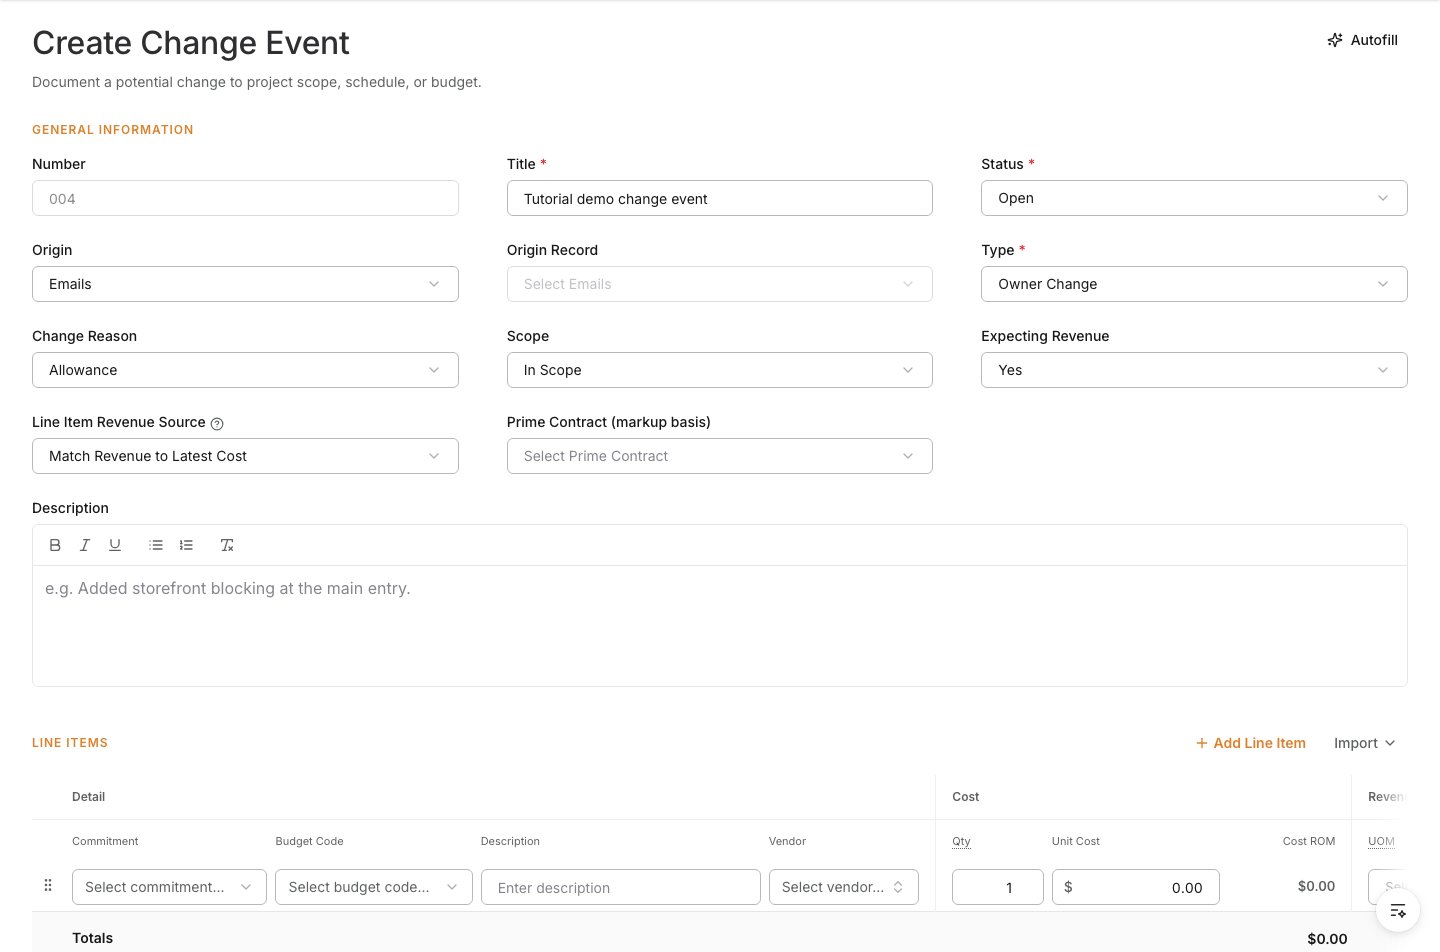
5
Add cost line items
Add one line for each cost impact and assign the right budget code.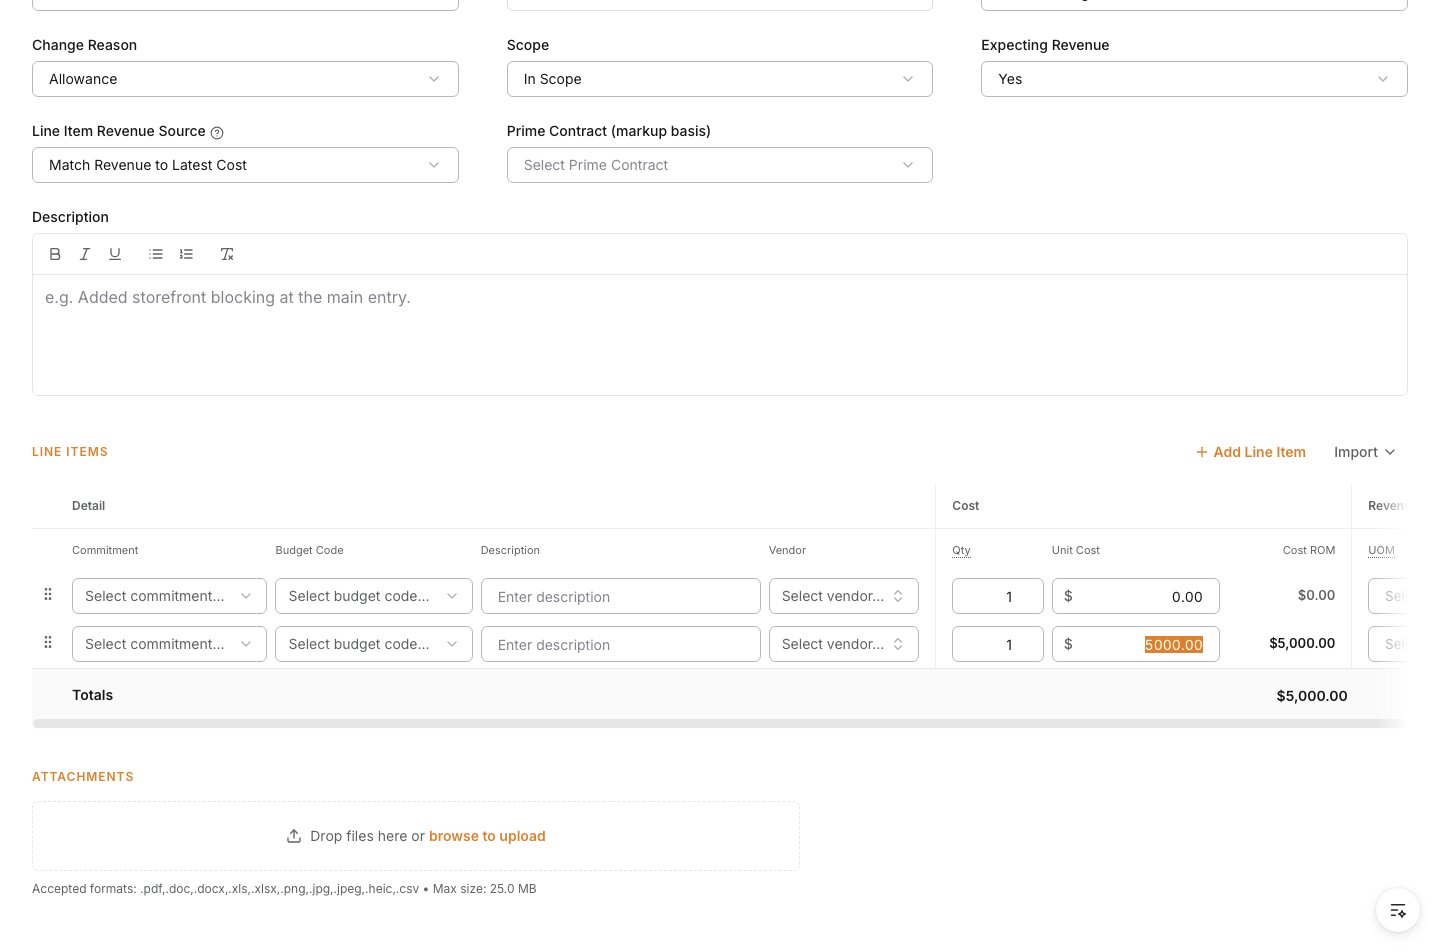
6
Attach supporting documents
Upload RFIs, drawings, photos, vendor quotes, or other backup that explains the change and supports pricing.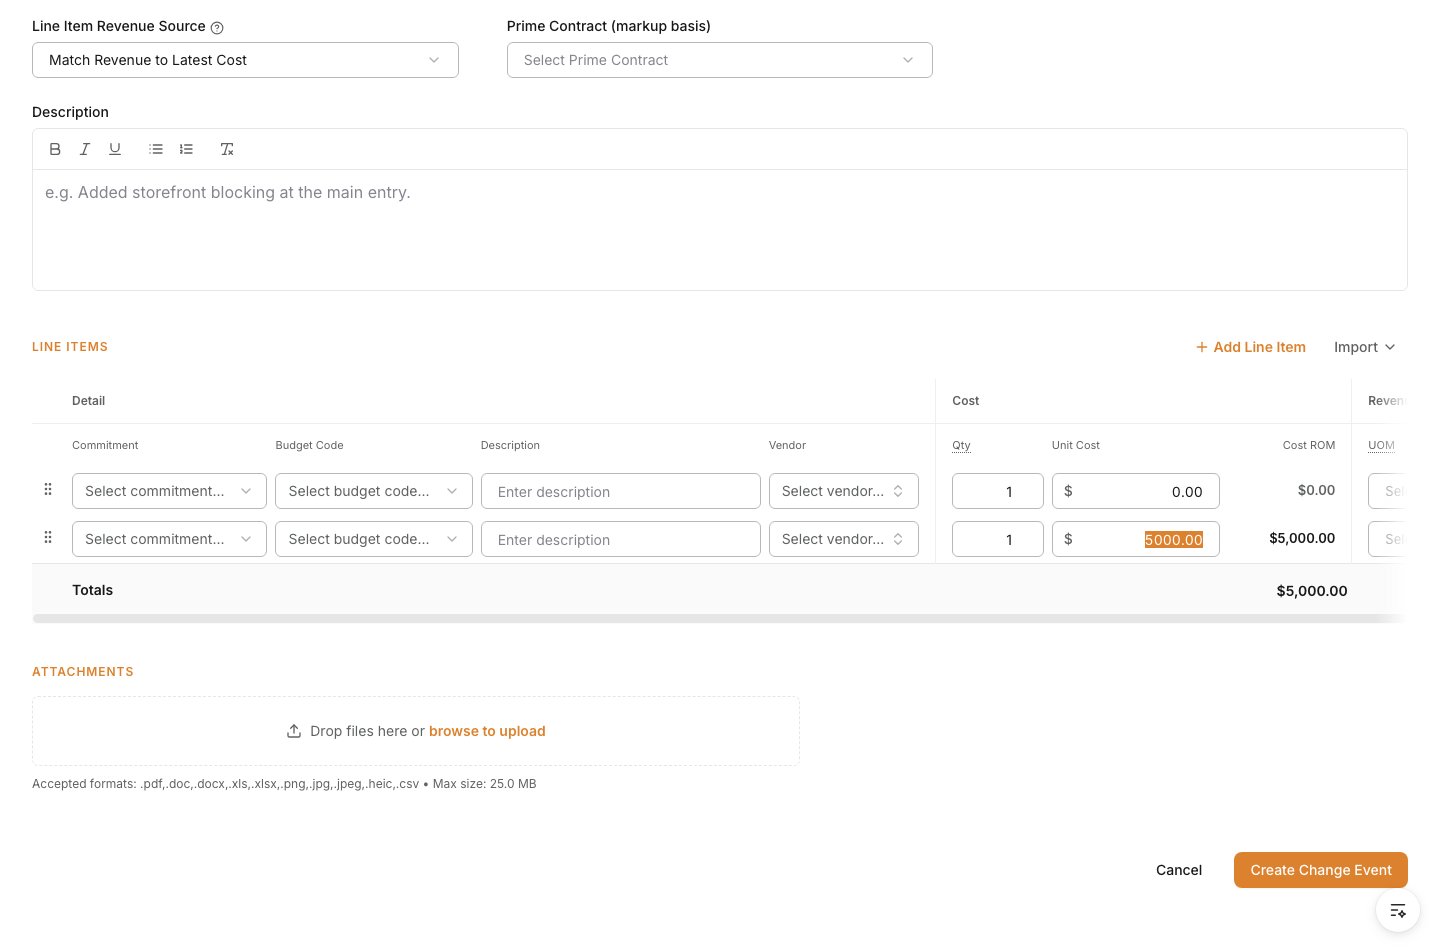
7
Create the change event
Review the form, then click Create Change Event.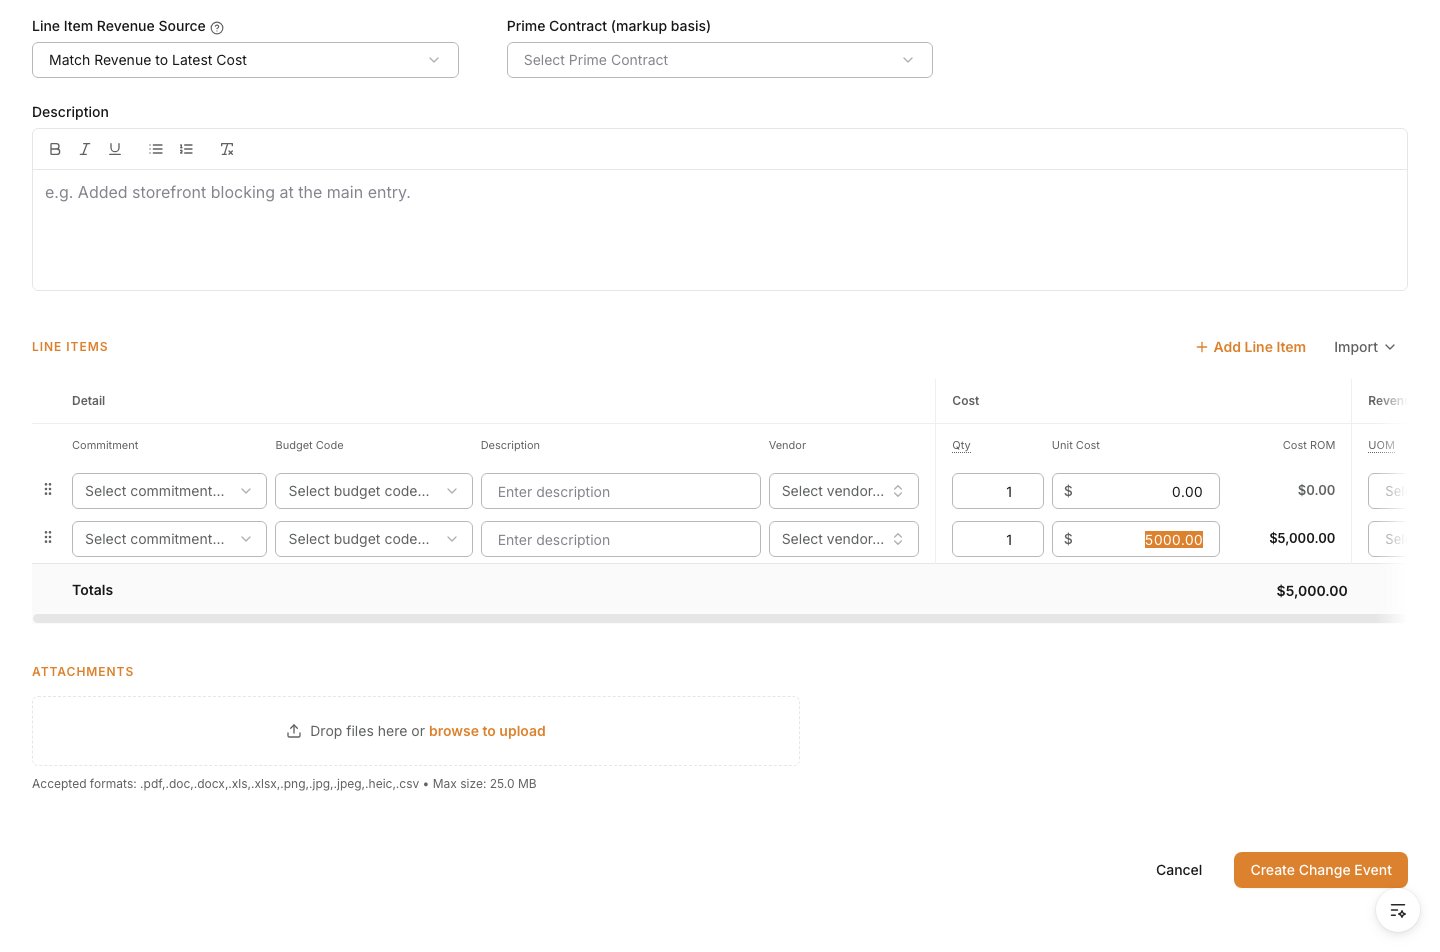
Verify the result
Confirm the change event appears in the Change Events log in Open status and that its line items, source information, and attachments are available for review.Troubleshooting
- The change should be tied to another record: Set the origin before saving so the event is traceable from the start.
- The cost impact is incomplete: Add the missing line items or backup before using the event to create a PCO.
- The event may be billed upstream: Review the revenue-handling fields before the pricing moves into owner-facing workflows.