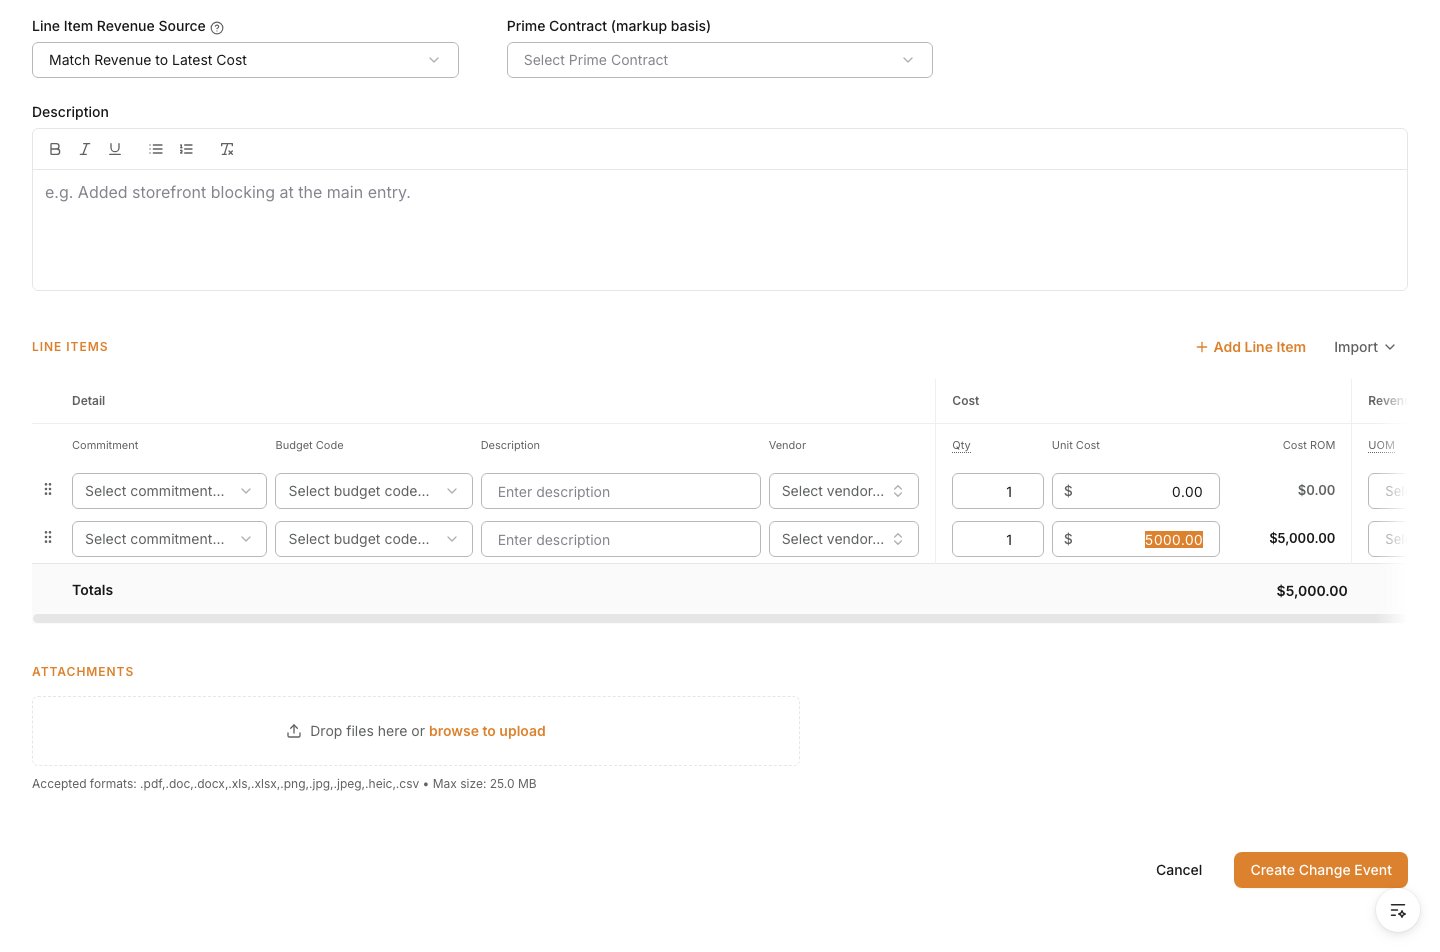
1. Open the new change event form
Select the project, open Change Events from the sidebar, and start a new change event to open the Create Change Event form. Expected result: The Create Change Event form opens.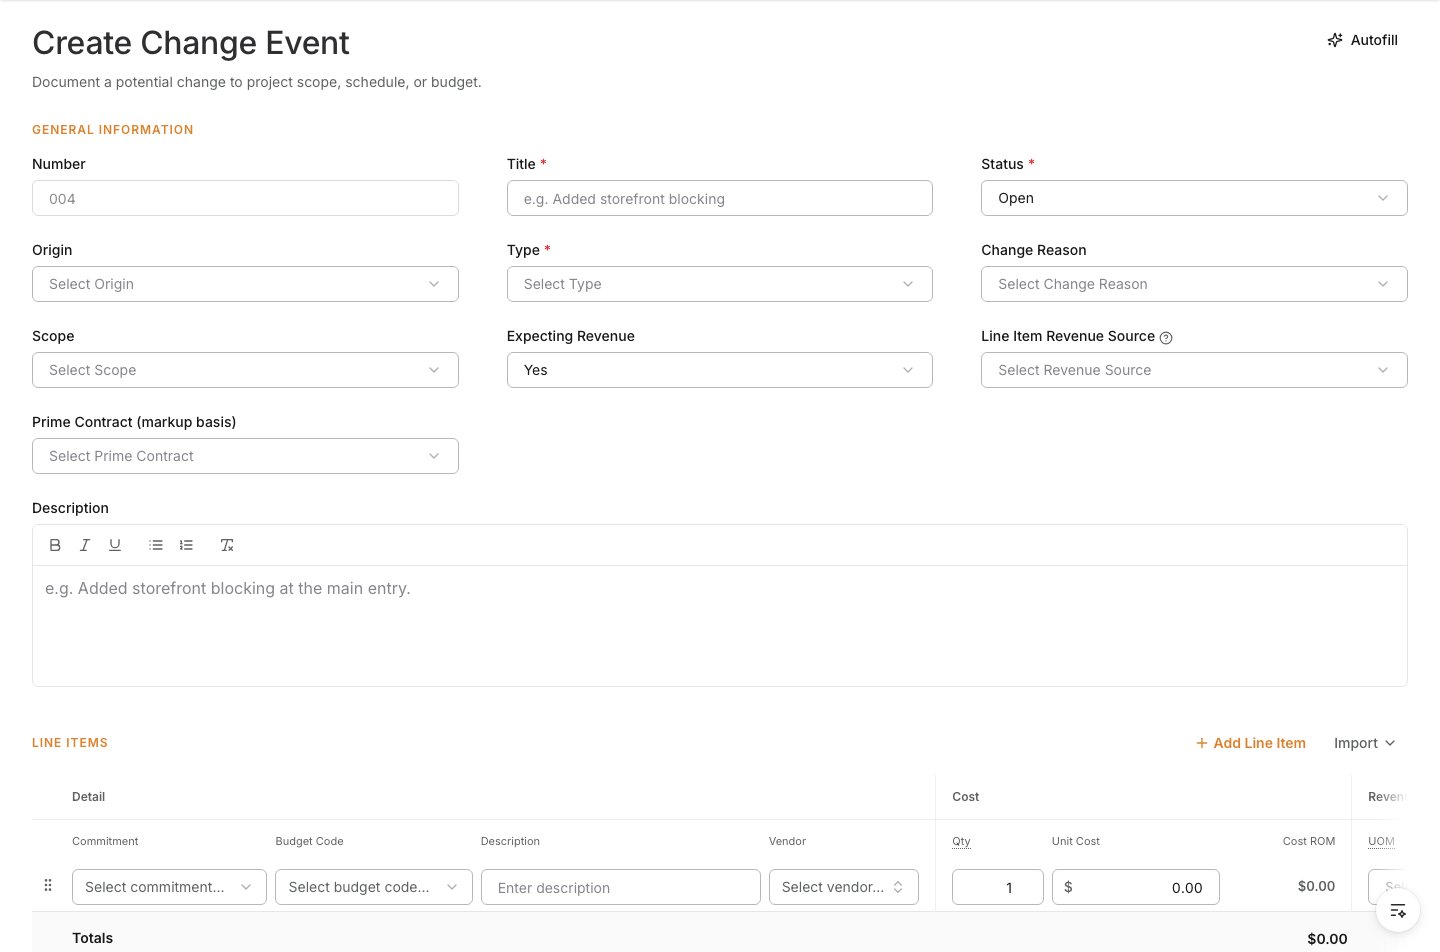
2. Fill in the general information
Under General Information, leave Number to auto-generate (or set it), then enter a Title and Description that clearly identify the change. Set the Type, Change Reason, and Scope. Expected result: The change event is identified with a title, description, type, reason, and scope.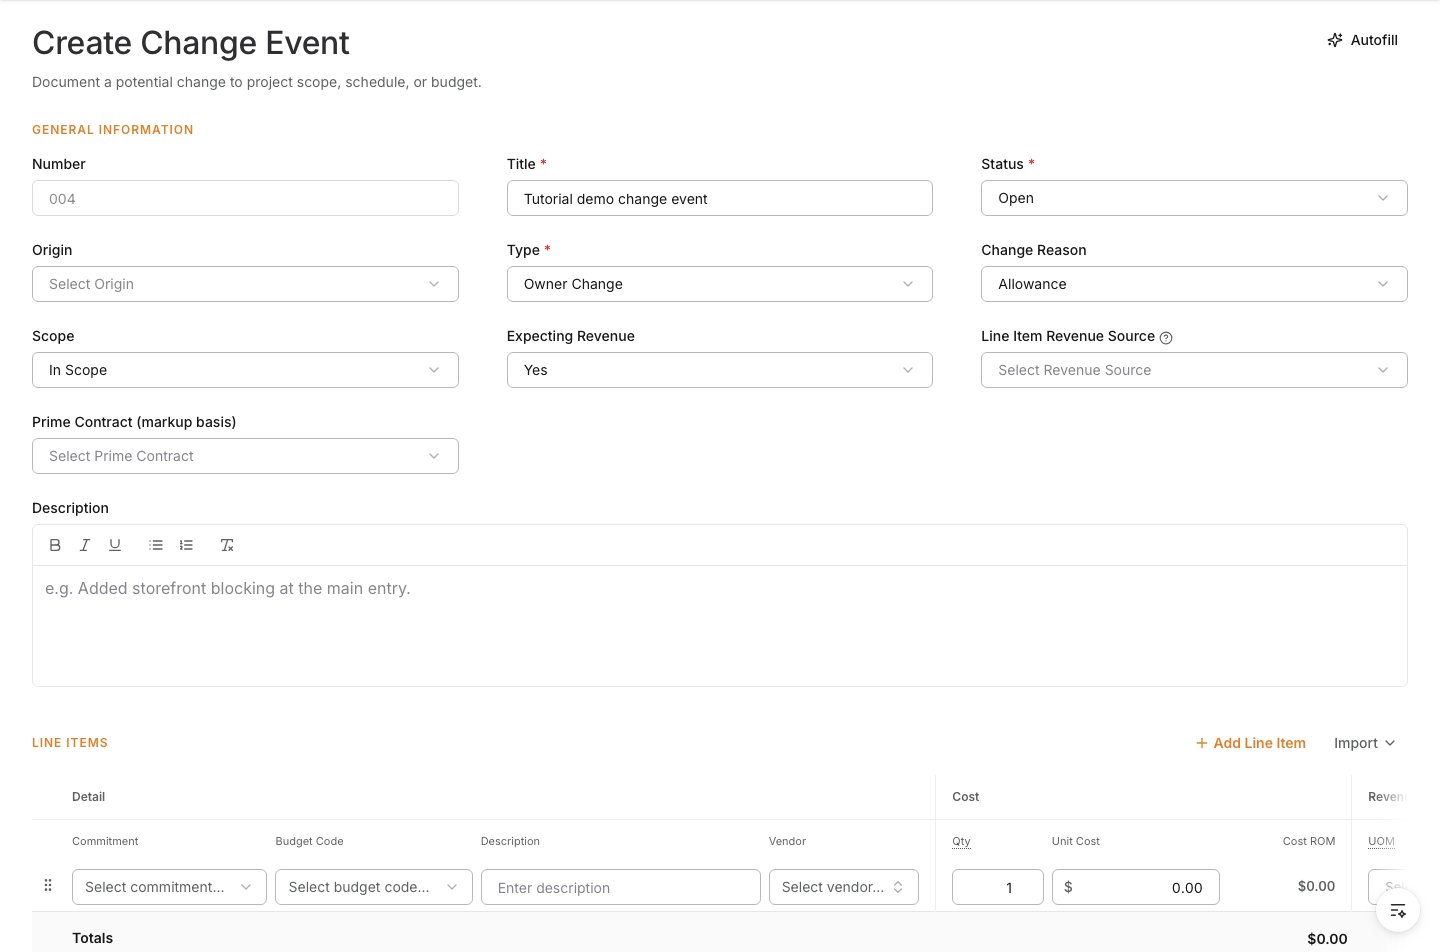
3. Set the origin
Choose the Origin and, if applicable, the Origin Record to tie the change event back to its source (for example a related record). Expected result: The change event records where the change originated.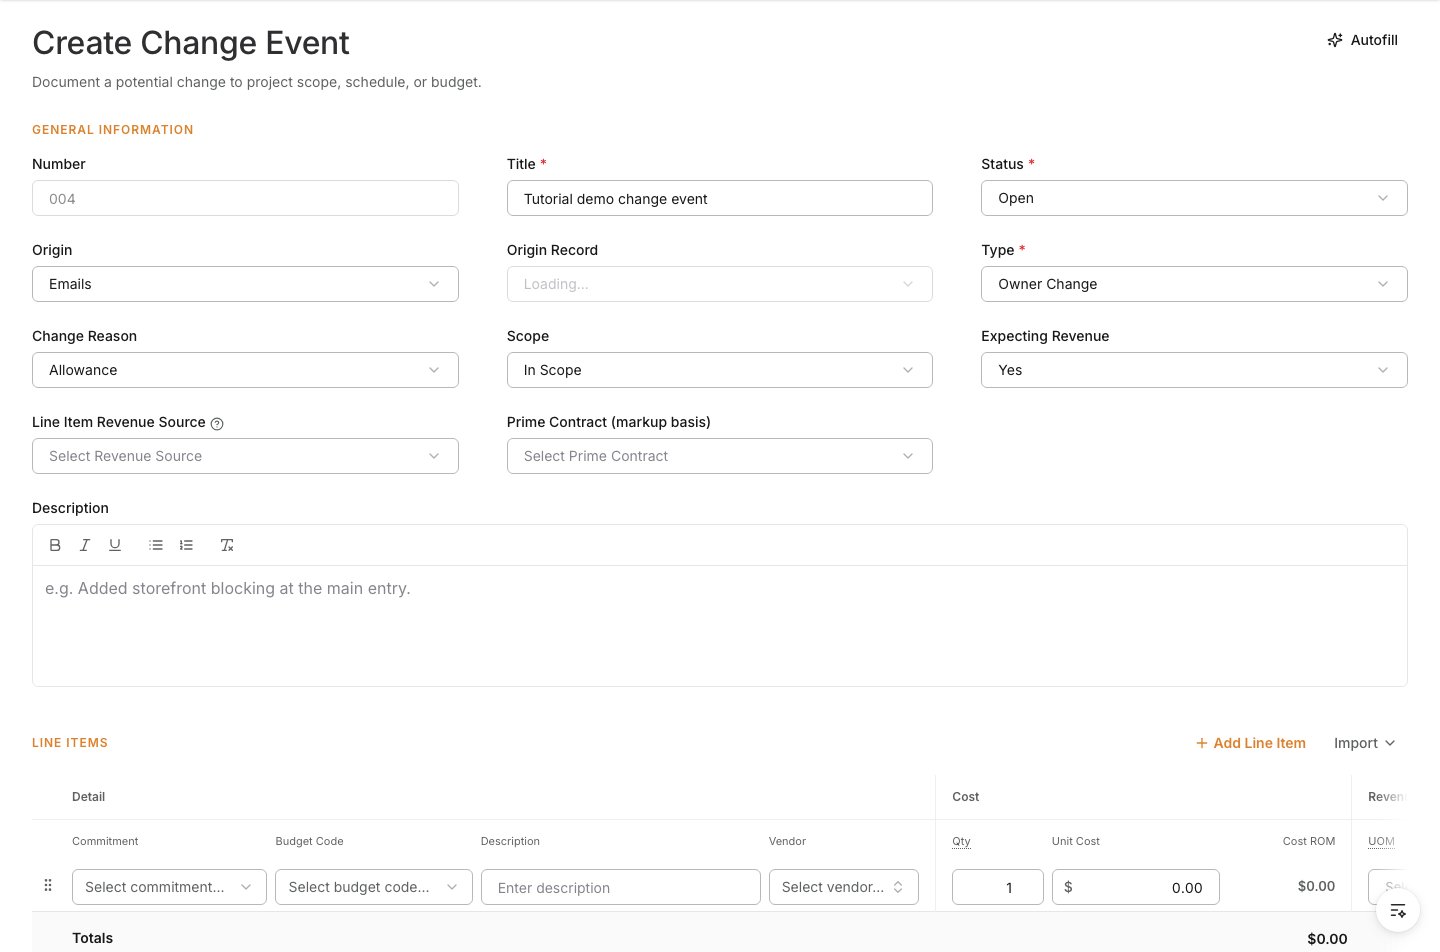
4. Set revenue handling
Set Expecting Revenue and, when revenue is expected, the Line Item Revenue Source. If you are using markup, set the Prime Contract (markup basis) so markup is calculated against the right contract. Expected result: Revenue handling and markup basis are configured for the line items.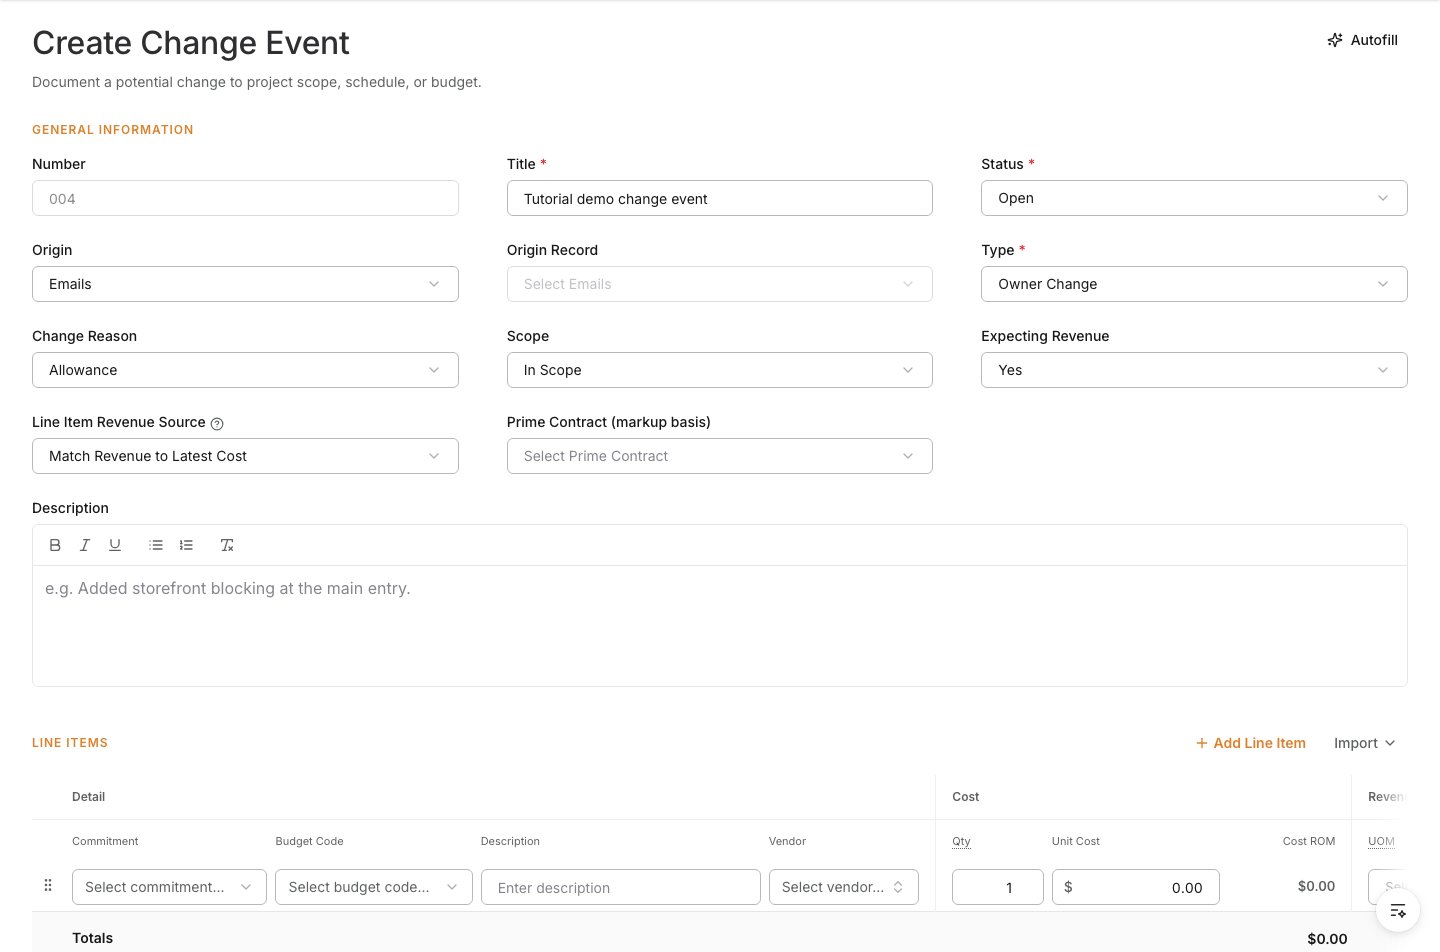
5. Add cost line items
In the Line Items section, add a row for each change. Select the Budget Code, enter a Description, and enter the quantity and unit cost (and revenue values where applicable). Expected result: Each line item has a budget code and pricing, and the total estimated value rolls up to the change event header.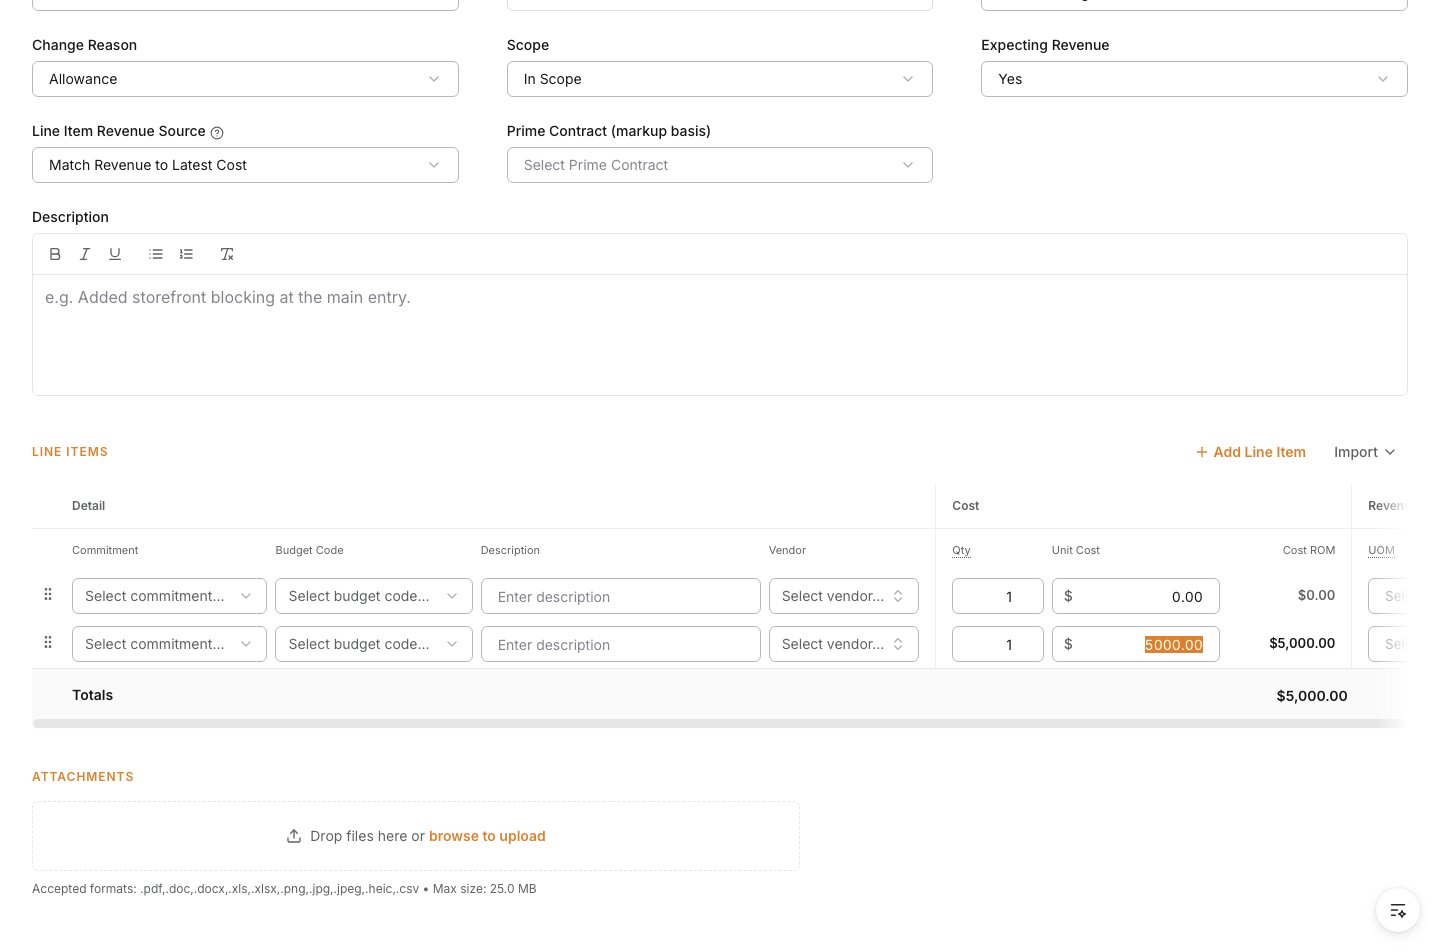
6. Attach supporting documents
In the Attachments section, upload supporting files such as drawings, RFIs, or photos. Expected result: Supporting documents are attached to the change event.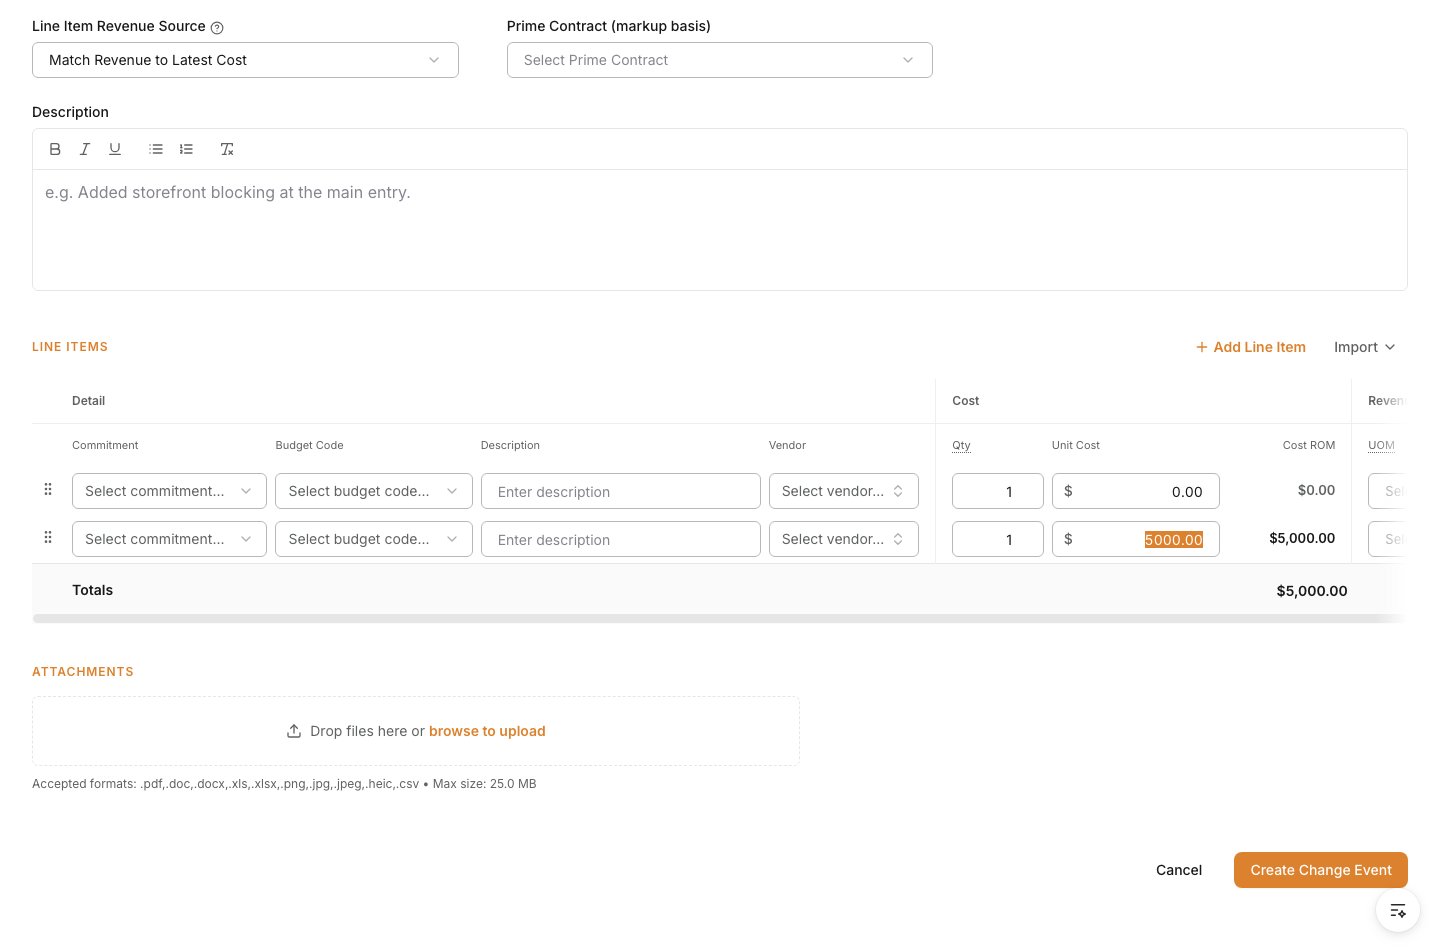
7. Save the change event
Select Create Change Event to save. The change event is created in Open status, ready for pricing review and approval. Expected result: The change event is saved in Open status and appears in the Change Events log.