1. Open the commitment
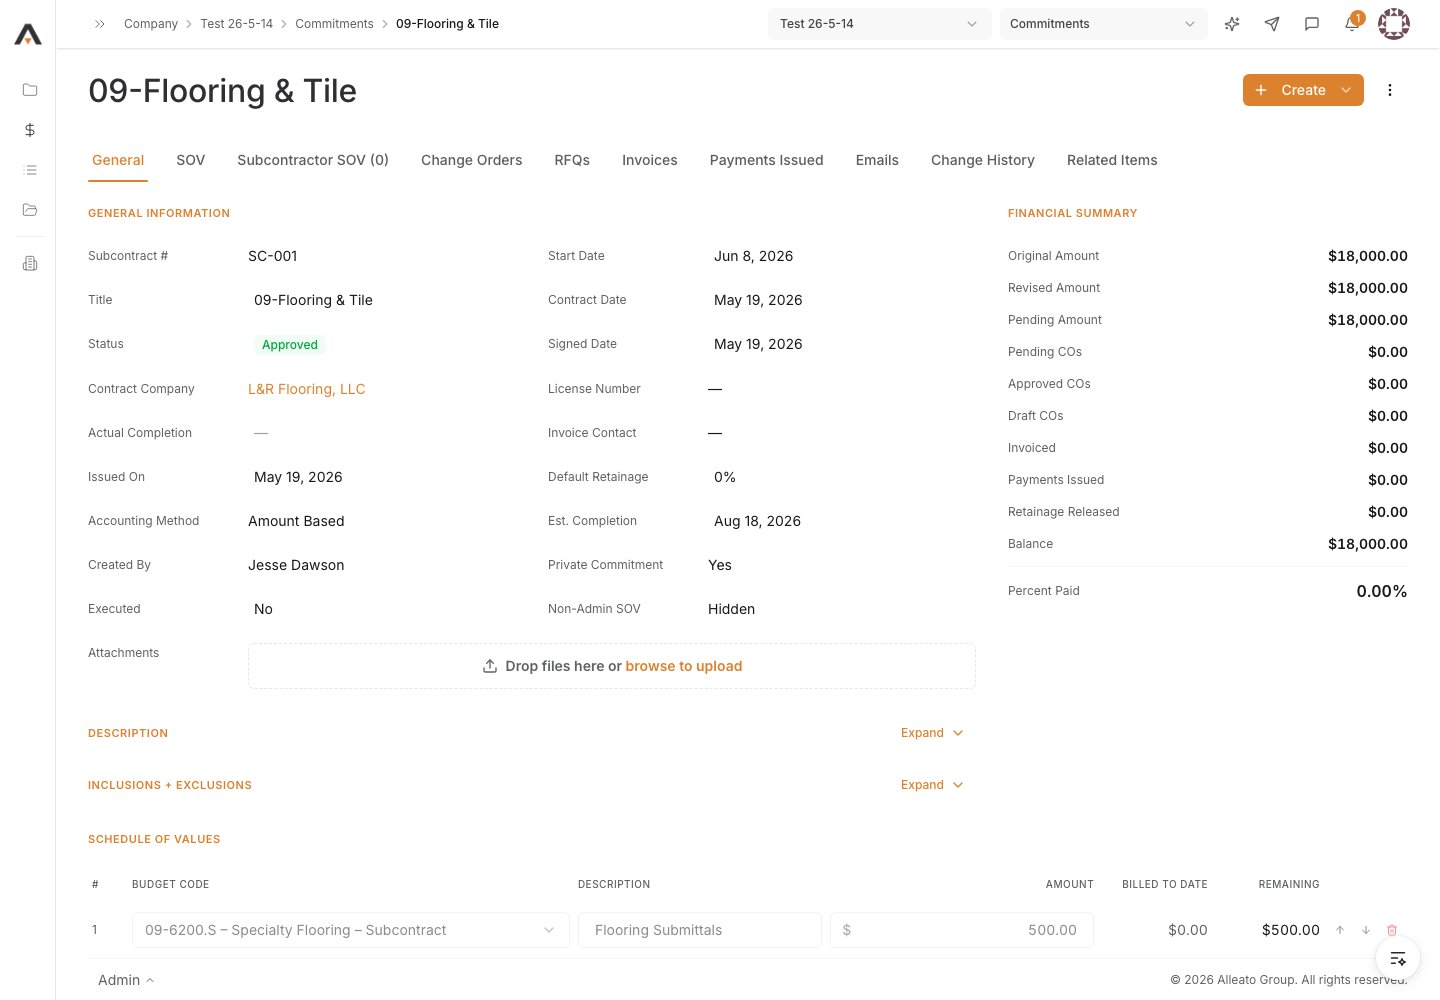
Open the commitment from the Commitments list, then open its General tab (or the SOV / PO SOV tab) where the Schedule of Values section appears. Expected result: The Schedule of Values table is visible with its existing line items and totals.
2. Confirm you can edit
SOV line items are editable at any time unless the commitment’s status is Approved. If the commitment is Approved, the schedule of values is locked and the edit actions are hidden. Expected result: The Add Line Item action is available for an unapproved commitment, or a locked message shows for an Approved one.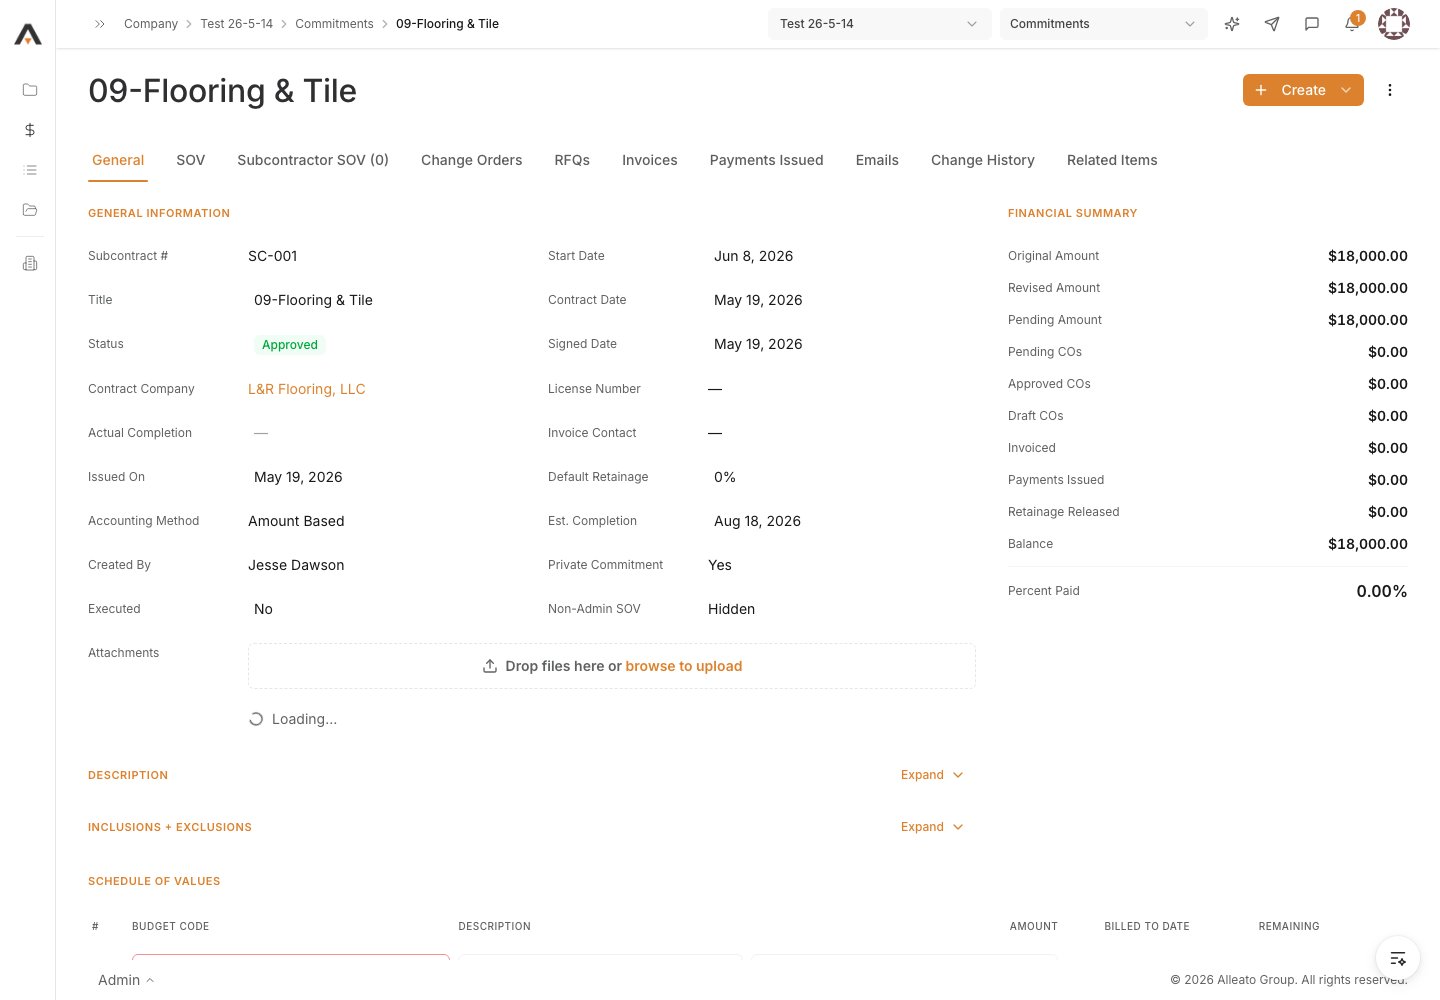
3. Add line items
Select Add Line Item to append a new row, then fill in Budget Code, Description, and Amount. When the commitment uses unit/quantity accounting, enter Qty, UOM, and Unit Cost instead — the Amount is calculated for you. To pull every budget line in at once, use Import from Budget. Expected result: New rows appear in the table and the Totals and summary rows (Subtotal, Contract Total, Amount Remaining) recalculate as you type.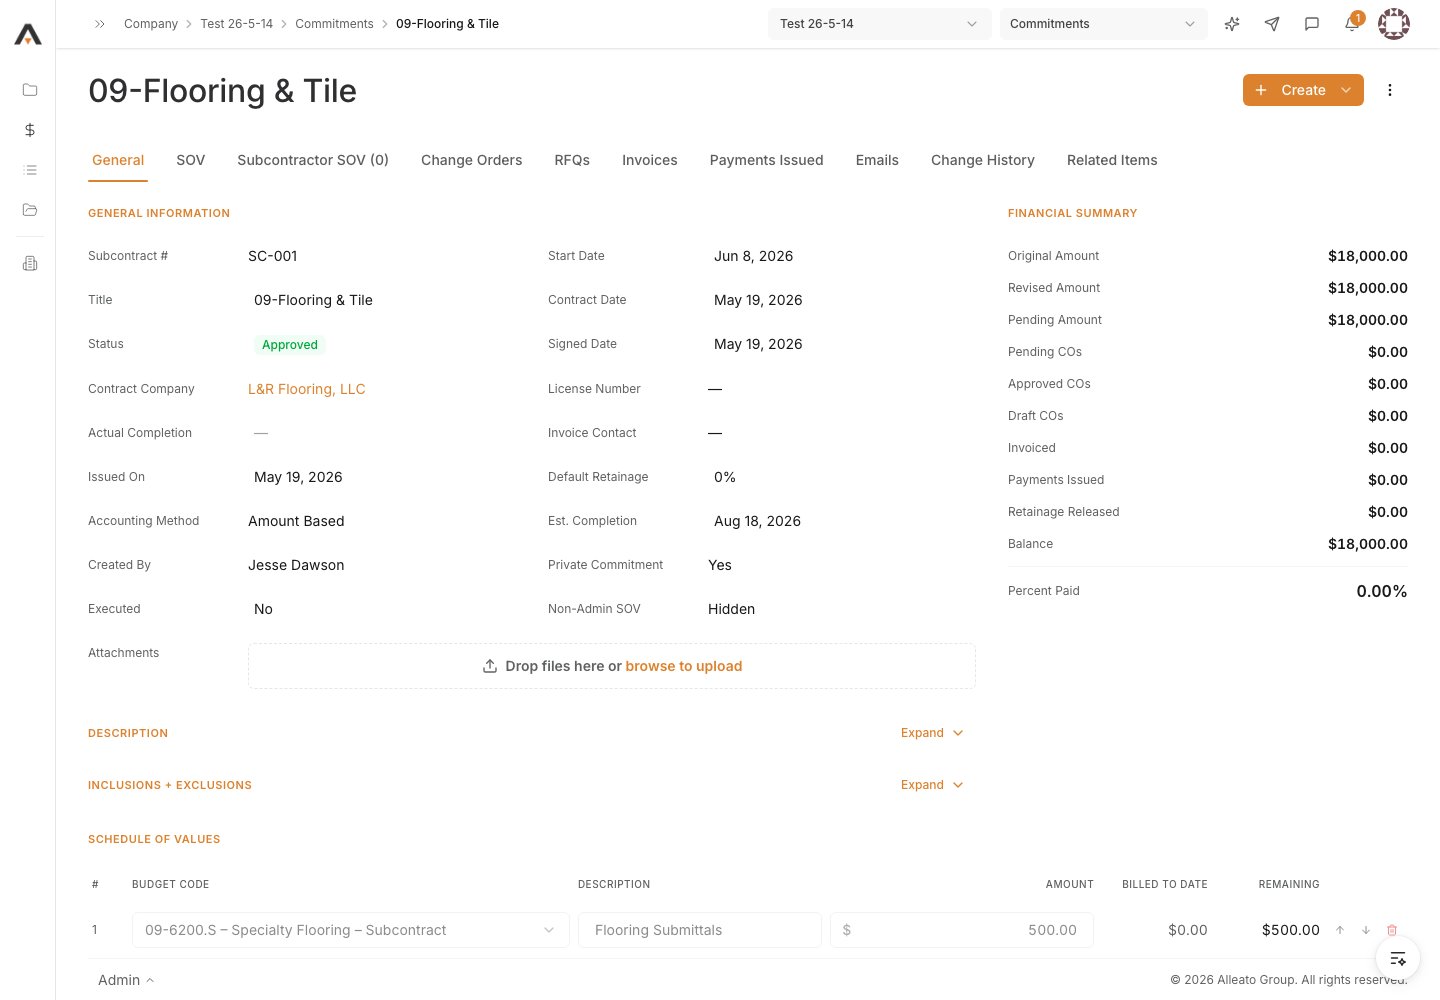
4. Assign a budget code to each line
For each line, select a budget code in the Budget Code column. If the code you need does not exist, use the create-new option to add it without leaving the table. Expected result: Every line is mapped to a valid budget code, with no unmapped-code warning on the row.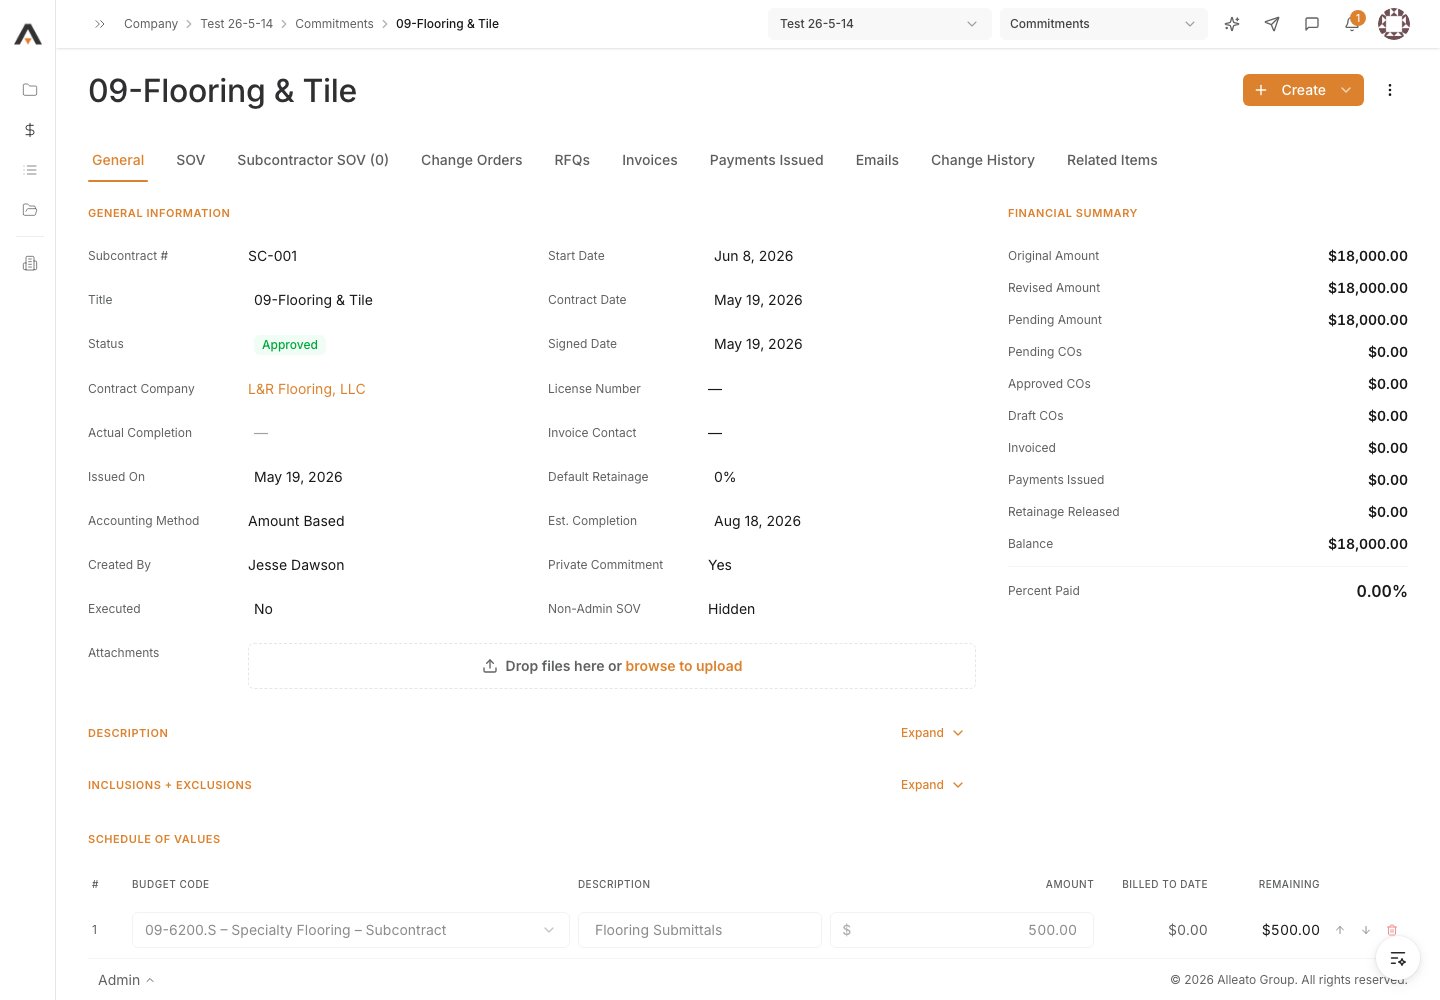
5. Reorder lines if needed
Use the up and down arrows on a row to move it. Line numbers renumber automatically to match the new order. Expected result: Lines appear in the intended order with sequential numbering.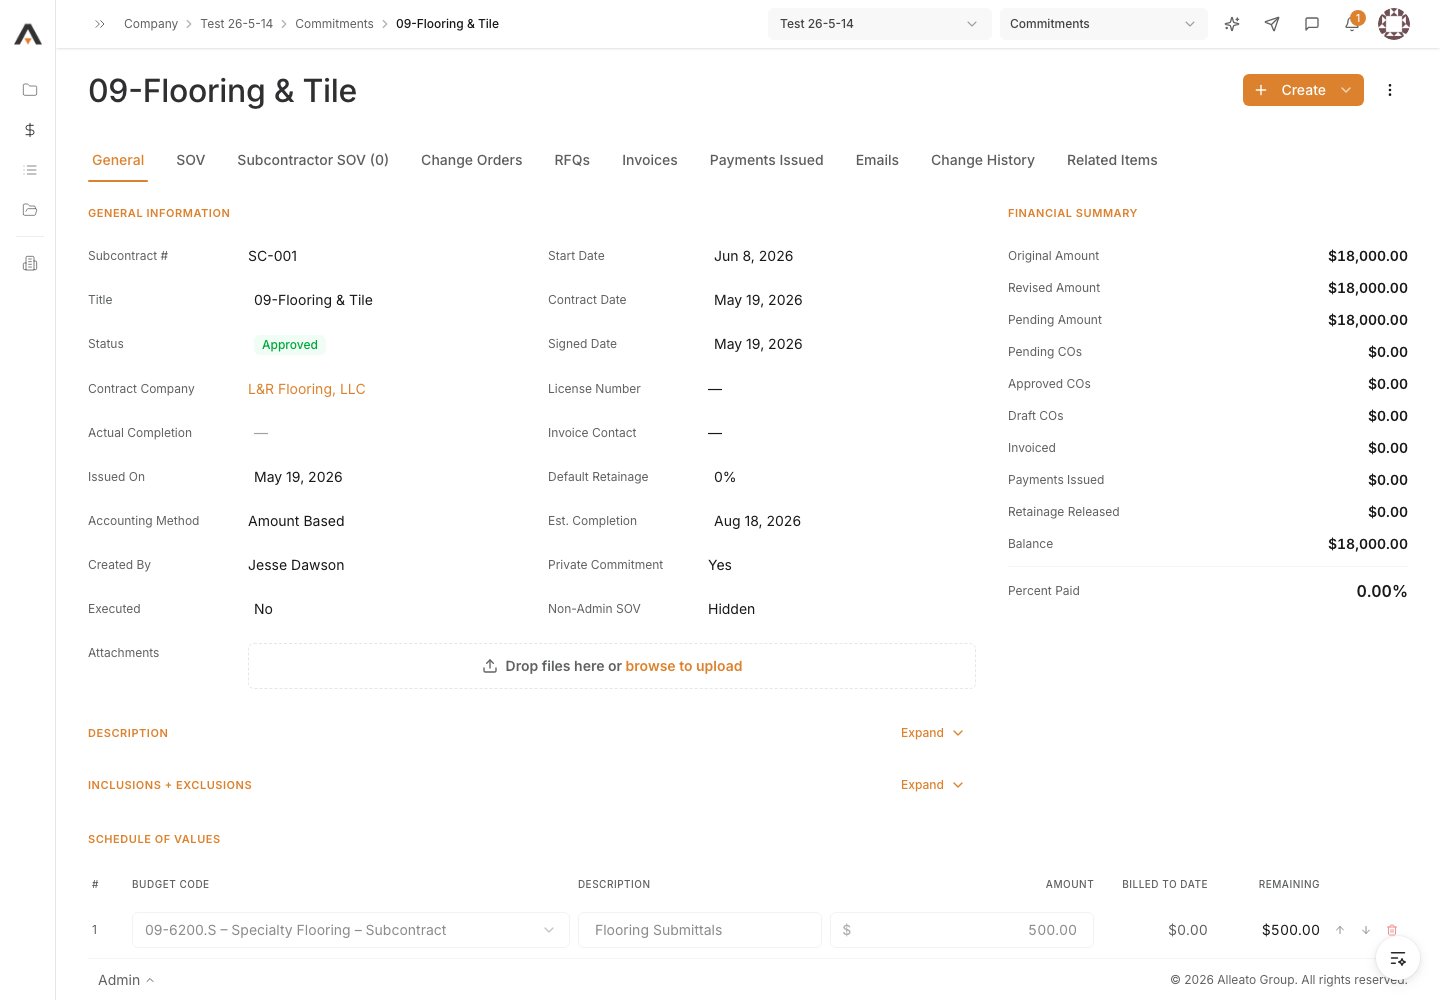
6. Note locked (invoiced) lines
A line that has already been billed shows a lock icon and cannot have its amount changed or be deleted. Remove the related invoice first if the line must change. Expected result: Invoiced lines stay protected; only un-billed lines remain editable.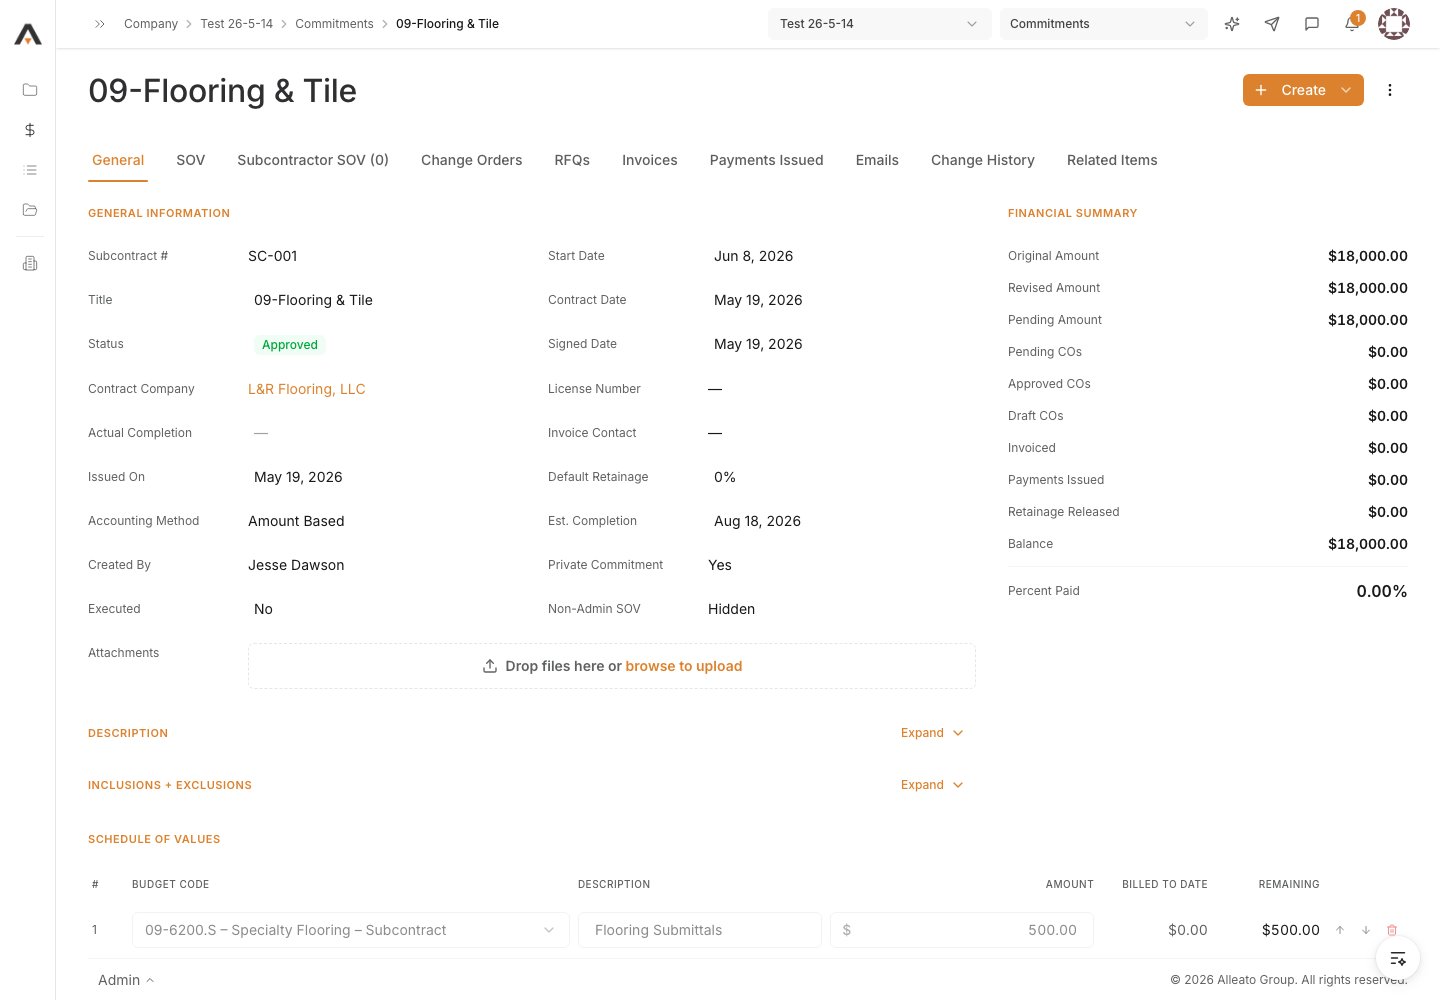
7. Save the changes
When there are unsaved edits, select Save Changes. Expected result: A confirmation appears and the saved line items, totals, and summary values persist on the commitment.