1. Start a new subcontract
From the project’s Commitments tool, start a new subcontract. Expected result: The New Subcontract form opens.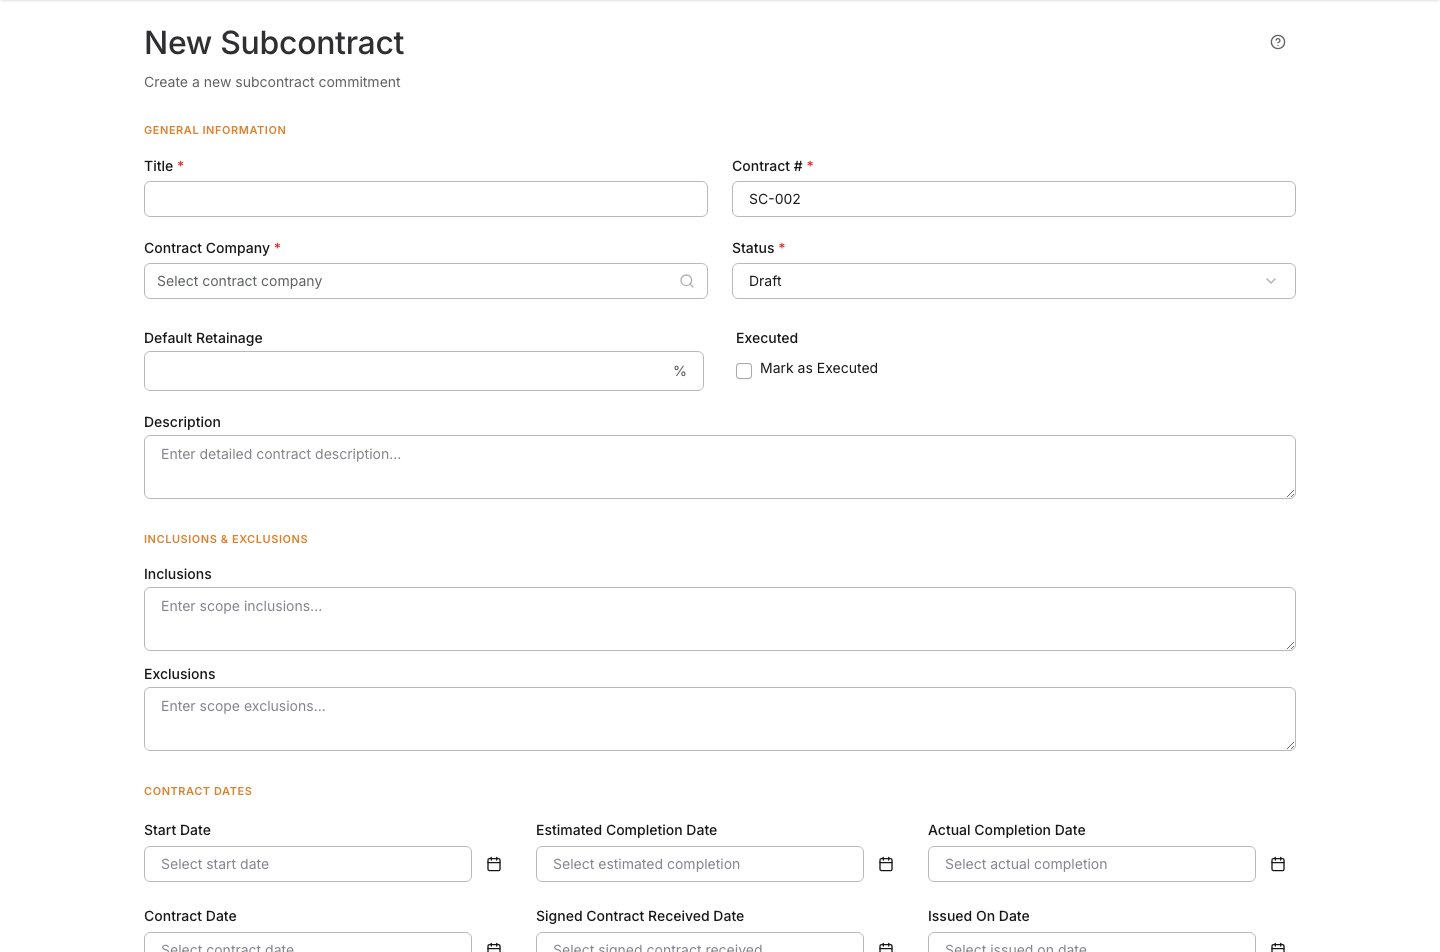
2. Complete General Information
In General Information, the Title, Contract #, Contract Company, and Status fields are required. Optionally set Default Retainage, the Executed flag, and a Description. If the contract company is not in the search, add it in the Company Directory first. Expected result: The required header fields are filled and a contract company is selected.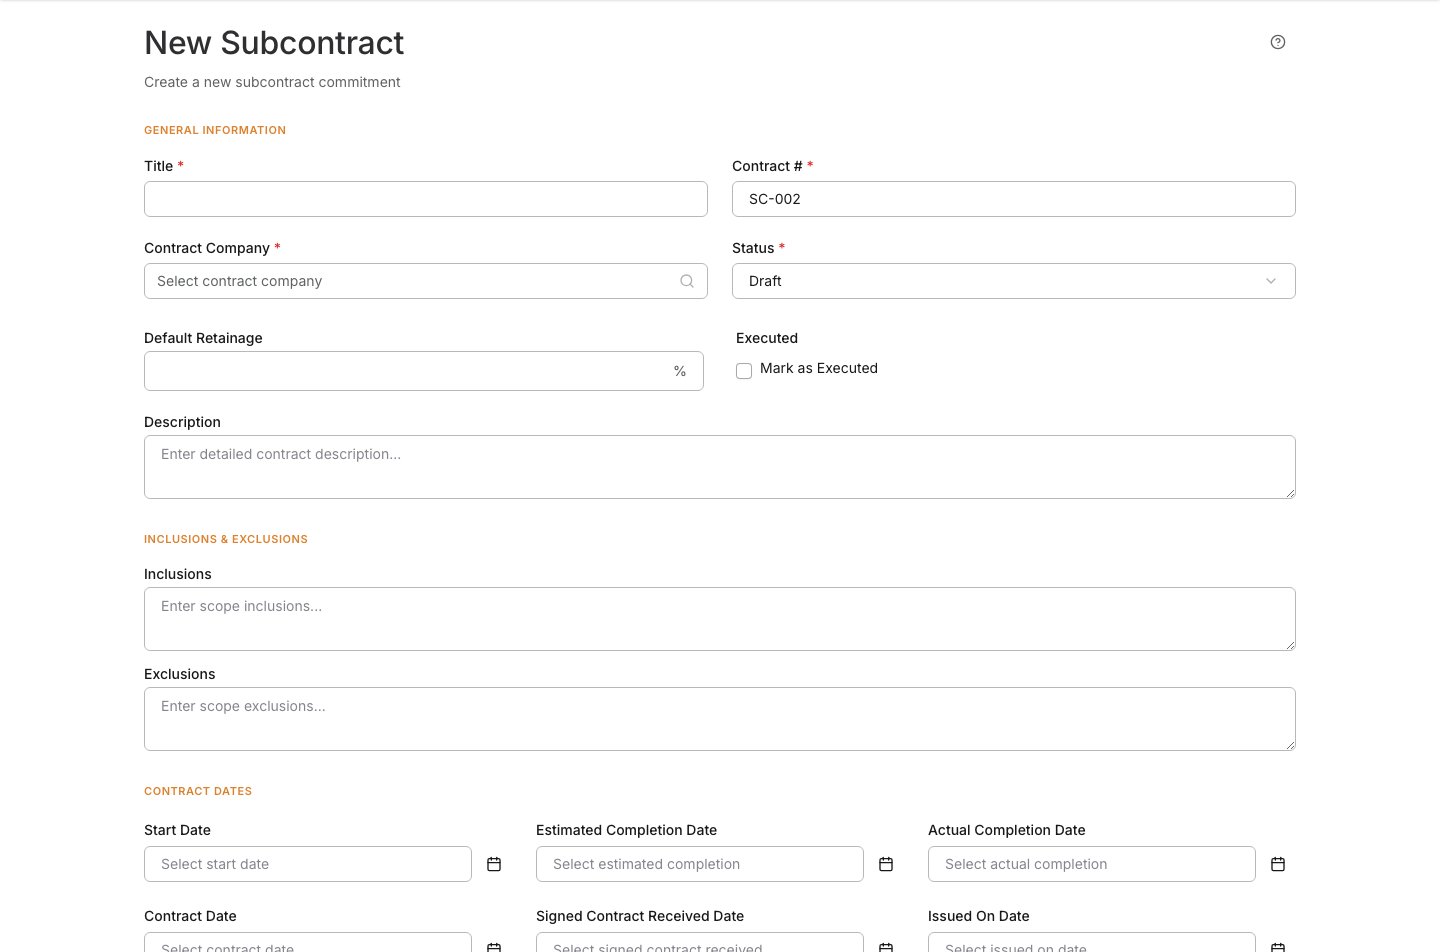
3. Add inclusions and exclusions
In Inclusions + Exclusions, capture what the subcontract scope does and does not cover. Expected result: Scope inclusions and exclusions are recorded.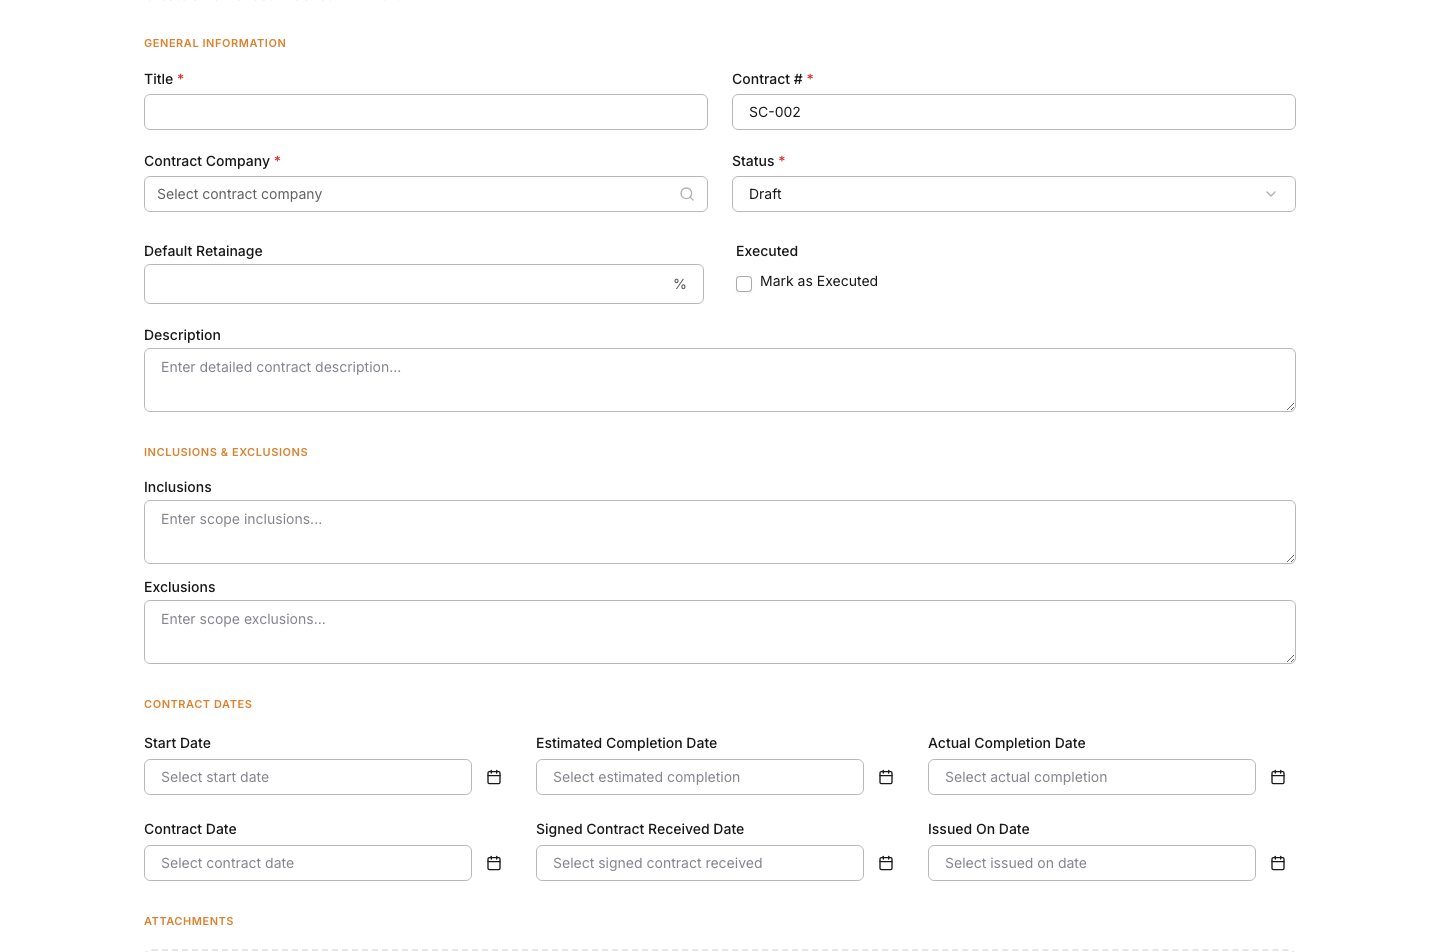
4. Set contract dates
In Contract Dates, enter the dates your team tracks for the subcontract. Expected result: The relevant contract dates are saved on the form.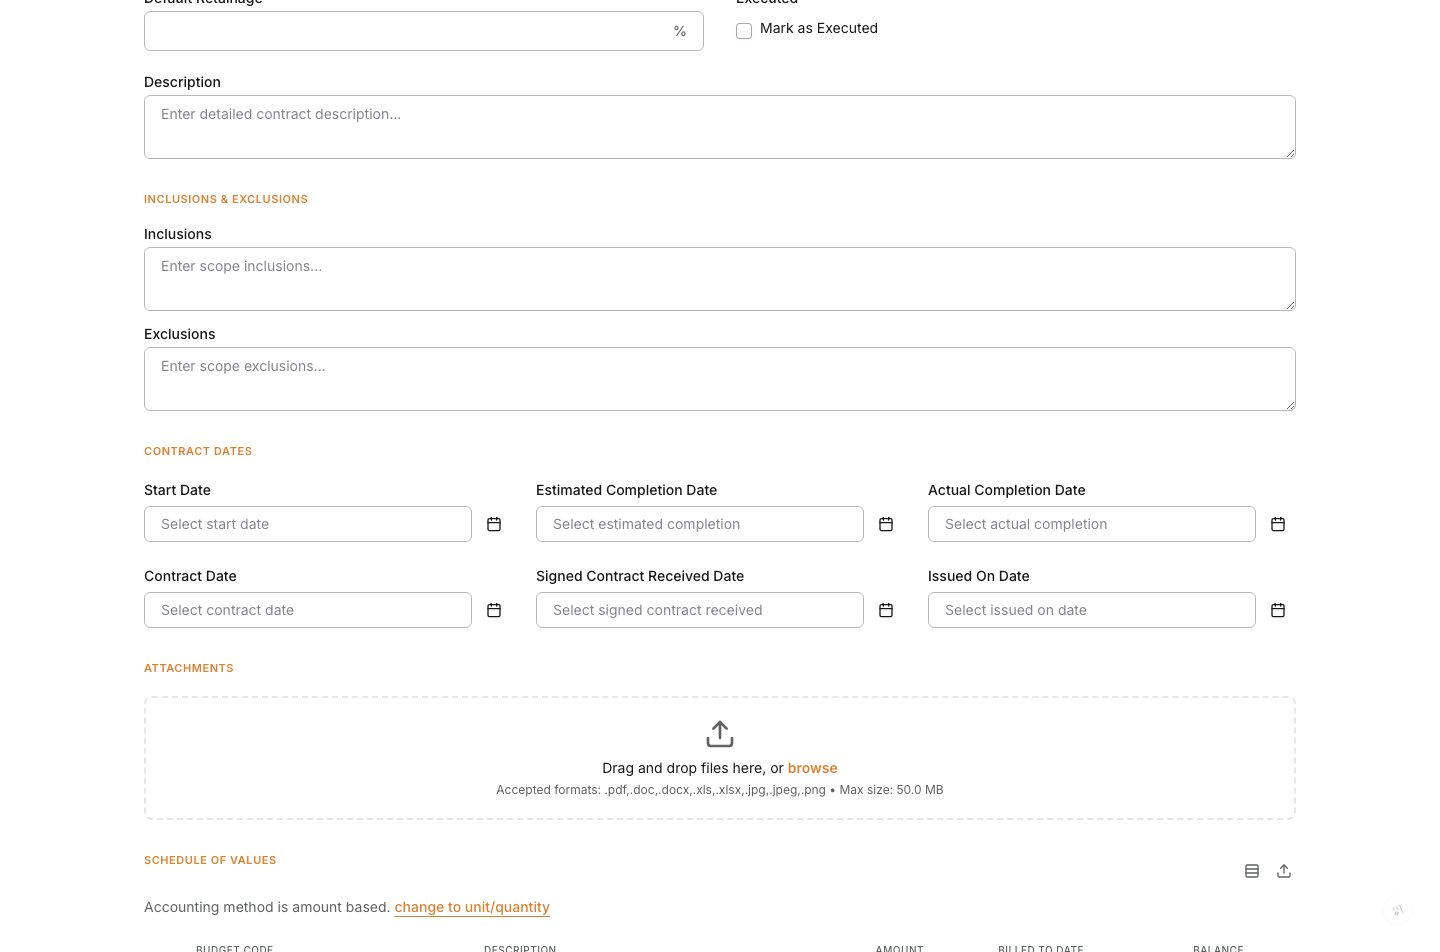
5. Attach backup files
In Attachments, upload supporting files such as the signed subcontract, proposal, or scope sheet. Expected result: The attached files are listed on the form before saving.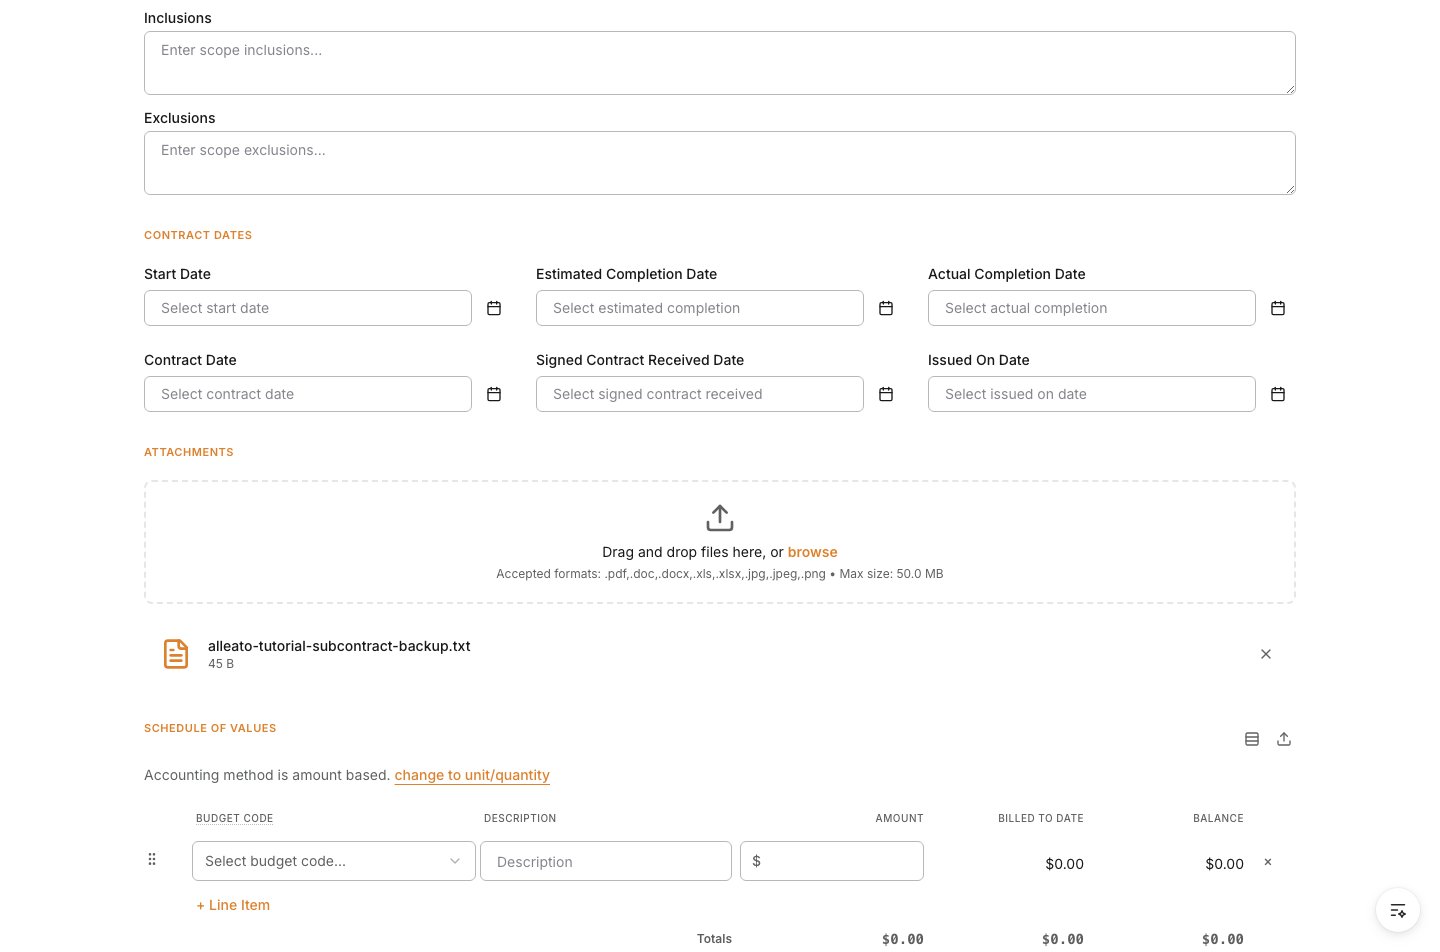
6. Build the schedule of values
In Schedule of Values, add the line items that make up the contract total. For each line set the budget code, description, and amount (or quantity, unit of measure, and unit cost when using unit/quantity accounting). Expected result: The SOV line items total to the full subcontract value.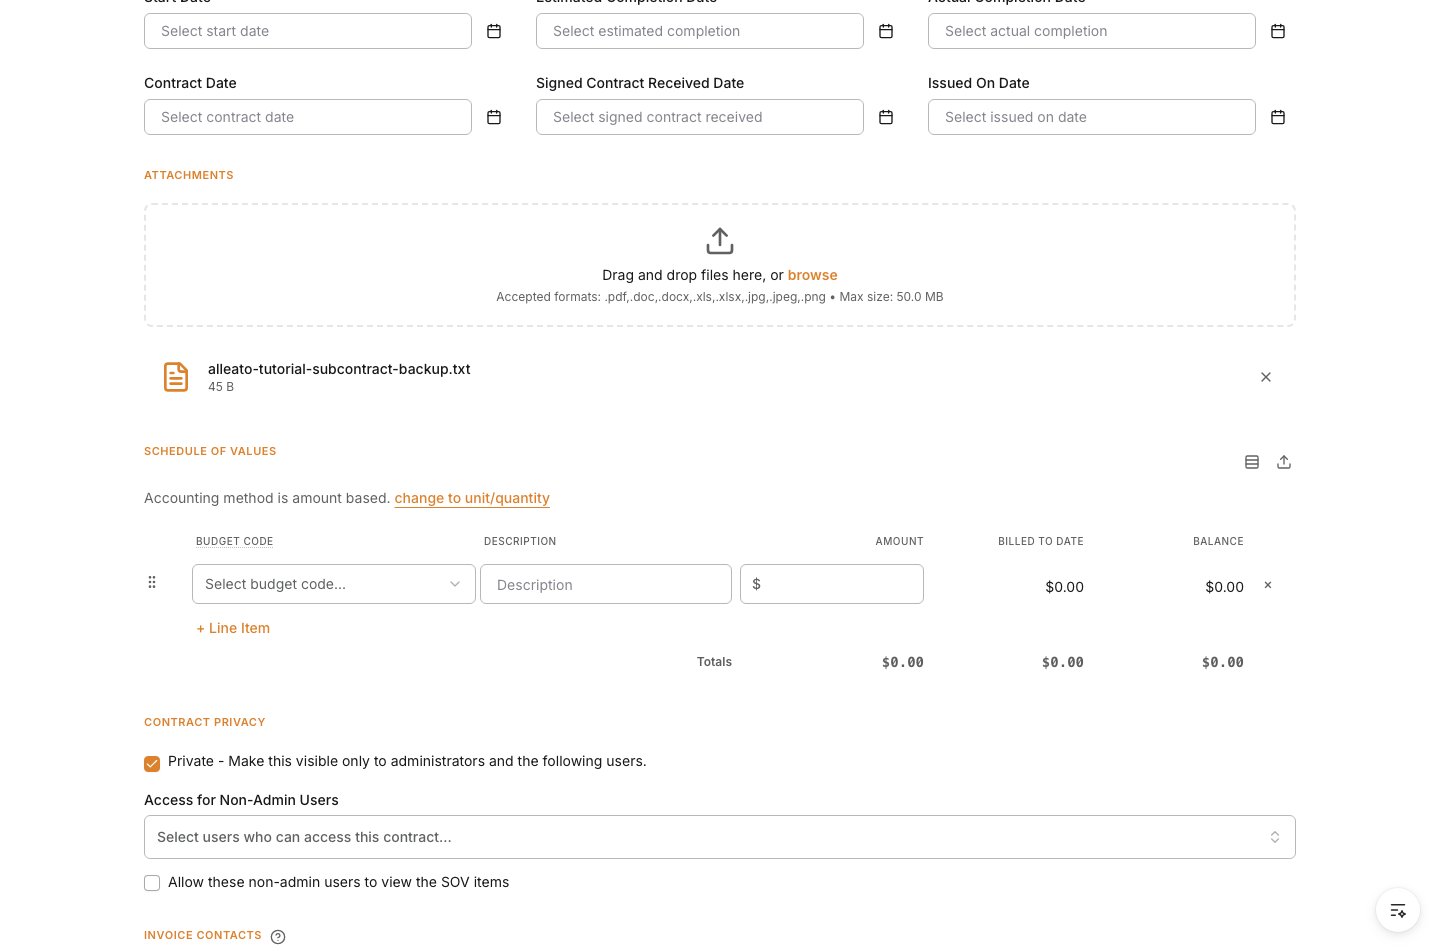
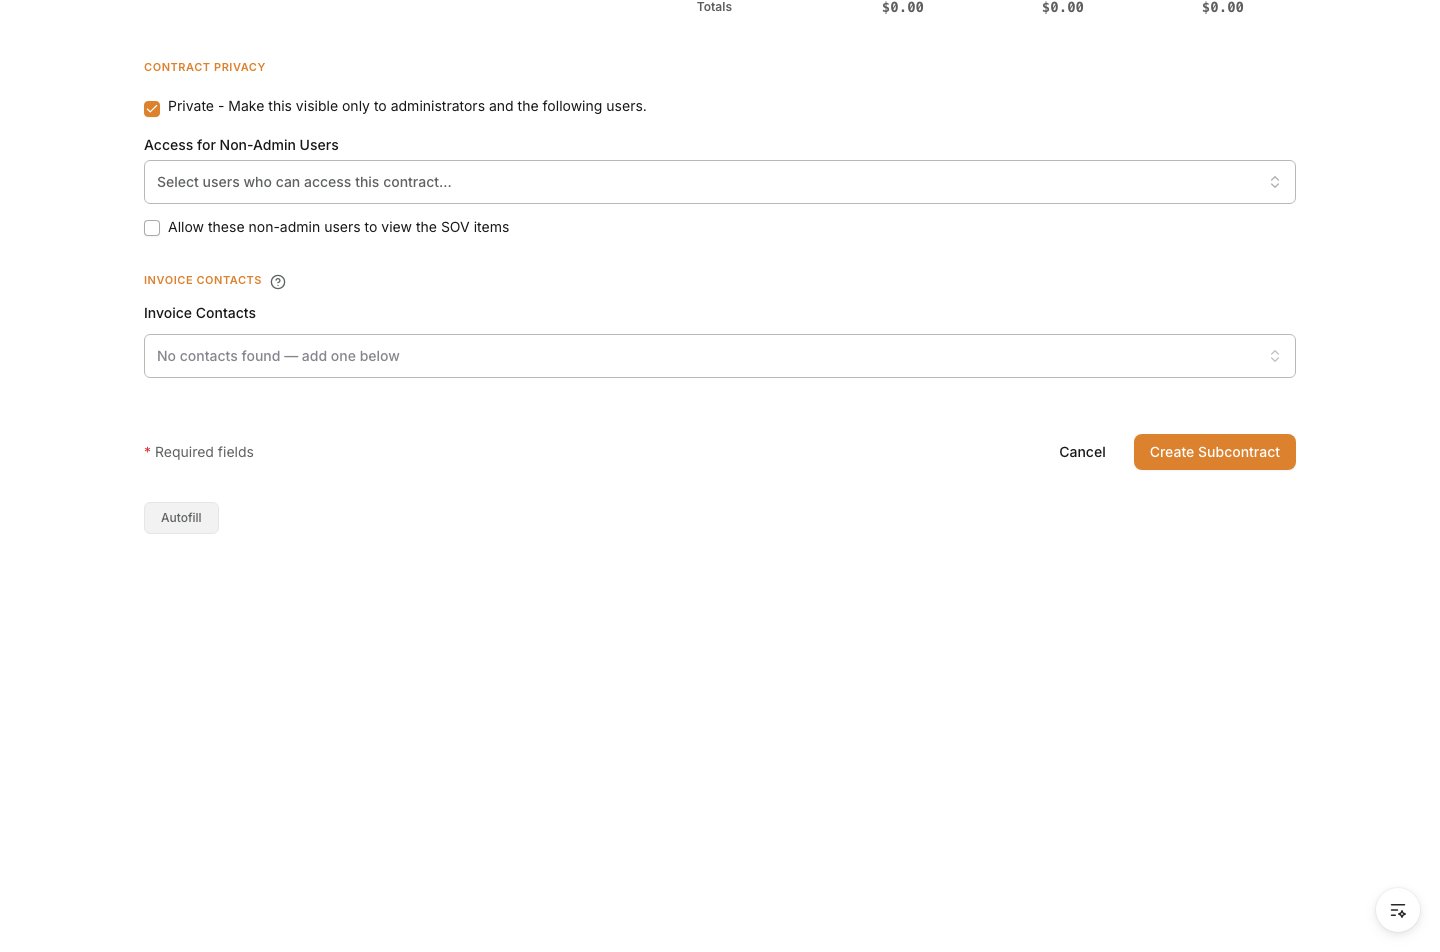
7. Set privacy and invoice contacts
In the Privacy section, mark the subcontract private and add the specific users who may access it if it should not be visible to the whole project. In Invoice Contacts, add the people vendor billing should route to. Expected result: Visibility and invoice-routing settings match the contract’s requirements.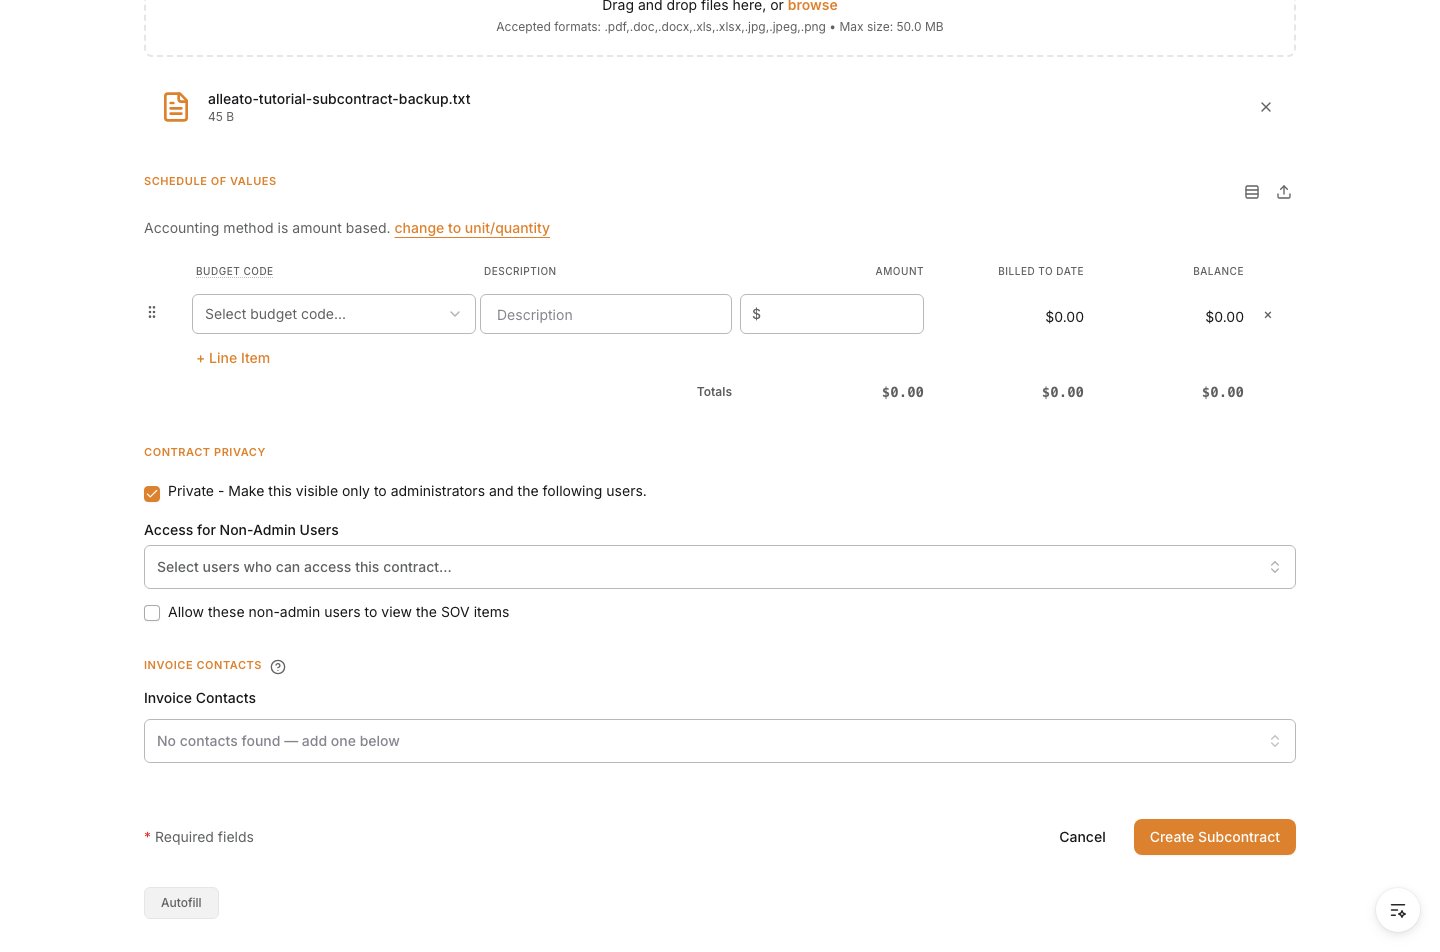
8. Create the subcontract
Review the form, then select Create Subcontract. Expected result: A confirmation appears and the new subcontract is saved, returning you to the Commitments list.