

Purpose
Use this SOP when a new Alleato project needs to be added to the app so it appears in the project picker, project workspace, and downstream setup workflows.Before You Start
Confirm the project name and job number. Those two fields are required. Gather location, phase/status, work scope, dates, estimated value, and OneDrive folder information when available.Quality Check
After creation, confirm the project appears in the project selector and that the job number, phase/status, address, office, and active status are correct.Common Issues
- If Create Project fails, check that the project name and job number are filled in.
- If the project should not be visible yet, turn off Active before submitting.
- If accounting is not ready for sync, turn off ERP Sync before submitting.
Steps
Step 1: Open Create Project
Navigate to this workflow and confirm the Create Project screen is visible.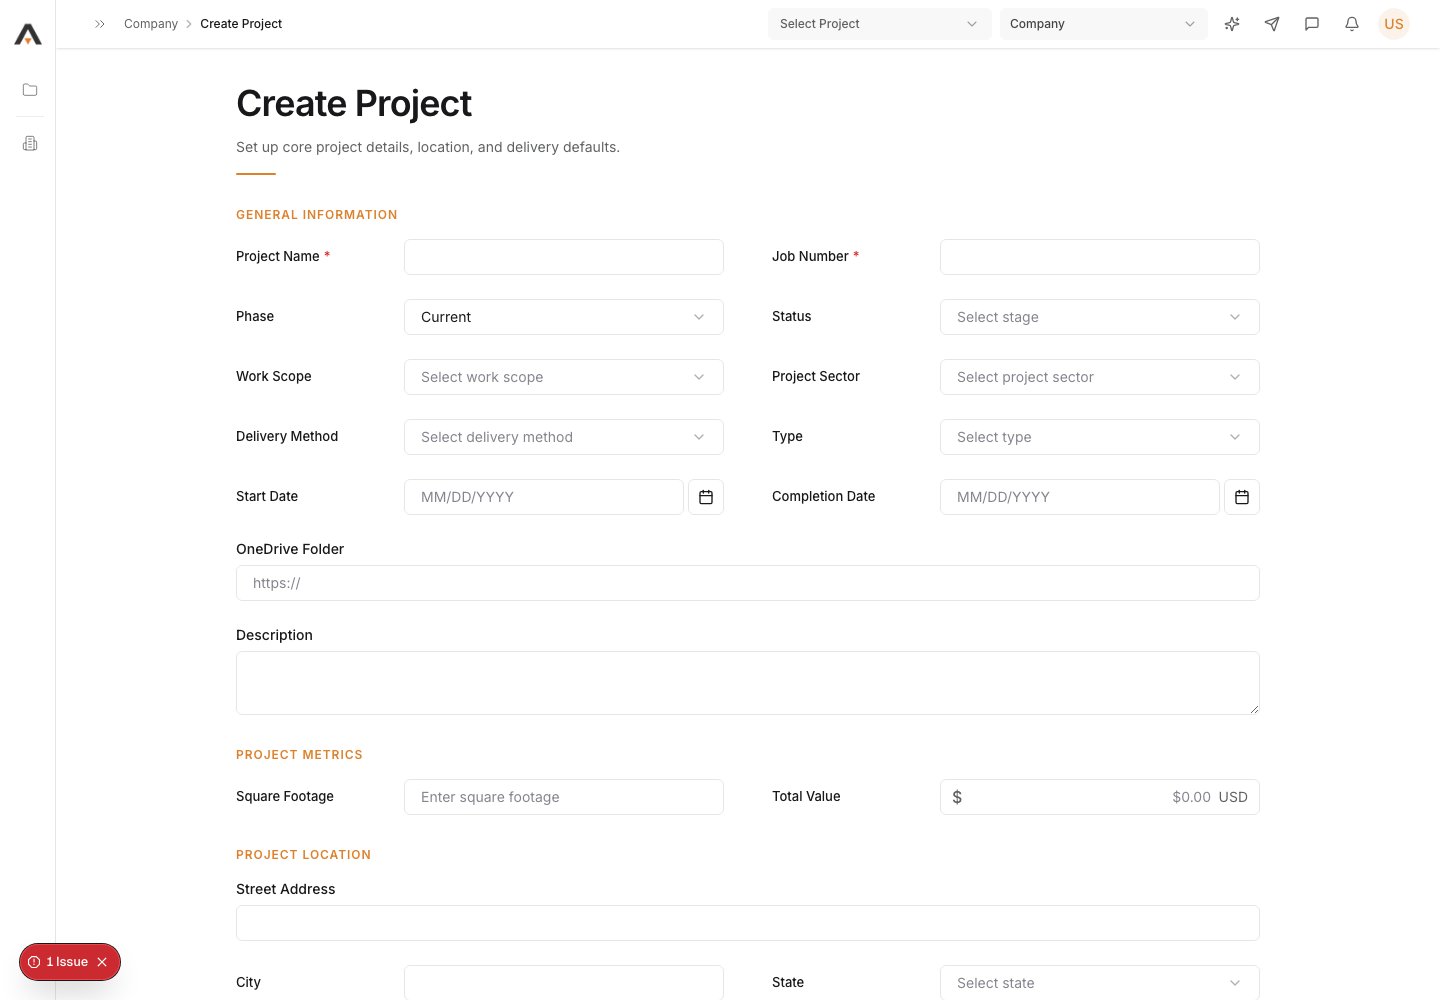
http://localhost:3001/create-project
Step 2: Complete the required information
Work through the visible fields in order.- Project Name*
- Job Number*
- Phase
- Status
- Work Scope
- Project Sector
- Delivery Method
- Type
- Start Date
- Completion Date
- OneDrive Folder
- Description
- Square Footage
- Total Value
- Street Address
- City
- State
- Postal Code
- Office
- Project Logo
- Project Photo
- Active
- ERP Sync
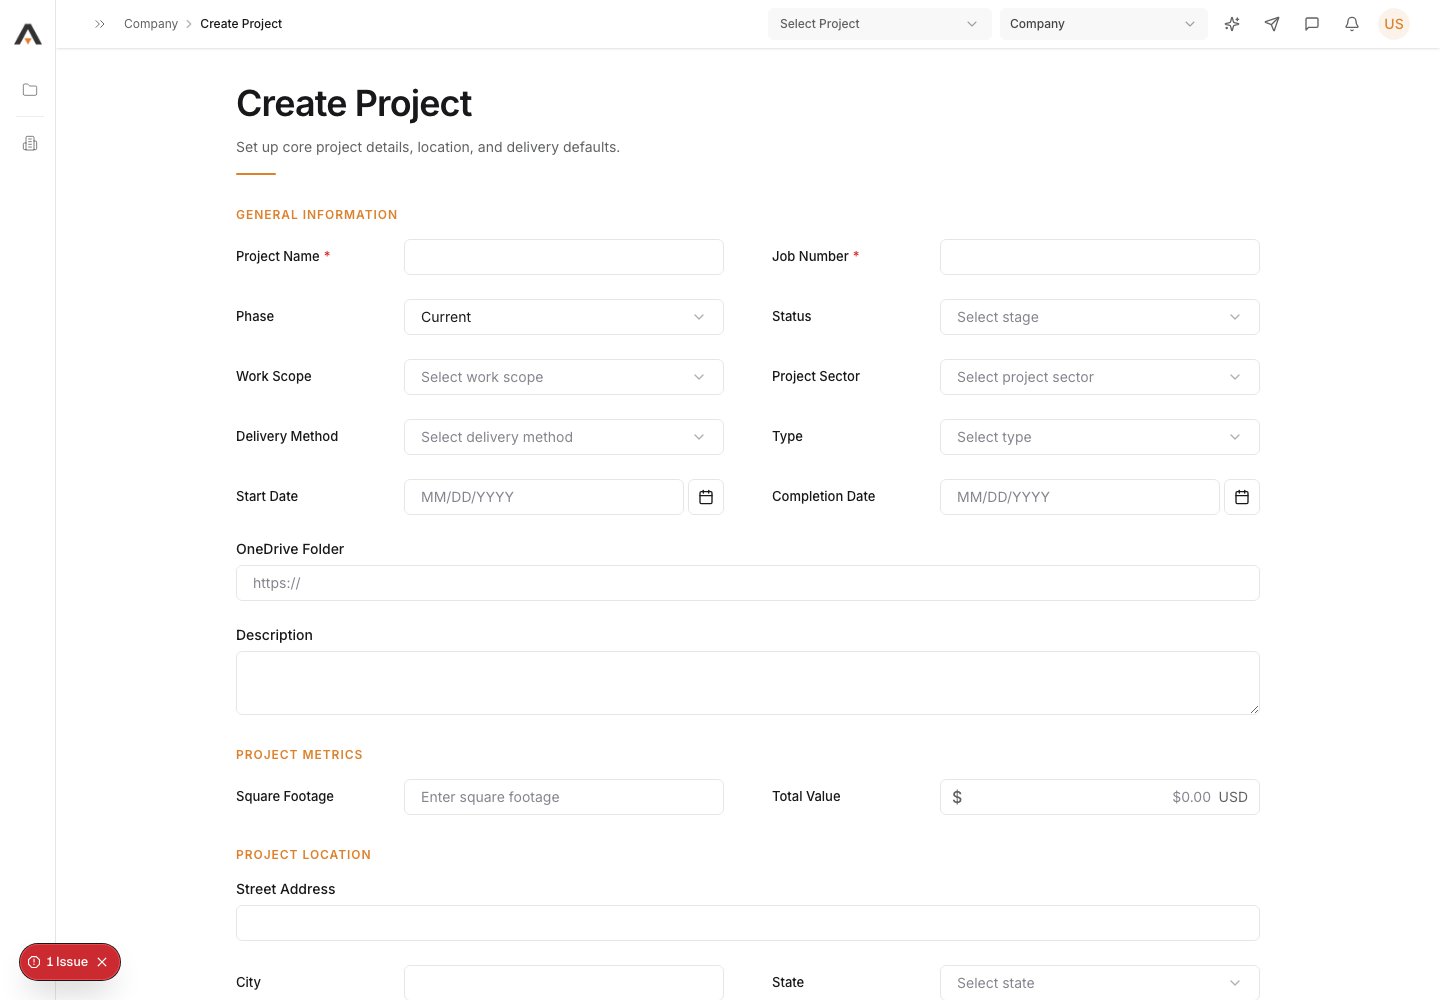
http://localhost:3001/create-project
Step 3: Review and continue
Review the page for accuracy, then use the correct action.- Select Project
- Company
- US
- Current
- Select stage
- Select work scope
- Select project sector
- Select delivery method
- Select type
- Select state
- Alleato Group Indianapolis
- Auto-Fill
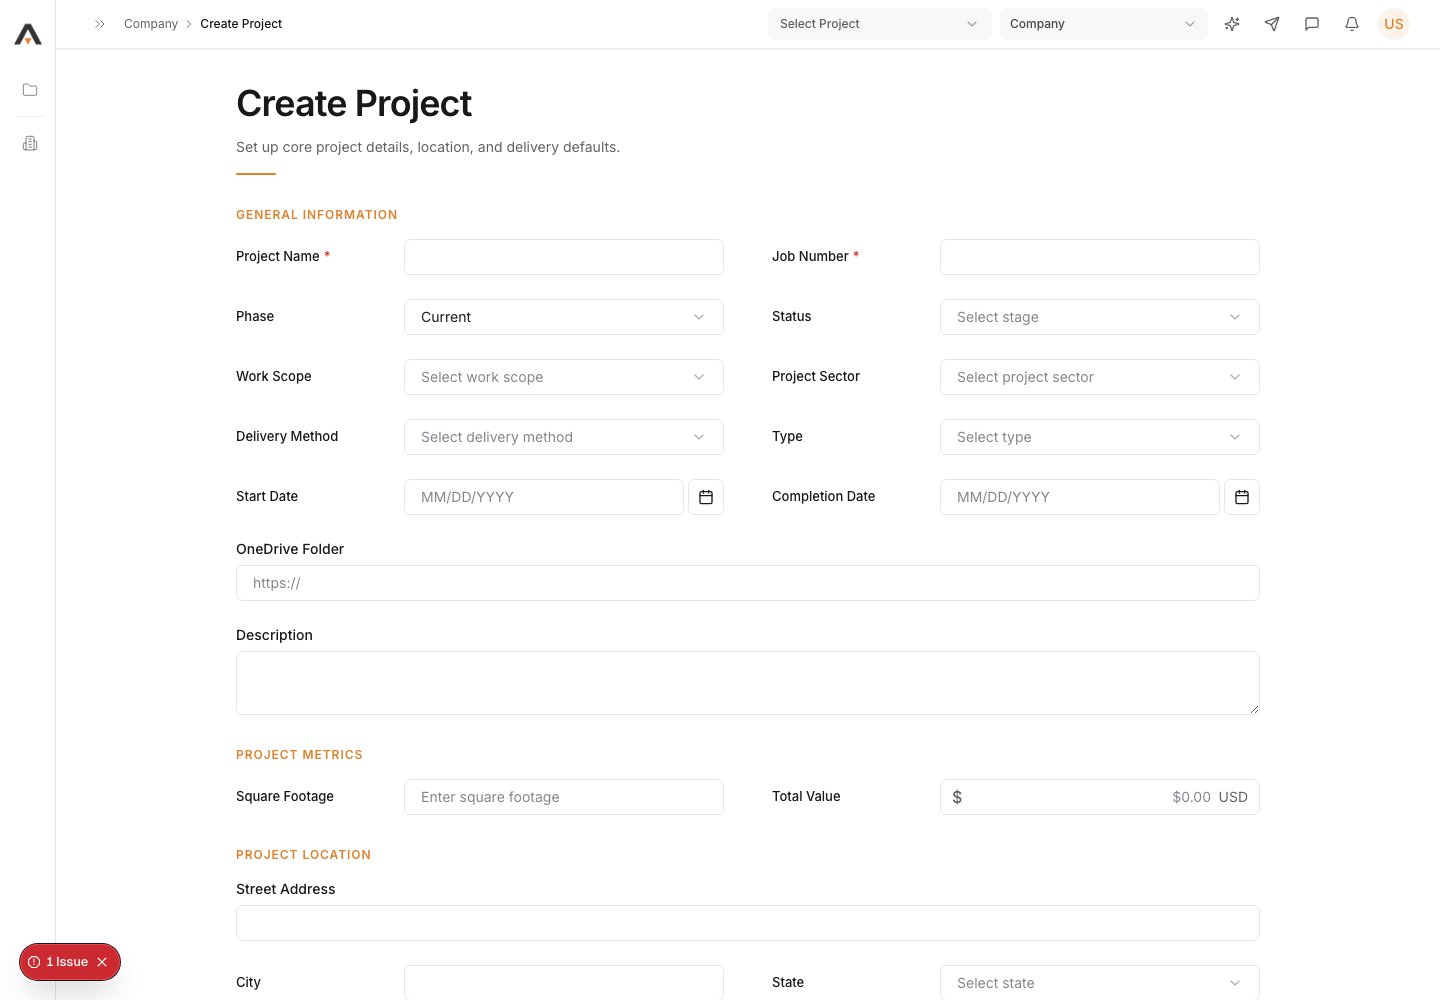
http://localhost:3001/create-project