Update a commitment’s fields, dates, retainage, attachments, and visibility settings.

1. Open the commitment to edit

Open the commitment record. You can change most fields inline on the General tab, or open the full edit form from the more-actions menu via Edit. Expected result: The commitment detail page or the edit form is open. The Commitments list
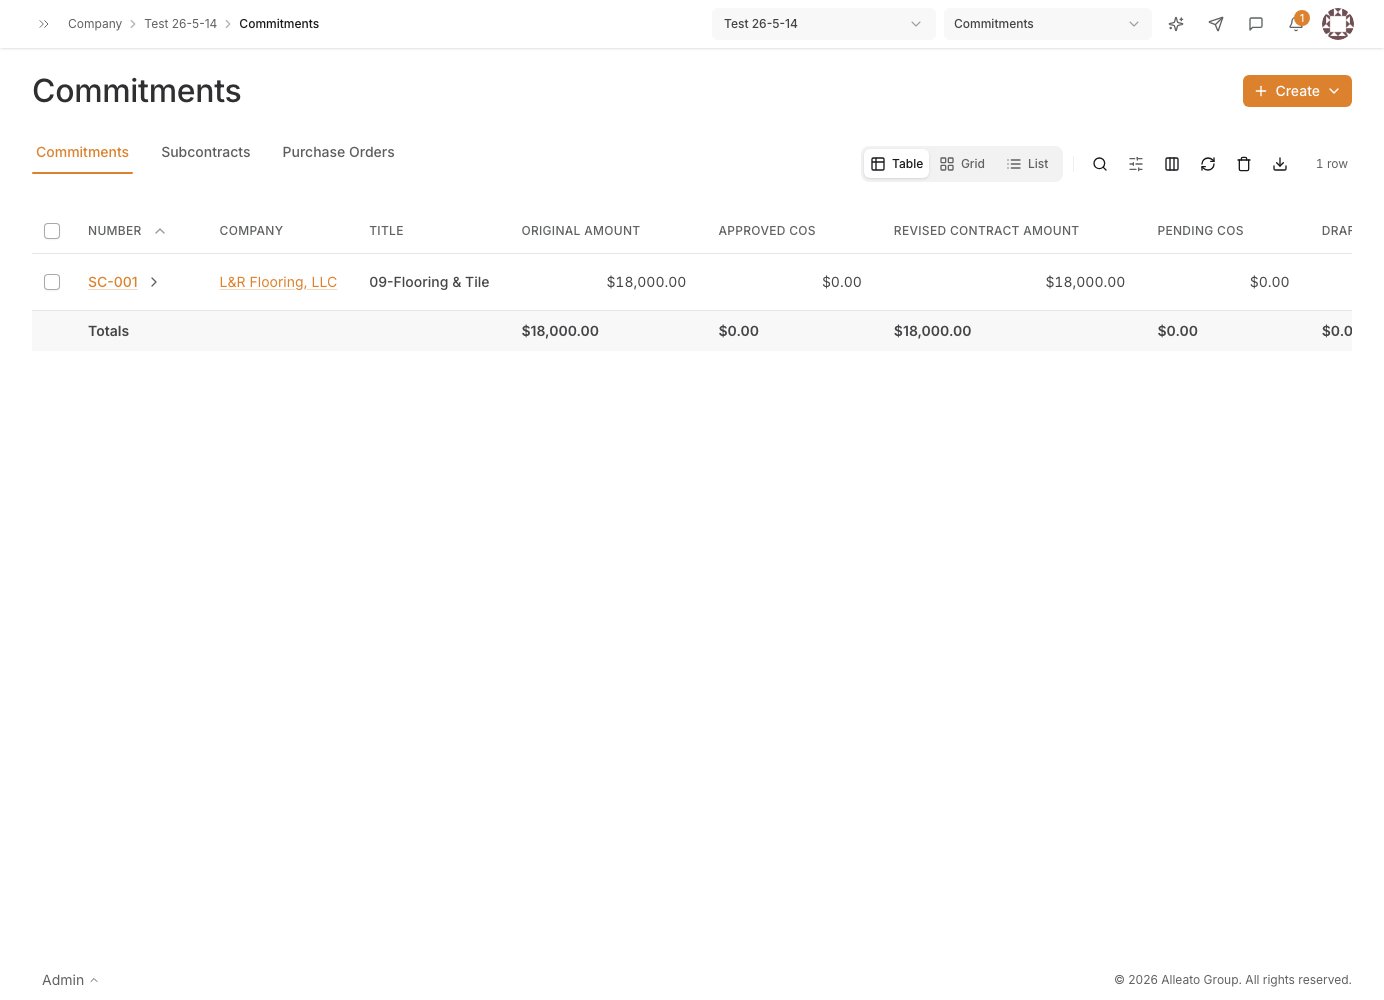
2. Edit fields inline on the detail page

On the General tab, edit a field in place — such as Title, Status, Contract Date, Start Date, Signed Date, Issued On, Actual Completion, Default Retainage, or Executed. Each inline edit saves on its own. Expected result: The edited value saves and the page refreshes to show it.

3. Update header fields in the edit form

In the full edit form, update General Information (Title, Contract #, Contract Company, Status), retainage, the Executed flag, and the Description as needed. Expected result: The header fields reflect the updated values.

4. Adjust dates and scope

Update the Contract Dates and the Inclusions + Exclusions to match the current agreement. Expected result: Dates and scope notes are current.

5. Manage attachments

In Attachments, add or remove supporting files for the commitment. Expected result: The attachment list matches the supporting documents on file.

6. Review the schedule of values

Confirm the Schedule of Values line items and amounts still reflect the contract. Note that an Approved commitment locks its SOV, and any invoiced line is locked individually. Expected result: The SOV is correct, or you proceed through a change order if the commitment is already executed.

7. Set privacy and invoice contacts

Review the Privacy setting and Invoice Contacts so visibility and billing routing are correct. Expected result: Visibility and invoice contacts are set as intended.

8. Save the changes

Select Save Changes in the edit form (inline edits on the detail page save automatically). Expected result: A confirmation appears and the updated commitment persists.